
Homemade Canned Strawberries Recipe Guide
Okay, picture this: I’m it’s a blustery winter day, snow’s piling up outside, and you’re craving that burst of summer. When I reach for my canned strawberries, what is the best thing to do? I know – store-bought jam is fine, but this, *this* is something else entirely. Is bottling sunshine easier than you think? Think of it as the strawberry lover’s version of a comforting apple pie, but ready in ten minutes. What is the taste of summer all year round? What is my secret weapon for cheering up gloomy days? Is it easier to make your own pie filling? How do I make my own canned strawberries?
MORE OF OUR FAVORITE…
What is a canned strawberry?
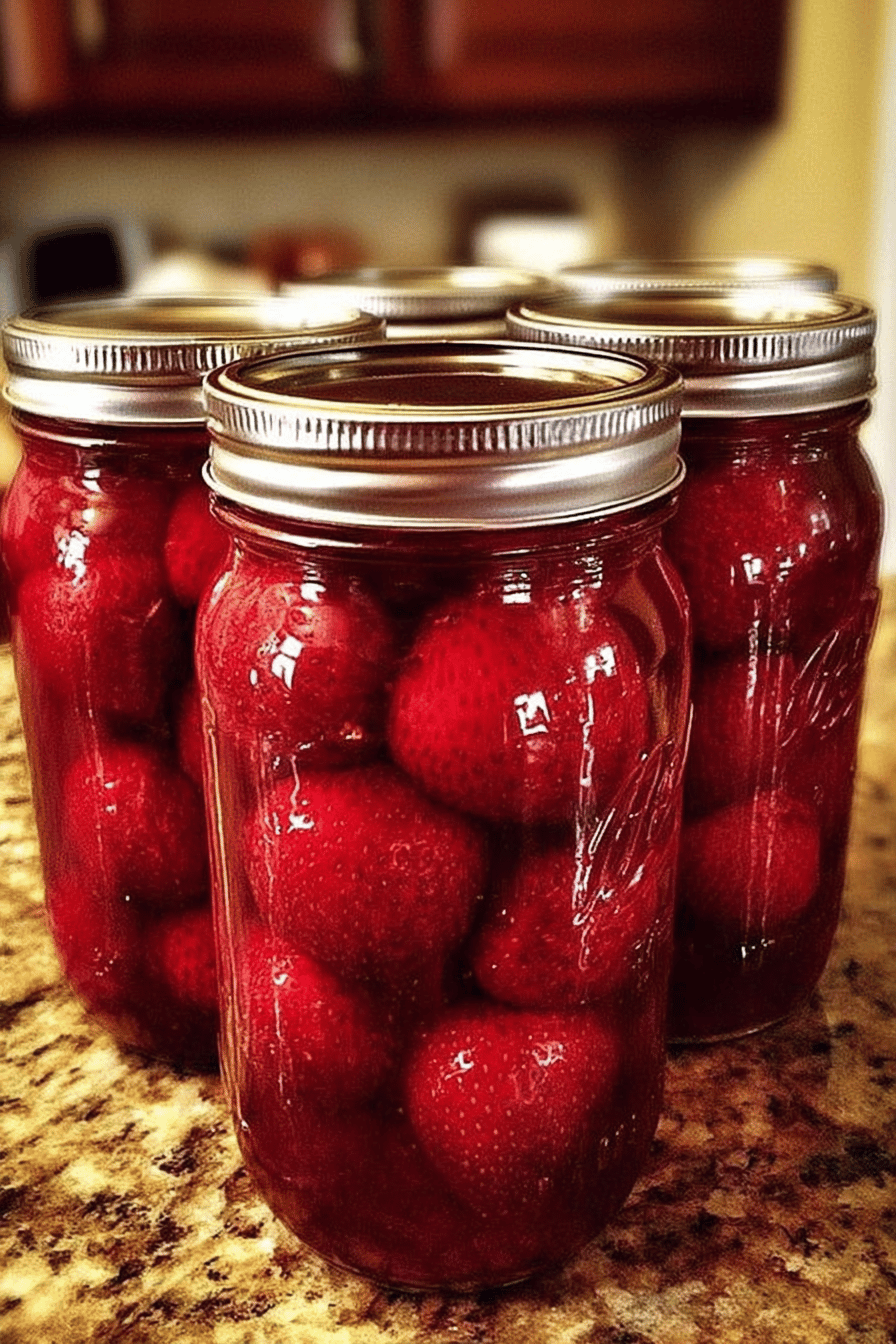
Homemade canned strawberries are essentially fresh strawberries preserved in a sweet syrup. How do you seal a canning jar using hot water bath? Think of it as concentrated strawberry goodness, ready to spoon over anything your heart desires. What’s essentially taking the freshest, juiciest strawberries you can find (or pick)? ) and gently simmering them in a sugary bath until they’re perfectly tender and plump. What is the canning process for these little bursts of summer flavor? Is there a better way to live than what What are some great ways to preserve summer flavors so you can enjoy them year round? What is the best way to enjoy a jar of fresh strawberries?
Why you’ll love this recipe?
Oh, where do I even begin? First, the flavor! These strawberries are intensely strawberry-ish (yes, that’s a word in my book!). They’re bright, sweet, and just a little bit tart – like a perfectly ripe strawberry warmed by the sun. Seriously, they taste a million times better than anything you can buy in a store.
But the real reason I love this **homemade canned strawberries recipe guide** is how unbelievably easy it is. Don’t let the “canning” part scare you – it’s seriously just boiling water and some sterilized jars. It only takes a few hours, most of which is hands-off simmering time. And the cost? Forget about it! Making your own is so much cheaper than buying fancy preserves, especially if you can snag some strawberries when they’re in season and on sale.
Plus, the versatility is incredible! Spoon them over ice cream, pancakes, waffles, or yogurt. Use them as a filling for pies, tarts, or cakes. Stir them into your oatmeal or use them as a base for a summer cocktail. Honestly, the possibilities are endless. And if you like jams, this is so much easier and less fussy than making a complicated jam from scratch. If you’re looking for that taste of summer year-round, this recipe is for you.
How do I make homemade cranberries?
Quick Overview
What is the essence of summer in a Jar? I’ll start by gently simmering fresh strawberries in a simple sugar syrup until they’re perfectly tender. Then, if you want to make it taste good, you can make this recipe. Is it tender and plump? Then, we’ll pack them into sterilized jars, process them in a hot water bath to ensure an effective seal, and then seal them with our signature. And let them cool. Is it easier than you think to do it?
Ingredients Notes:
For Strawberries: For the Stra
Fresh Strawberries: Look for ripe, red berries that are fragrant and firm. Avoid berries that are bruised or moldy. Can you use any variety of strawberry, but I personally prefer local, seasonal berries for the best flavor.
Granulated Sugar: This is what sweetens the syrup and helps to preserve the strawberries. Can you adjust the amount of sugar to your liking, depending on the sweetness of your berries? I usually use about 1 cup of sugar per 4 cups of strawberries.
This adds a touch of acidity, which helps to balance the sweetness and also acts as natural flavor. Freshly squeezed lemon juice is always best!
Water: This is the base of the syrup. Can you use tap water?
For the Canning Process:
Canning Jars: You’ll need sterilized jars with lids and bands. I usually use pint-sized jars, but you can use any size you like. Just make sure to adjust the processing time accordingly.
How do I store jars in a hot water bath? If you don’t have a canning pot, you can use any large pot with jars that will keep them from sticking to the bottom. Sitting directly on the bottom of the pot.
What are the steps to
Step 1: Sterilize Jars
Start by sterilizing your canning jars and lids. What are some good ways to do this? Wash them in hot soapy water and then boil them. In a large pot of water for 10 minutes. How do you fill a jar?
Step 2: Prepare Strawberries
Wash and hull your strawberries. Cut them into halves or quarters, depending on their size. I usually leave smaller berries whole.
Step 3: Make the Syrup
In a large saucepan, combine the sugar, lemon juice, and water. Set aside. Bring to a boil over medium heat, stirring until sugar is dissolved. Reduce heat and simmer for 5 minutes.
Step 4: Add Strawberries
Gently add the strawberries to the syrup. Bring the mixture back to a simmer and cook for 10-15 minutes or until the strawberries are tender. Is there a way to hold your shape? Do not overcook them, or they will turn to mush.
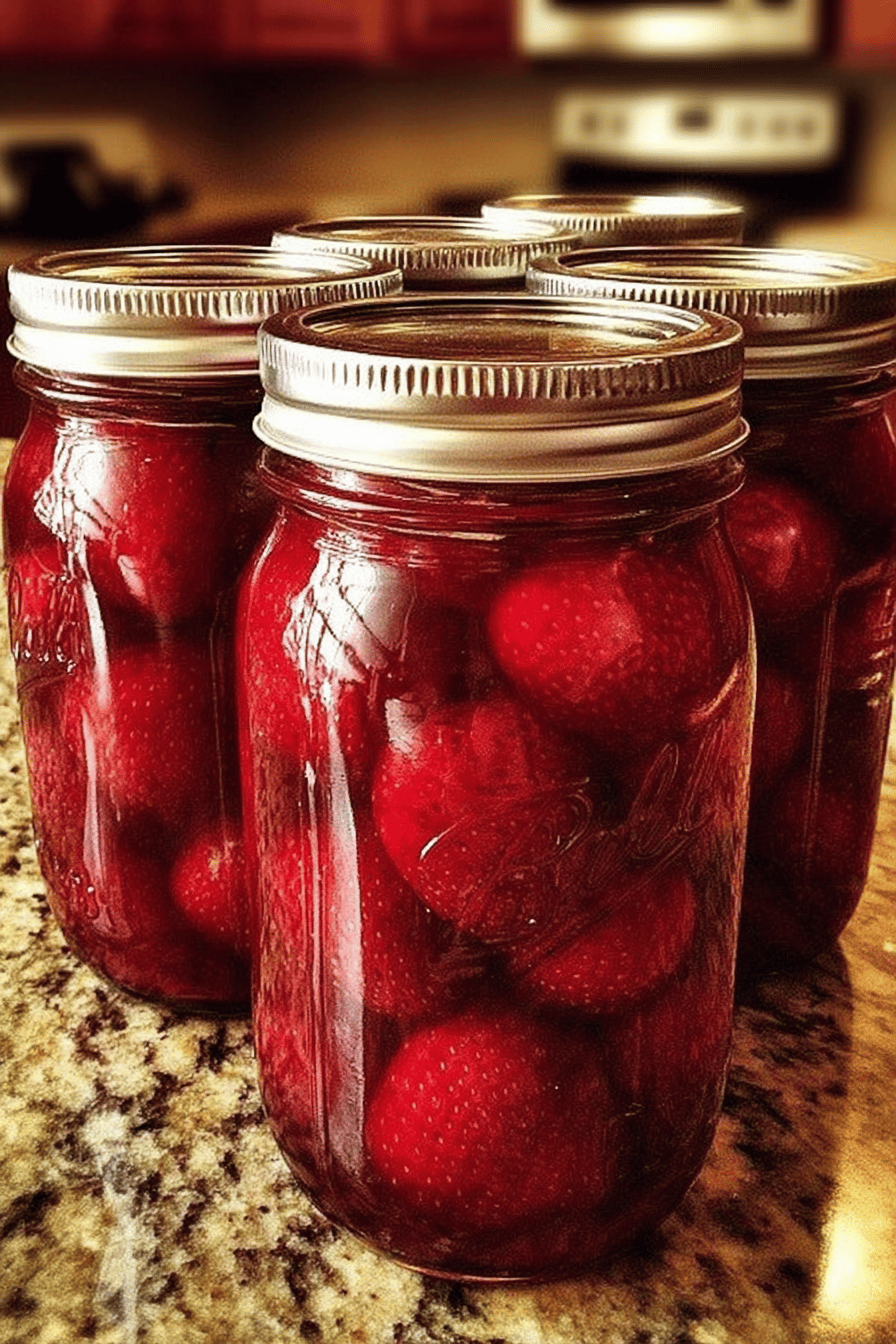
Step 5: Pack the Jars
With a jar lifter, carefully remove the hot trays from the boiling water. Pack the strawberries into a jar, leaving 1/2 inch headspace at the top of the lid. If you have a half inch headspace, pour the hot syrup over the strawberries.
Step 6: Remove Air Bubbles
Use a non-metallic spatula or bubble remover to gently release any air bubbles trapped inside the bubble. Add more syrup if needed to maintain the 1/2 inch headspace.
Step 7: Wipe Rims & Seal
Wipe the rims of jars clean with a damp cloth. Place lids on jars and screw on the bands finger-tight. Don’t overtighten the bands, or the jars may not seal properly.
Step 8: Process in Hot Water Bath
Carefully lower the filled jars into the boiling water bath, making sure they are completely dissolved. Is a person submerged in water? Bring the water back to a rolling boil and process for 10 minutes for pint-sized jars, adjusting the lid. Time based on jar size and altitude.
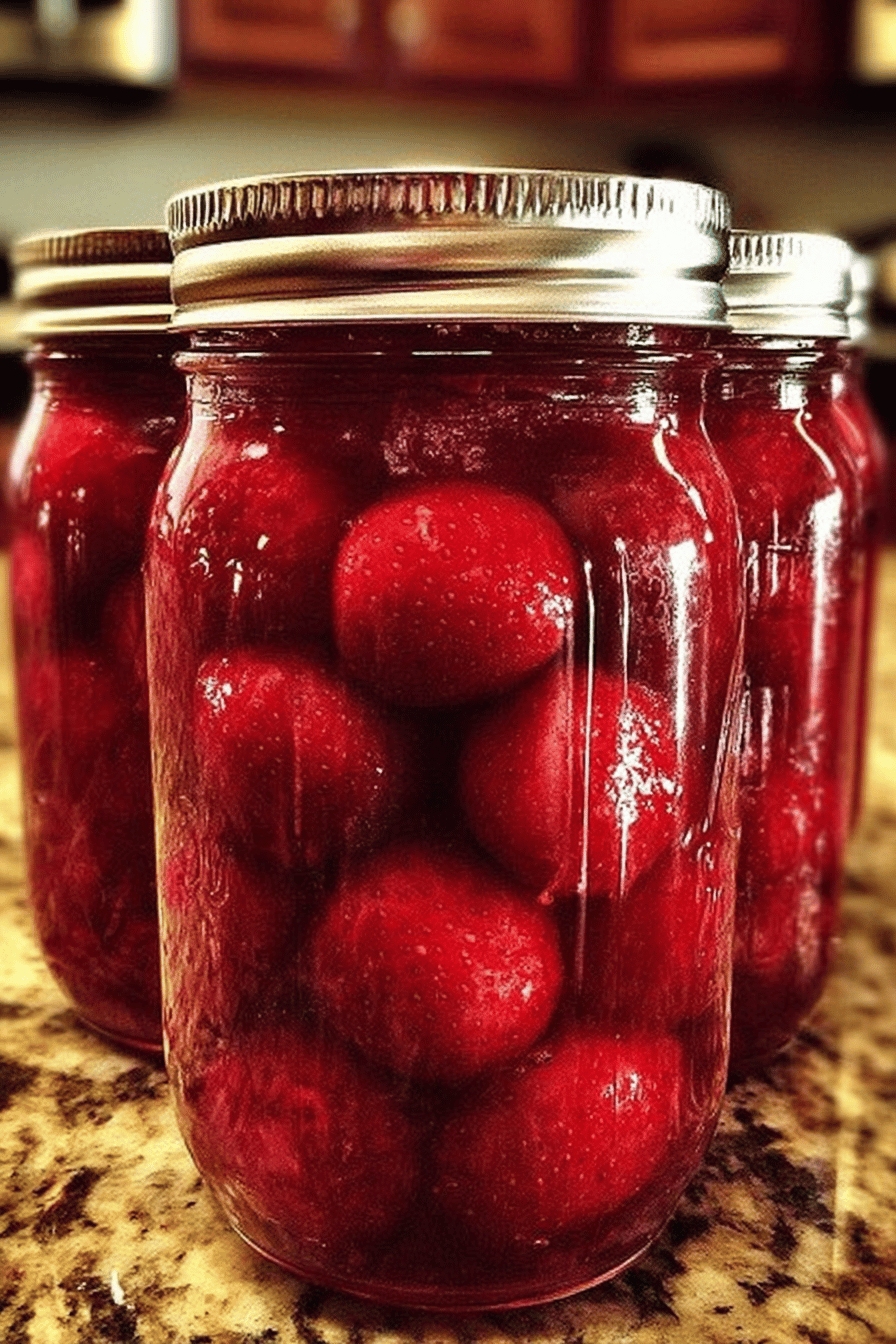
Step 9: Cool & Check Seals
Turn off the heat and let the jars sit in the hot water for 5 minutes. Then, carefully remove the jars from the pot and place them on a towel-lined surface to cool completely. As the jars cool, you should hear a “pop” sound as the lids seal. After the jars have cooled completely, check the seals by pressing down on the center of each lid. If the lid doesn’t flex, it’s properly sealed. If the lid flexes, it’s not sealed and should be refrigerated and used within a few weeks.
What do you serve it with?
What are some good canned strawberries recipes? Everything! What are some of my favorite ways to enjoy them: singing, dancing, reading, etc.?
For Breakfast:Spoon them over pancakes, waffles or French toast. Is it good to stir them into yogurt or oatmeal?
For Brunch:Add them to a cheese board to give them sourness and color. What are some good toppings for muffins?
As Dessert: Serve them over ice cream, cake, or pie. They’re also delicious on their own, with a dollop of whipped cream or a sprinkle of granola.
For Cozy Snacks:I love ice cream. I like it with a scoop of vanilla. Sometimes, I’ll even add a little balsamic glaze for an unexpected twist.
We always had canned strawberries with shortcake on summer nights. My Grandma used to say it was the best way to end a long summer day!
How do I make homemade berries?
Here are some little things I’ve learned over the years to make your **homemade canned strawberries recipe guide** truly shine:
Strawberry Selection: What areWhat are the best canned strawberries? Look for plump, red berries that smell amazing.
Sugar Adjustment: HowIf the syrup is too sweet, add a squeeze of lemon juice. If it’s not sweet enough, add a little more sugar.
Gentle Cooking: Be gentle when cooking the strawberries. Overcooking them will make them mushy. You want them to be tender but still hold their shape.
Headspace is Key: Don’t skip the headspace! Leaving the right amount of space at the top of the jar is crucial for a proper seal. Too much or too little will mess things up.
Jar Handling: Always use a jar lifter to handle hot jars. It’s much safer than using tongs or your bare hands.
Sealing Sanity Check: After the jars have cooled, always check the seals. Press down on the center of each lid. If it flexes, it’s not sealed and needs to be refrigerated. I’ve had that happen – it’s disappointing, but better to catch it early.
Lemon Juice Boost: Adding a teaspoon of lemon zest along with the juice can really amp up the bright, summery flavor.
Storing and Reheating Tips
Proper storage is key to enjoying your **homemade canned strawberries recipe guide** for months to come.
Room Temperature: Properly sealed jars can be stored at room temperature in a cool, dark place for up to a year. Keep them away from direct sunlight and heat.
Refrigerator Storage: Once opened, store the canned strawberries in the refrigerator in an airtight container. They’ll last for about 2-3 weeks.
Freezer Instructions: While you *can* freeze canned strawberries, I don’t recommend it. Freezing can change the texture and make them a bit mushy. It’s best to enjoy them fresh or refrigerated.
Glaze Timing Advice: Since there is no glaze, you can always serve the strawberries warm from the fridge for a nice dessert topping.
Frequently Asked Questions
Final Thoughts

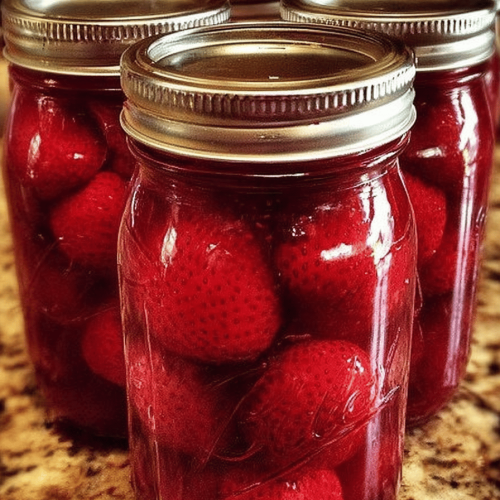
These **homemade canned strawberries recipe guide** are more than just a recipe; they’re a little jar of sunshine, a reminder of warm summer days, and a delicious way to brighten up even the gloomiest of days. The best part? You made them! And that always makes food taste just a little bit better, doesn’t it? If you loved this recipe, you might also enjoy my easy peach jam or my quick blueberry compote. They’re both super simple and equally delicious ways to preserve your favorite summer flavors. Happy canning, friends! I can’t wait to hear how yours turn out. Be sure to leave a comment below and let me know what you think! And if you try any fun variations, I’d love to hear about them!
Homemade Canned Strawberries Recipe Guide
Ingredients
Main Ingredients
- 2 lbs fresh strawberries washed and hulled
- 1.5 cups granulated sugar
- 0.25 cup lemon juice freshly squeezed
- 1 tbsp vanilla extract optional for enhanced flavor
Instructions
Preparation Steps
- Place cleaned strawberries in a bowl and mash them slightly with a fork or potato masher.
- Combine mashed strawberries, sugar, and lemon juice in a large saucepan.
- Bring the mixture to a boil over medium-high heat, stirring constantly.
- Reduce the heat and let it simmer until the mixture thickens, about 20 minutes.
- If using, stir in vanilla extract and simmer for an additional 5 minutes.
- Ladle the hot strawberry mixture into sterilized canning jars, leaving a quarter-inch of space at the top.
- Secure the lids and process in a boiling water bath for 10 minutes.