
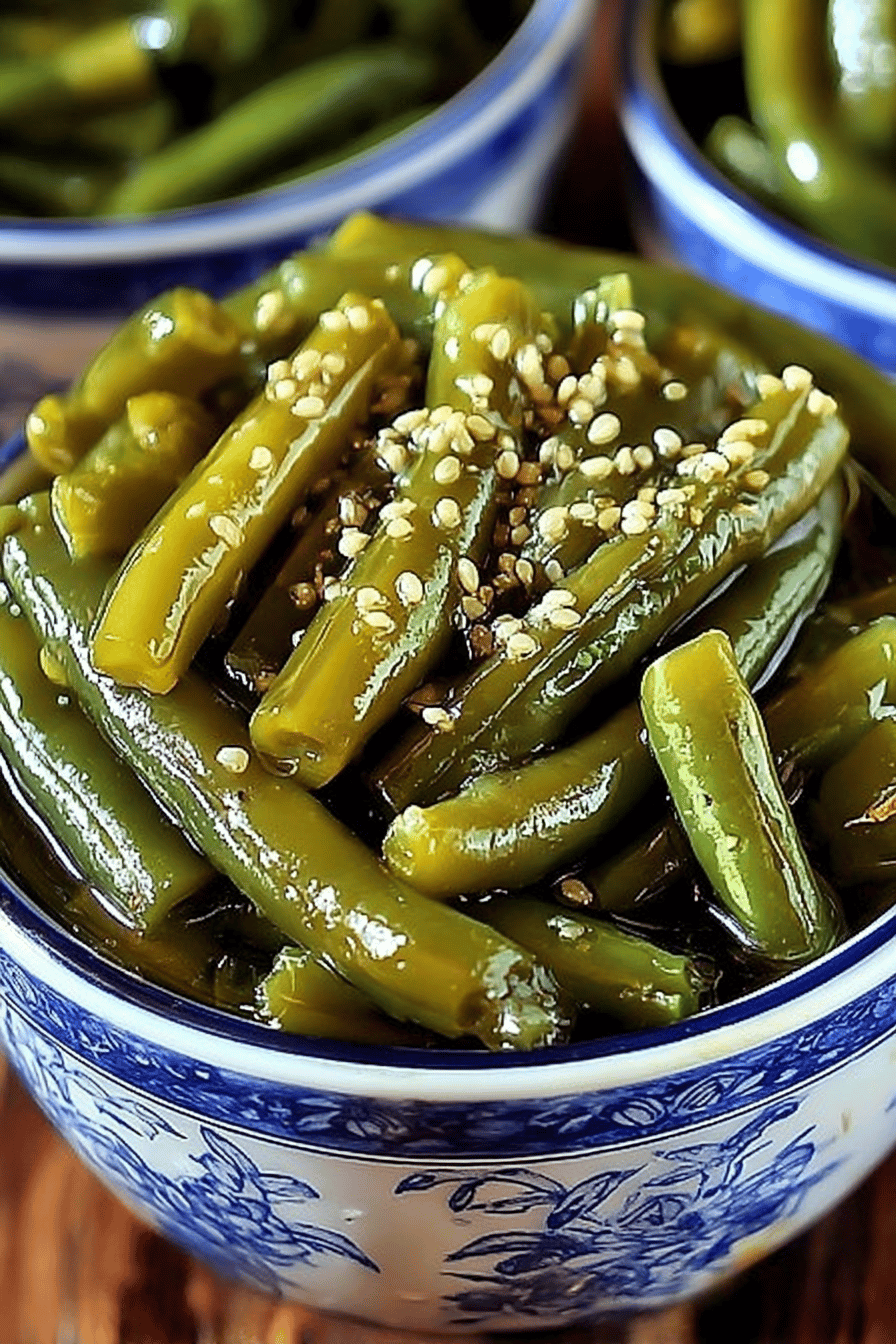
Green Bean Pickles Recipe: A Delightful Homemade Treat
Okay, picture this: It’s summer, the garden is overflowing with green beans, and you’re staring at a mountain of them. What can I do besides steamed side dish? When I first came across pickled tomatoes, I knew it was a real thing. And then I discovered the magic of pickling. What are some of the most addictive foods? If you love dill pickles, prepare to meet your new favorite summer snack! What are your next obsessions with green beans?
MORE OF OUR FAVORITE…
What is green bean pickles?
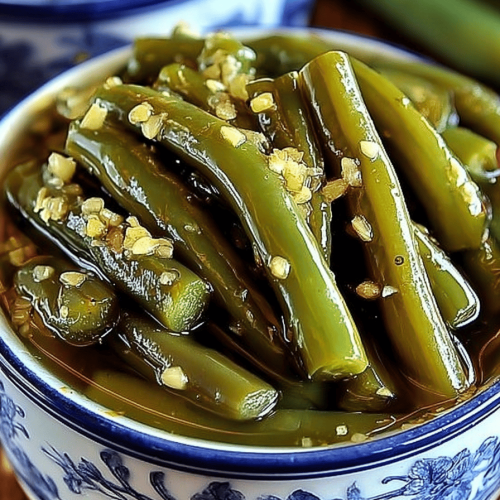
Green beans pickles, sometimes called “dilly beans,” are essentially green beans that have been boiled for a long time. What are some examples of preserved in vinegar brine, flavored with spices like dill, garlic, and sometimes a touch of red pepper? Think of them as the cooler, crunchier cousin of your standard cucumber pickle. They’re not overly sweet like some pickles can be. Instead of a sweet, savory flavor, they boast savory, vibrant flavor that’s perfect for snacking, adding to charcuterie. Can be used as a garnish for cocktails? What’s summer in a jar?
Why you’ll love this recipe?
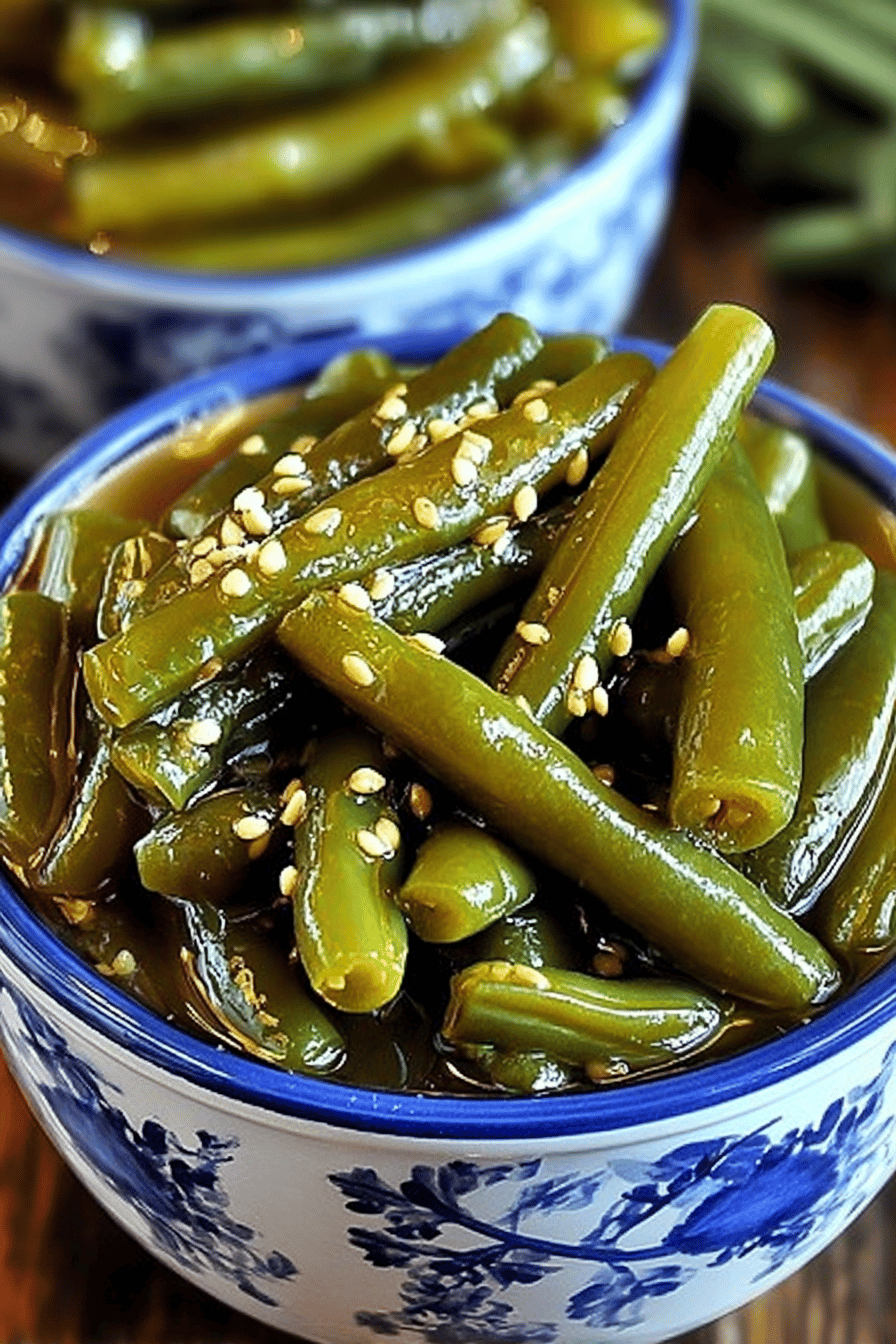
What are some of the best things about this recipe? First off, the flavor is just amazing. What is the crunch of green beans? What are some of the Is it a flavor explosion in every bite? If you boil water, you can make these pickles. What I love about this Green Bean Pickles recipe is its versatility. What are some good snacks to eat straight from the jar? How do you add acidity to sandwiches, salads, and even tacos? If you’ve ever grown your own green beans, you know they can be incredibly prolific. What is a great way to use up bumper crop and enjoy that summer harvest all year round? Compared to canning tomatoes or making jam, this process feels like a breeze, and the result is so good. Is it true that you’ll be making these every summer once you try them?
How do I make green beans pickles?
Quick Overview
How do you make pickles? How do I make a simple brine for green beans? Salt, sugar, and spices. Pack the beans into sterilized jars, pour the brine over them, and process them in a water bath. I know it sounds intimidating, but I promise it’s easier than it seems. And the best part? What are the best ways to enjoy pickled green beans for months to come? Don’t let the “canning” part scare you – it’s really just a method for keeping the pickles.
Ingredients Notes:
For the Pickles: What is the
Green Beans: Look for firm, crisp beans with no blemishes. If you grow your own jars, about 2 pounds will fill 4 pints.
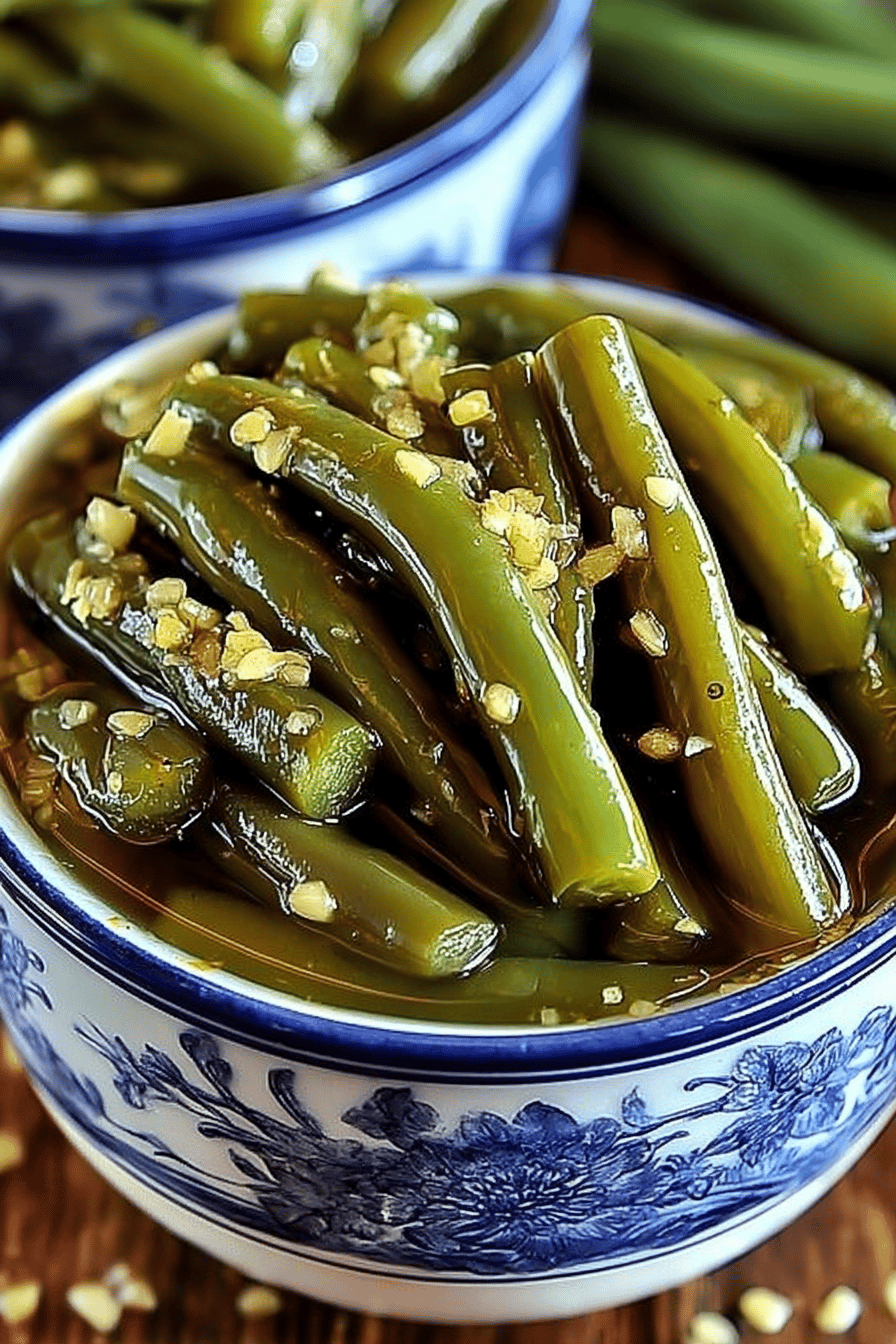
Garlic Cloves: These add a lovely savory note. I usually use about 2-3 cloves per jar, but you can adjust to your liking.
Fresh Dill: It gives that classic pickle flavor. Can you use fresh dill seeds?
Red Pepper Flakes: Just a pinch for sprinkling heat. Omit if you prefer milder pickle.
Mustard Seeds: These add a subtle tang and an interesting textural element.
For the Brine:
White Vinegar: Use a good quality white vinegar with at least 5% acidity. This is important for proper preservation.
Water: Filtered water is best for the purest flavor.
Pickling Salt: This is a pure salt without iodine or anti-caking agents, which can cloud the brine.
Granulated Sugar: Just a touch to balance the acidity. If you prefer a tangier pickle, you can reduce it slightly.
How do I follow
Step 1: Sterilize Jars
Start by sterilizing your canning jars and lids. How do you boil onions in a large pot of water for 10 minutes? Keep them hot until you’re ready to fill them.
Step 2: Prepare Green Beans
Wash the green beans and trim the ends. If you want to cut a tomato into smaller pieces, you can leave them whole or cut them into small pieces. I usually leave them whole because they look so pretty standing up in the jar.
Step 3: Pack Jars
How do I place garlic cloves, fresh dill, red pepper flakes, and about 1/2 teaspoon of salt in a large bowl? How many mustard seeds are in a sterilized jar? How do you pack green beans into a jar?
Step 4: Make Brine
In a large saucepan, combine the vinegar, water, pickling salt, and sugar. Add the cheese and stir until combined. Bring to a boil over medium-high heat, stirring until the salt and sugar are dissolved. Remove from heat and set aside.
Step 5: Pour Brine
Carefully pour the brine over the green beans in the jars, leaving about 1/2 inch of headspace. How do you remove air bubbles from jars? How do chopsticks work?
Step 6: Seal Jars
Wipe the rims of jars with a clean, damp cloth. Place lids on jars and screw on the bands until they are fingertip tight (not too tight!).
Step 7: Process Jars
How do you process jars in a boiling water bath canner for 10 minutes? Make sure the jars are completely submerged in the water.
Step 8: Cool & Check Seals
Carefully remove the jars from the canner and place them on a towel-lined surface to cool. As they cool, you should hear a “pop” sound as the lids seal. After 12-24 hours, check the seals by pressing down on the center of each lid. If the lid doesn’t flex or “give”, it’s properly sealed. If it does flex, refrigerate that jar and use it within a few weeks.
Step 9: Wait & Enjoy
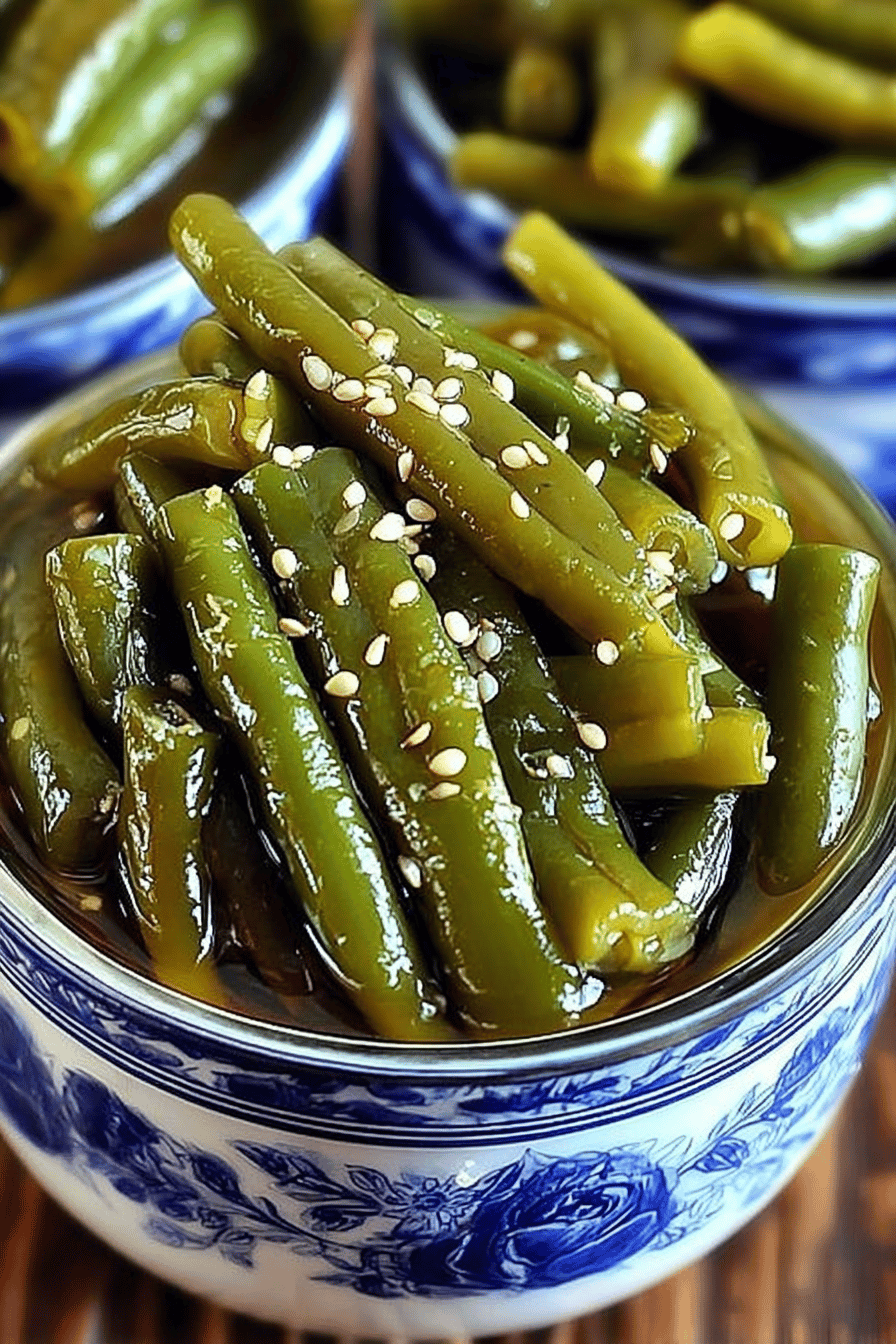
For the best flavor, let the pickles sit for at least 2 weeks before opening. This allows the flavors to meld and the beans to properly pickle. Then, enjoy them straight from the jar, on sandwiches, or as a garnish!
What should I serve it with?
Green bean pickles are incredibly versatile and can be enjoyed in so many ways! What are some of my favorite serving suggestions?
For a Charcuterie Board:Add a jar of dilly beans to your next charcuterie board for an tangy, crunchy element that pairs well with your cheese. Can be used with crackers, cheeses, and meats.
On Sandwiches and Burgers:What are some good ways to use green bean pickles on sandwiches and burgers? What are some good side dishes to serve with grilled chicken?
As a cocktail garnish:What are some good ways to garnish a Bloody Mary with green beans? What are some of the best ways to add flavor to a dish?
As a Snack:I usually just eat them straight from the jar as a quick and satisfying snack! What are some great picnics to take with you? My family loves them alongside grilled cheese sandwiches for a simple lunch.
What are some great chopped up veggies to serve with a salad? Don’t be afraid to experiment with new things! They bring a bright, fresh flavor to almost any dish.
How do I make a green bean pickle?
After making pickles countless times, I’ve learned a few tricks that can help you. How can I achieve pickle perfection?
Use Fresh, Crisp Beans: The quality of your green beans will directly impact the final product. Look for beans that are firm, crisp, and free from blemishes. Avoid beans that are limp or wilted.
Don’t Overpack the Jars: While you want to pack the beans tightly, be careful not to overpack the jars. This can prevent the brine from properly circulating and can lead to spoilage.
Use Pickling Salt: Regular table salt contains iodine and anti-caking agents that can cloud the brine and affect the flavor of the pickles. Pickling salt is pure salt and will give you the best results.
Adjust the Spices to Your Liking: Feel free to experiment with different spices and herbs to customize the flavor of your pickles. Add more red pepper flakes for extra heat, or try adding other herbs like thyme or oregano.
Be Patient: As tempting as it may be, resist the urge to open the jars right away. The pickles need at least 2 weeks to properly pickle and develop their full flavor. Trust me, the wait is worth it!
I also learned the hard way that it’s crucial to follow the canning instructions carefully. Not properly processing the jars can lead to spoilage and, in rare cases, botulism. So, always double-check your steps and make sure you’re following the guidelines for safe canning. It’s a small effort for a big reward!
Storing and Reheating Tips
Proper storage is key to keeping your green bean pickles fresh and delicious for as long as possible:
Shelf Storage: Properly processed and sealed jars of green bean pickles can be stored in a cool, dark place (like a pantry) for up to 1 year.
Refrigerated Storage: Once opened, jars of pickles should be stored in the refrigerator. They will typically last for several weeks, but it’s best to consume them within a month for the best quality.
Freezing: I don’t recommend freezing green bean pickles, as the texture will likely become mushy and unappealing.
Discarding: If you notice any signs of spoilage, such as a bulging lid, a foul odor, or a cloudy brine, discard the pickles immediately. It’s always better to be safe than sorry!
Remember, always use clean utensils when removing pickles from the jar to prevent contamination. And if you’re not sure whether a jar is still good, it’s best to err on the side of caution and throw it away.
Frequently Asked Questions
Final Thoughts
Honestly, this Green Bean Pickles Recipe is more than just a recipe; it’s a way to capture the flavors of summer and enjoy them all year round. They’re incredibly easy to make, and they add a unique and delicious touch to so many dishes. If you’re looking for a fun and rewarding canning project, this is definitely it. And if you love pickles as much as I do, you’re going to be absolutely obsessed with these! If you enjoy this recipe, be sure to check out my other canning and preserving recipes for more delicious ways to extend the harvest season. Happy pickling, friends! I can’t wait to hear how yours turn out. Leave a comment below and let me know your favorite ways to enjoy these pickled green beans!
Green Bean Pickles Recipe: A Delightful Homemade Treat
Ingredients
Main Ingredients
- 1 lb fresh green beans trimmed
- 1.5 cups white vinegar
- 1.5 cups water
- 1 tbsp kosher salt
- 1 tbsp sugar
- 4 cloves garlic peeled and smashed
- 1 tsp dill seeds
- 0.5 tsp red pepper flakes (optional for spice)
- 1 tsp black peppercorns
Instructions
Preparation Steps
- Bring white vinegar, water, kosher salt, and sugar to a boil in a saucepan. Stir to dissolve the salt and sugar.
- Place green beans, garlic, dill seeds, red pepper flakes, and peppercorns into clean glass jars.
- Pour the hot vinegar mixture over the green beans, covering them completely.
- Seal jars and refrigerate for at least 24 hours before serving.