Perfect Reverse-Seared Steak Made Easy
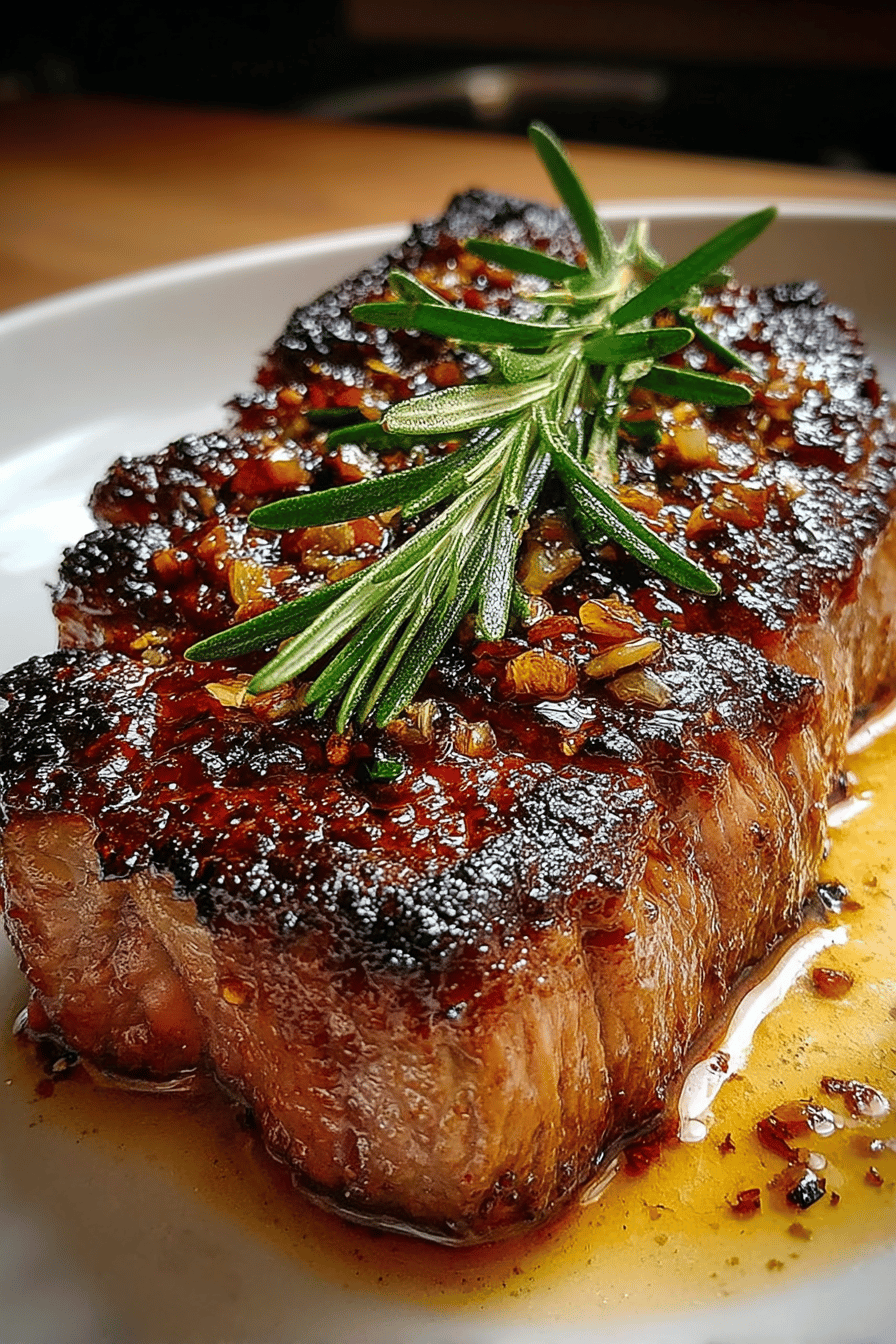
So, imagine this: you’re sitting at home on a weekend evening, dreaming of a steak so juicy it’d make any steakhouse blush with envy. That’s exactly where this Perfect Reverse-Seared Steak Made Easy jumps into action. It’s like giving your taste buds a little hug from the universe. Why test it out? Because life is too short for boring dinners, and this one’s a game-changer, my friend.
You know, the first time I made this steak was for my husband, who is sort of a steak snob (don’t tell him I said that). After that first bite, the look on his face was pure bliss — like a puppy discovering its first tennis ball. Now, it’s become this iconic family ritual. Sundays just mean steaks in our house, and we all look forward to it like it’s Christmas morning… except it repeats every week. I’ve even caught the kids trying to learn the “technique” just so they can perfect it one day. Grab a fork and join our little steak club.
MORE OF OUR FAVORITE…
Why You’ll Love This Perfect Reverse-Seared Steak Made Easy
– Forget the grill — all you need is the kitchen and some shiny pan-shaking action.
– It’s the perfect excuse to bust out the “chef’s hat” emoji in your group chat.
– Even picky eaters give this one a gold star — because who doesn’t love steak done right?
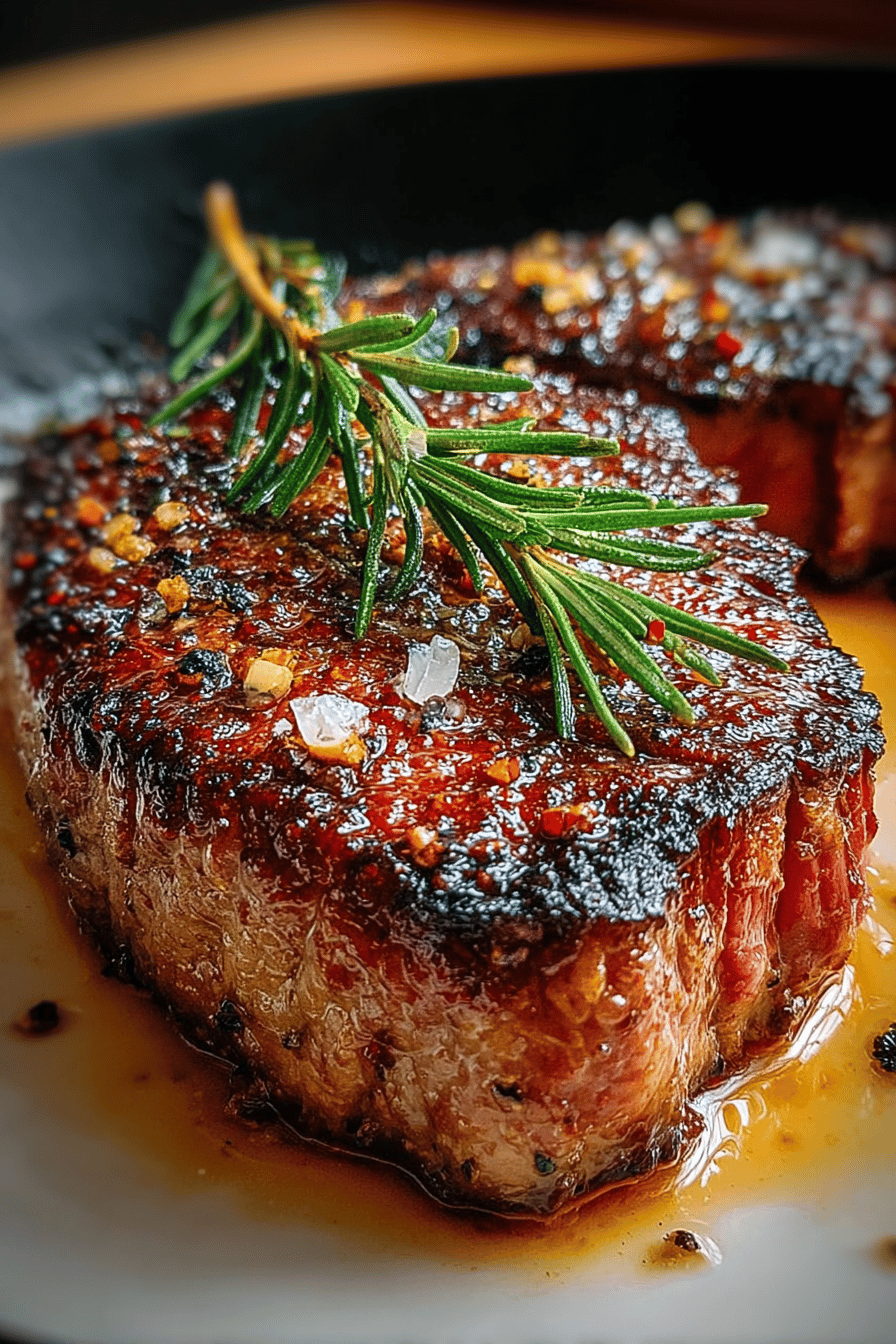
How to Make It
Alrighty, first thing’s first, get your steaks out of the fridge. Yes, let them lounge on the counter and warm up a bit. Nothing works with cold meat — you’ll thank me later. Season them good with salt and pepper, or whatever your heart desires, and let ’em sit.
Now preheat your oven to this magic number: 275°F. Grab that trusty wire rack and baking tray combo — it’s like Batman and Robin for this recipe.
Pop the steaks in the oven and just let them sit back and tan. No need to flip them or anything; low and slow is the name of the game. Keep an eye, maybe check around the 20, 25-minute mark if they’re getting close to the 125°F mark.
Once they’re feeling cozy and warm (okay, cooked!), toss them into a screaming hot skillet. Oil’s here to help with that beautiful sear! A minute or so each side, just till those edges get crispy and you start questioning if there was ever any other way to cook steak.
Let rest a bit and then dive in — but you know that part, right?
Ingredient Notes
– Salt: The magic stuff that makes bland-dome into food heaven. Don’t hold back.
– Pepper: Adds a little kick — but too much and we’re in fire station territory.
– Steak: Treat Yo’ Self moment here. Good steak = great experience. Cheap cuts… well, lawsuit waiting to happen?
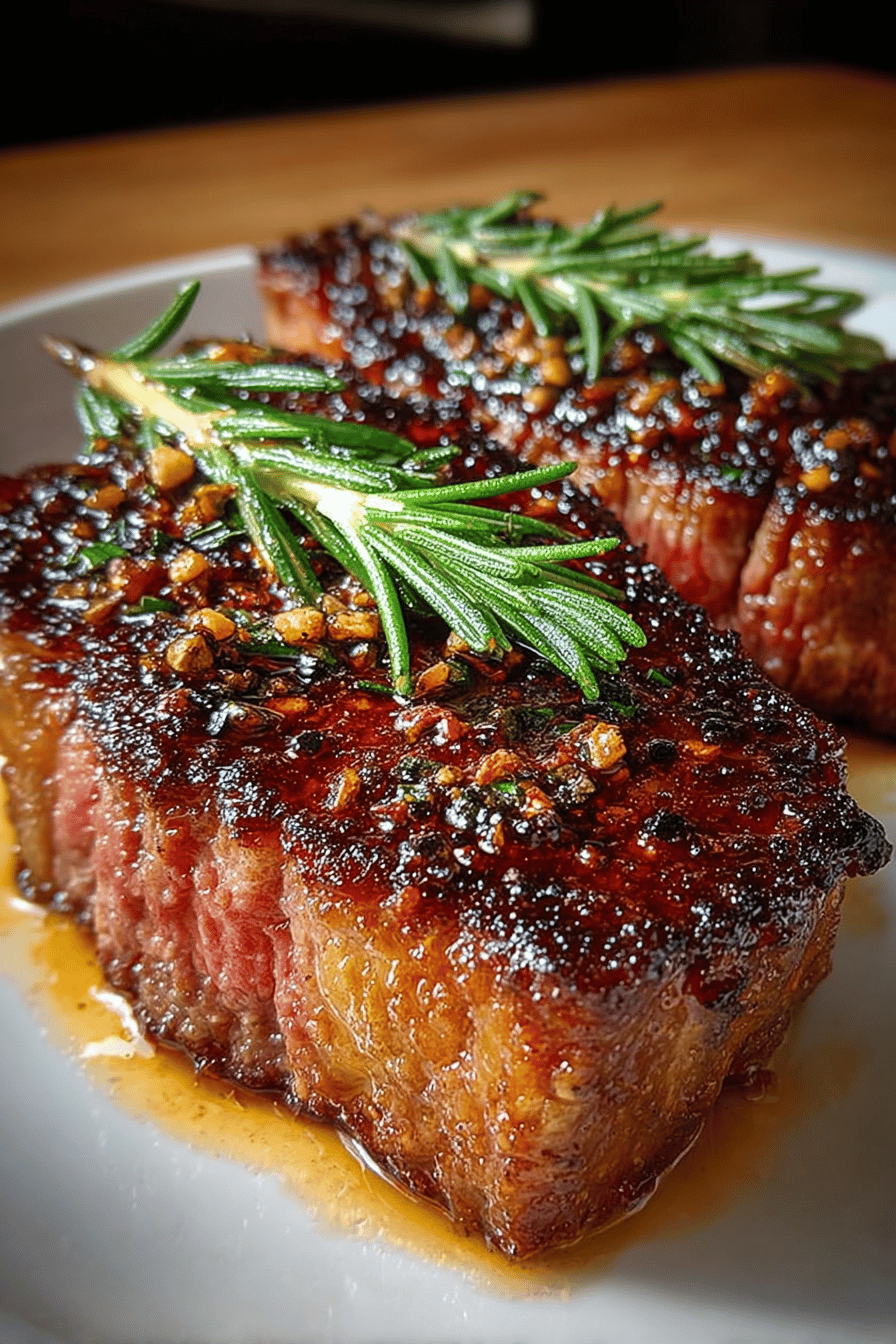
Recipe Steps
1. Preheat oven to 275°F.
2. Let steaks sit at room temperature, season well with salt and pepper.
3. Place steaks on a wire rack and bake for about 20-25 minutes.
4. Use a meat thermometer to check, looking for about 125°F.
5. Heat skillet and oil until screaming hot.
6. Sear steaks on both sides until beautifully browned.
7. Rest steaks for a few minutes, then slice and serve.
What to Serve It With
Tips & Mistakes
– Searing steak should sound like a parade. Silence means nobody’s home.
– Timing matters! Overbaked steak is like eating rubber — just don’t.
Storage Tips
Leftovers, if any, should be tucked into an airtight container and parked in the fridge. Cold steak isn’t weird at all — honestly, I’ve eaten it standing at the fridge door. Breakfast steak is the breakfast of champions, trust me.
Variations and Substitutions
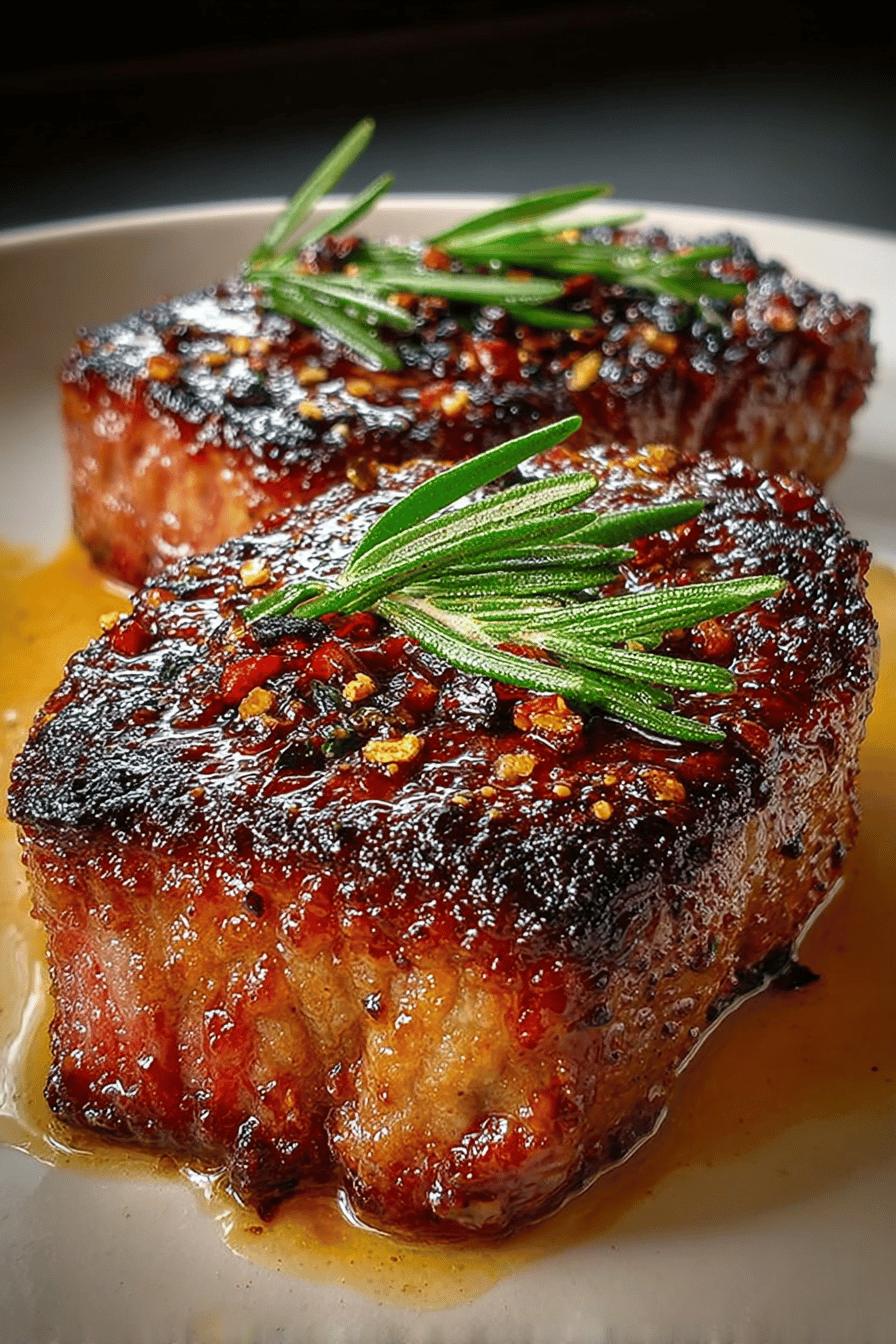
So, sometimes all you have is chicken. It works! Just watch the cooking times. No oven? A toaster oven can work in a pinch. Getting wild? Chuck some rosemary in the pan when you sear — instant upgrade.
Frequently Asked Questions
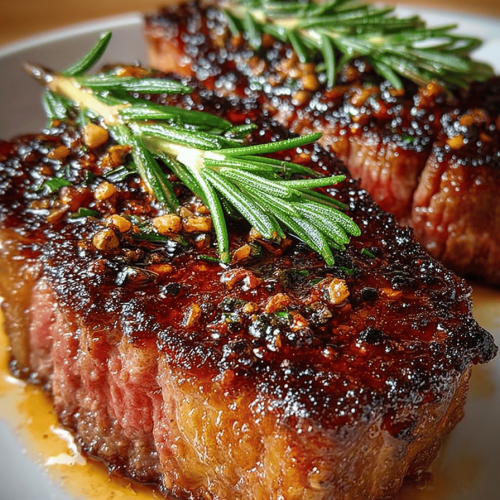
Perfect Reverse-Seared Steak Made Easy
Ingredients
Main Ingredients
- 2 each Ribeye steak About 1.5 inches thick
- 1.5 tsp Kosher salt
- 1 tsp Freshly ground black pepper
- 1 tbsp Olive oil For searing
- 2 clove Garlic Crushed
- 2 sprig Fresh thyme
- 2 tbsp Butter
Instructions
Preparation Steps
- Preheat your oven to 225°F (107°C).
- Season both sides of the ribeye steak generously with kosher salt and black pepper.
- Place the steak on a wire rack set over a baking sheet and put it in the preheated oven.
- Cook until the internal temperature reaches 125°F (52°C) for medium-rare, about 20-30 minutes.
- Heat olive oil in a cast iron skillet over high heat until just smoking.
- Add the steak to the skillet and sear for 1-2 minutes on each side until a brown crust forms.
- Add butter, garlic, and thyme to the skillet, and baste the steak with the melted butter for extra flavor.
- Remove the steak from the skillet and let it rest for 5 minutes before slicing and serving.
