
Make Your Own Earthquake Cake A Deliciously Unique Dessert Experience
Okay, friends, gather ’round because I’m about to let you in on a little secret – A dessert. What is so easy to make that it’ll become a staple in your baking? What is the best way to make a layer cake that takes hours to bake?How do you make an Earthquake cake?Where is it at? Is there a twist to poke cake? Pockets of gooey, creamy filling. My grandma made this for the very first time. I can’t remember the name. The whole house smelled like vanilla and chocolate, and we were practically fighting over the first time. I’m going to try this!
MORE OF OUR FAVORITE…
What is Earthquake Cake?
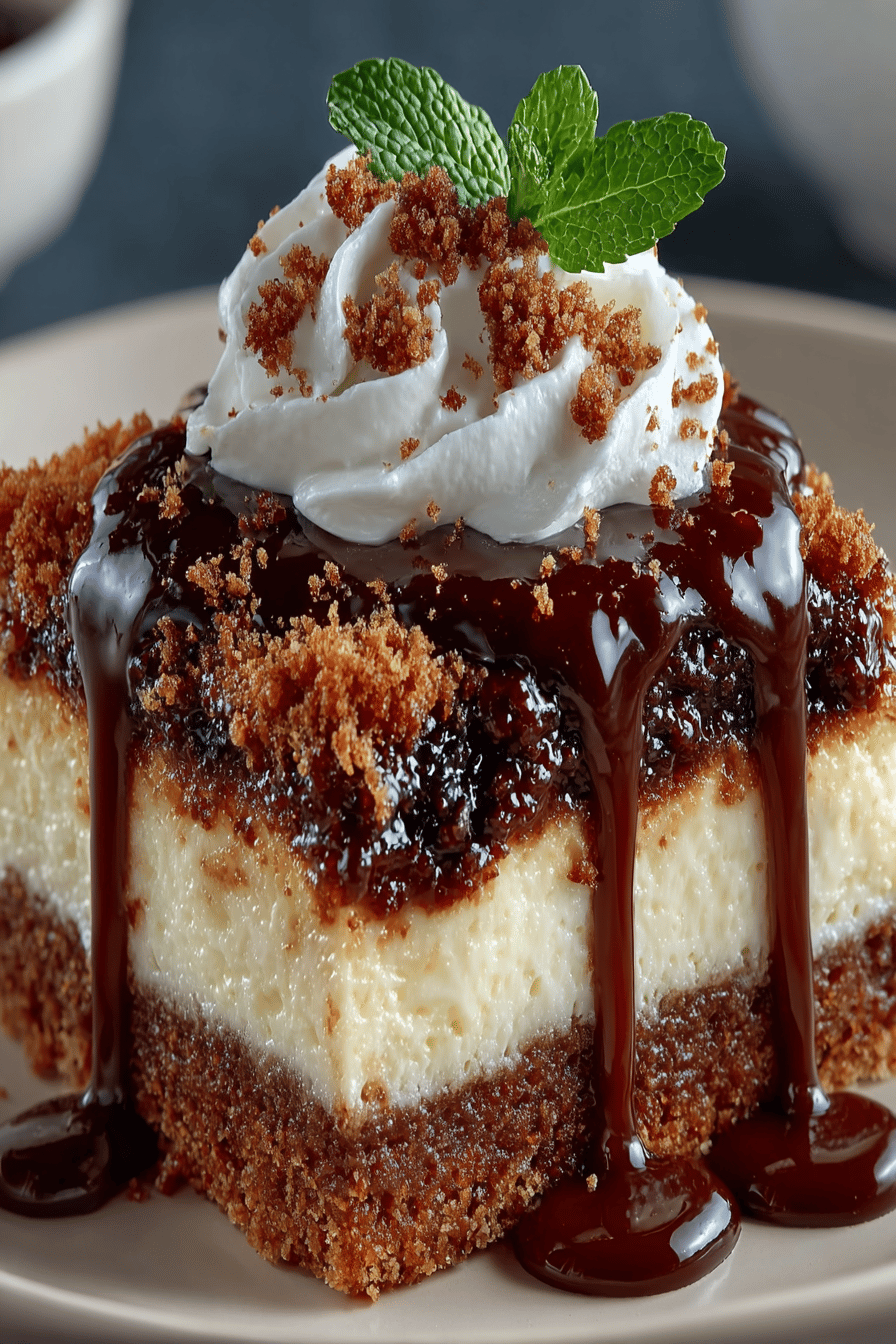
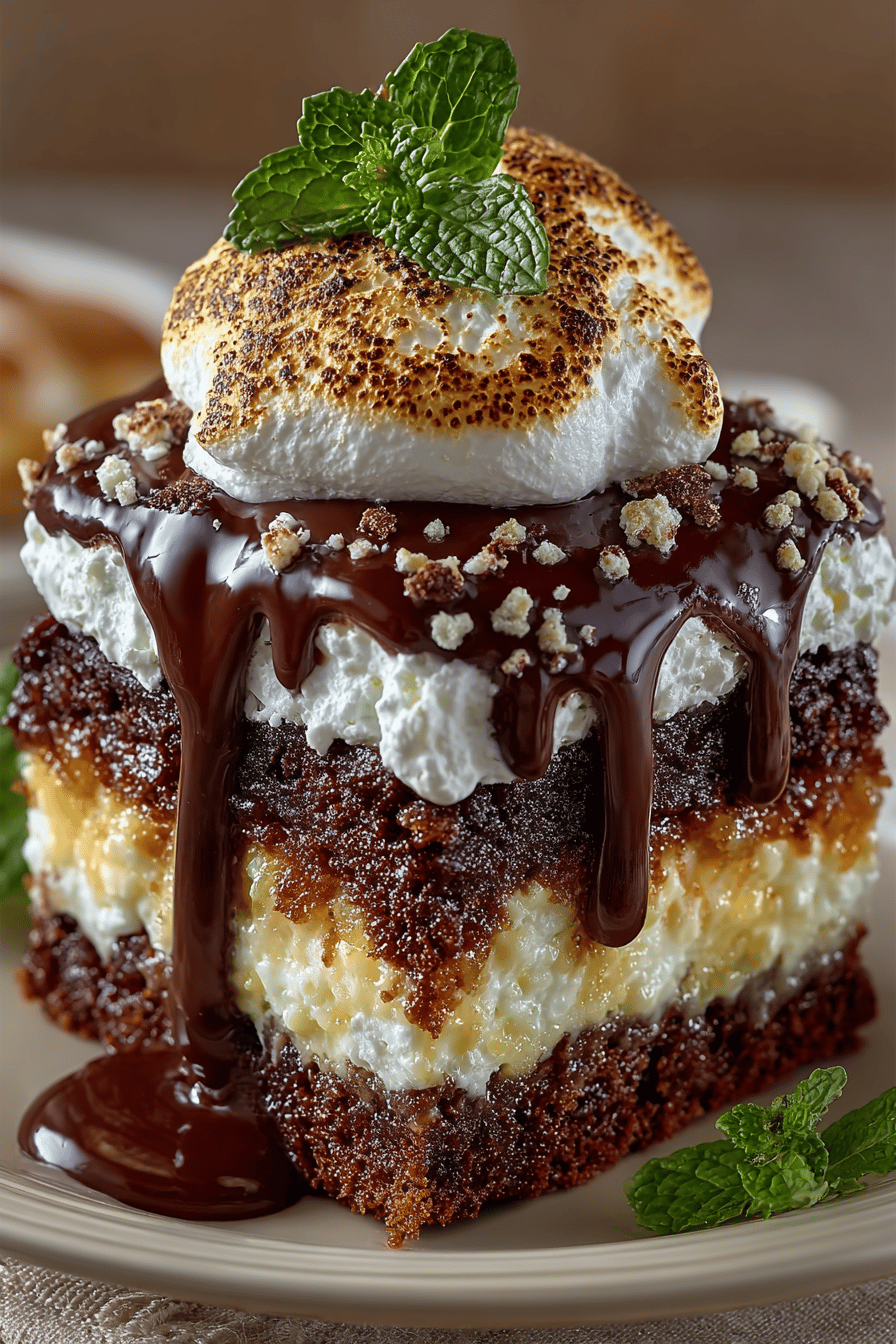
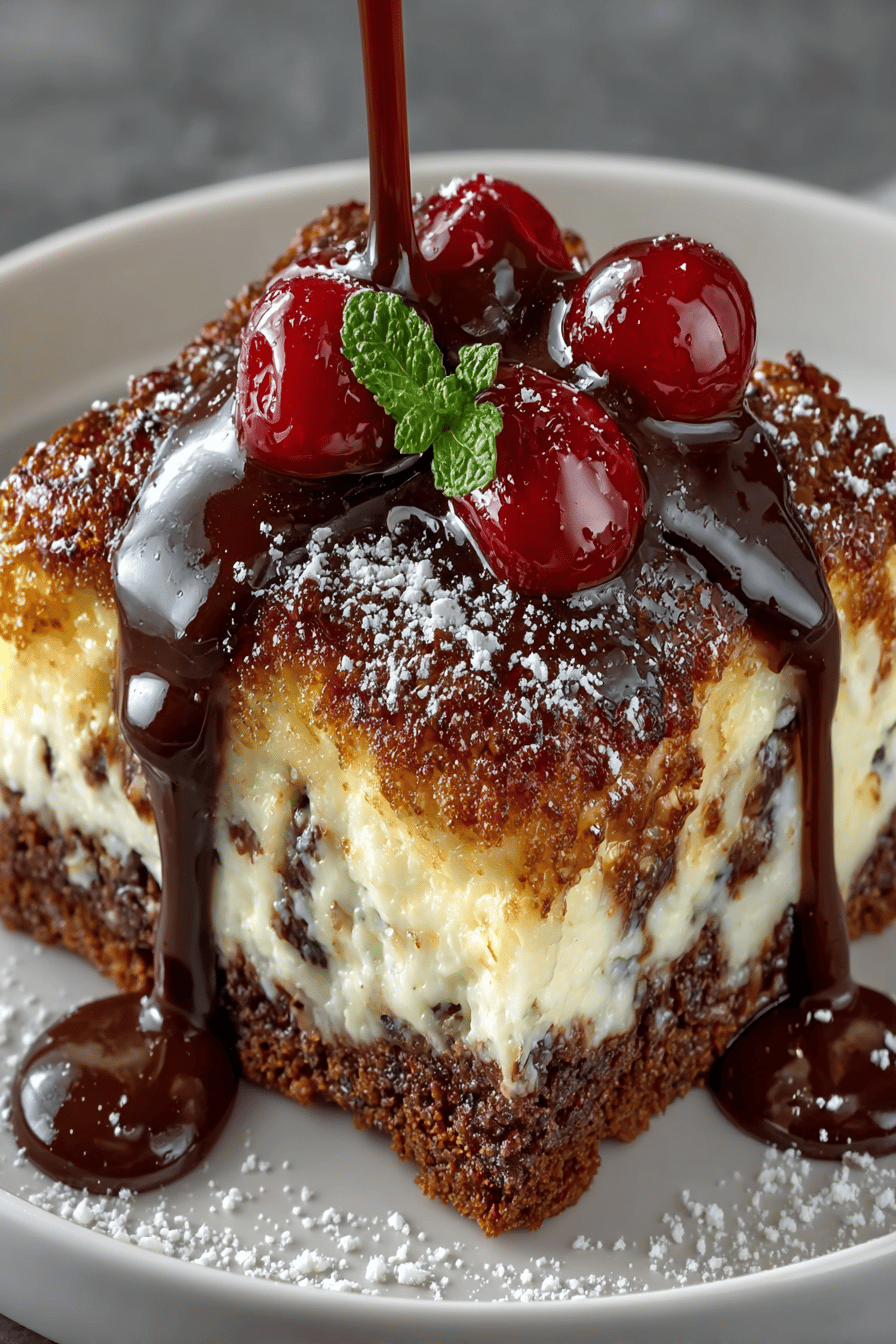
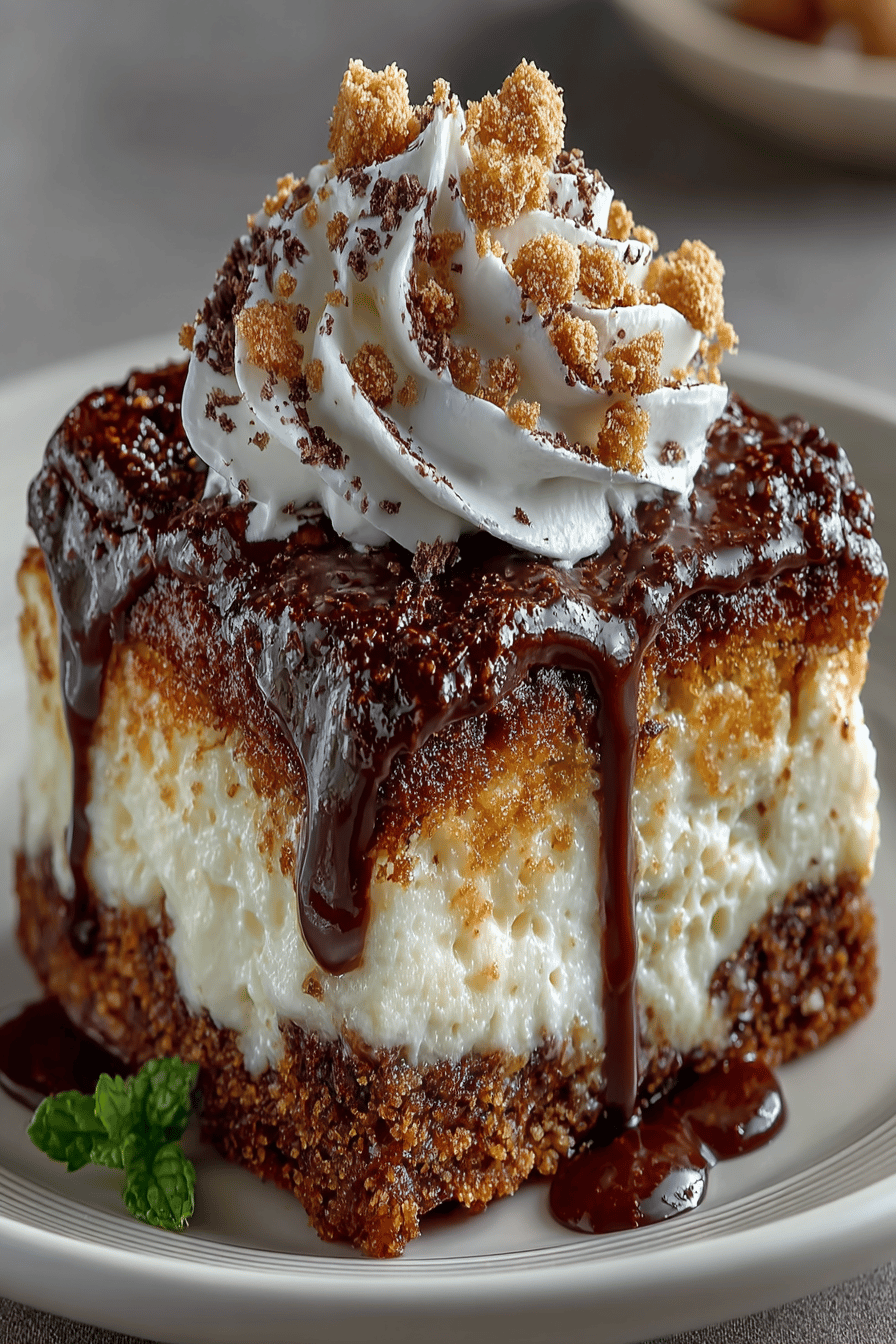
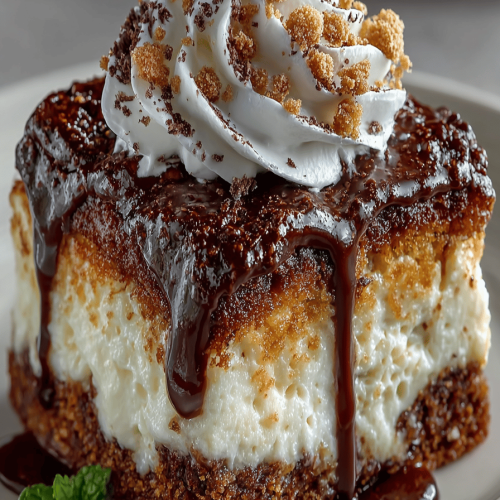
Earthquake cake, in the simplest terms, is a cake that’s intentionally “messed up” in most cases. What is the most delicious way to Is it a geological marvel? What is a cake batter that you layer with whipped cream cheese filling and then bake? As it bakes, the filling sinks into the cake, creating these amazing pockets and cracks – hence the name. What is an Earthqua Is it about perfection? What’s more amazing is the texture and flavor explosion you get in every bite. Is this lava cake a bit like lilac cake?
Why you’ll love this recipe?
Where do I start?How do you make an Earthquake cake?What are the best things going for you?
- Flavor:The combination of the rich, chocolatey cake with the tangy-sweet cream cheese filling is just right. What is that perfect balance of sweet and tart that keeps you coming back for more?
- Simplicity:Don’t let the “earthquake” part scare you. This is ridiculously easy to make. If you can stir together all the ingredients, you could make this cake. Seriously.
- Cost- Most of the ingredients are pantry staples, so you probably already have everything you need on hand. No fancy or expensive ingredients required!
- Versatility:Can you customize this cake? Use different cake mixes, add different extracts to the filling, or top it with your favorite cake mix. What are the endless possibilities?
What I love about this is that it’s always a crowd-pleaser. I’ve brought it to potlucks and family gatherings, and even just made it for a weeknight treat. It’s always a hit. Is it less fussy than a layered cake? I need a little something sweet and chocolatey, and this is it.How do you make an Earthquake cake?What are some of the best songs that hit the spot
How do you make an Earthquake cake?
Quick Overview
Making this How do you make an Earthquake cake?is all about layering and letting the oven do its magic. How do I make a simple cake mix? As it bakes, the filling will create those characteristic “earthquake” cracks and pockets. Is it a breeze to put together, and the results are seriously impressive? Is it better than it looks?
Ingredients Notes:
For the Cake:
Chocolate Cake Mix: What is the bestI usually go for Devil’s Food or a dark chocolate mix for extra richness. I always use my favorite brand. Just the mix, you’ll add the eggs, water and oil too.
Eggs, Water and Oil: Egg, Egg andWhat is the cake mix box for?
For the Filling: For filling
Cream Cheese:Make sure it’s softened! This is crucial for a smooth, creamy filling. I always take mine out of the fridge at least an hour before baking.
Powdered Sugar:What is the best way to thicken the filling?
Butter:What are some of the best fillings that are softened?
Vanilla Extract: What areWhat is the best vanilla extract for a classic flavor?
Sweetened Shredded Coconut: IWhat does this add to a bit of texture and sweetness? If you’re not a fan of coconut, you can leave it out or substitute with chopped nuts.
Chopped Nuts:What are some good substitutes for pecans?
How do I follow step
Step 1: Preheat & Prep Pan
Preheat your oven to 350°F (175°C). Grease and flour a 9×13 inch baking pan. Why is this important to prevent cake from sticking? I like to use baking spray with flour already in it – it’s a lifesaver.
Step 2: Make Cake Batter
How do you prepare a cake mix according to the package directions? In a large bowl, combine the cake mix, eggs, water, and oil. Mix until just combined. Set aside. How do you not overmix?
Step 3: Pour Batter Into Pan
Cake batter: Pour the batter into the prepared baking pan, spreading it evenly. What is the base of our earthquakes?
Step 4: Make The Filling
In a separate bowl, beat together the cream cheese, sugar, and salt until smooth. Set aside. What is the magic of vanilla extract?
Step 5: Add Coconut and Nuts
Stir in the shredded coconut and chopped nuts (if using) into the cream cheese mixture. What is the best way to add texture to a filling?
Step 6: Dollop Filling
Drop spoonfuls of the cream cheese mixture evenly over the cake batter. What makes an earthquake happen?
Step 7: Bake
Bake for 30-35 minutes, or until toothpick inserted into the center comes out clean. The cake should be golden brown, and the filling will have created cracks and crevices. When you smell the aroma in your kitchen, you’ll know it’s ready!
Step 8: Cool
Let the cake cool completely in the pan before slicing and serving. This allows the filling to set and the flavors to meld together. If you’re impatient like me, pop it in the fridge for a little while to speed up the process!
Step 9: Slice & Serve
Slice the cake into squares and serve. Enjoy the delicious earthquake of flavors and textures! I like to serve it with a scoop of vanilla ice cream or a dollop of whipped cream for an extra-indulgent treat.
What to Serve It With
This Make Your Own Earthquake Cake A Deliciously Unique Dessert Experience is fantastic all on its own, but here are some ideas for taking it to the next level:
For Breakfast: A slice with a cup of strong coffee is a decadent way to start the day. I sometimes sneak a piece with my morning latte – don’t judge!
For Brunch: Serve it as part of a brunch spread with fresh fruit and yogurt. It adds a touch of sweetness to balance out savory dishes.
As Dessert: Top it with a scoop of vanilla ice cream, a drizzle of chocolate sauce, or a sprinkle of powdered sugar. It’s the perfect ending to any meal.
For Cozy Snacks: Enjoy a slice with a glass of cold milk or a warm cup of tea on a chilly evening. It’s the ultimate comfort food.
My family loves this cake so much that we often make it for birthdays instead of a traditional cake. It’s just so easy and everyone always raves about it!
Top Tips for Perfecting Your Earthquake Cake
Here are a few tips I’ve learned over the years to make your Make Your Own Earthquake Cake A Deliciously Unique Dessert Experience even more amazing:
Cream Cheese: Make sure your cream cheese is fully softened. This will prevent lumps in the filling and ensure a smooth, creamy texture.
Mixing: Don’t overmix the cake batter. Overmixing can lead to a tough cake. Mix until just combined.
Coconut: If you’re not a fan of coconut, you can substitute it with chopped nuts, chocolate chips, or even sprinkles.
Cake Mix: Feel free to experiment with different cake mixes. Vanilla, chocolate, and even red velvet cake mixes all work well.
Baking Time: Keep an eye on the cake while it’s baking. Baking times can vary depending on your oven. The cake is done when a toothpick inserted into the center comes out clean.
Cooling: Let the cake cool completely before slicing. This allows the filling to set and prevents the cake from falling apart.
I once tried making this with a gluten-free cake mix, and it turned out a bit dry. I added a tablespoon of sour cream to the batter and it helped to keep it moist. So, don’t be afraid to experiment!
Storing and Reheating Tips
Here’s how to keep your Make Your Own Earthquake Cake A Deliciously Unique Dessert Experience fresh and delicious:
Room Temperature: You can store the cake at room temperature for up to 2 days. Cover it tightly to prevent it from drying out.
Refrigerator Storage: For longer storage, keep it in the refrigerator for up to 5 days. Again, cover it tightly to maintain its freshness.
Freezer Instructions: You can freeze the cake for up to 2 months. Wrap it tightly in plastic wrap and then in aluminum foil. Thaw it overnight in the refrigerator before serving.
If you’re planning to freeze the cake, I recommend slicing it into individual portions before freezing. This makes it easier to thaw just what you need.
Frequently Asked Questions
Final Thoughts
So there you have it – my go-to recipe for a Make Your Own Earthquake Cake A Deliciously Unique Dessert Experience that’s guaranteed to impress. It’s easy, delicious, and always a crowd-pleaser. What more could you ask for? I truly believe that everyone should have this recipe in their baking arsenal. If you love this recipe, be sure to check out my other cake recipes for more sweet treats! Now go forth and bake up a storm – or rather, an earthquake! I can’t wait to hear how yours turns out. Leave a comment below and let me know if you tried it and what you thought. Happy baking!
Make Your Own Earthquake Cake A Deliciously Unique Dessert Experience
Ingredients
Main Ingredients
- 1 package German chocolate cake mix 15.25 oz package
- 1 cup shredded coconut sweetened
- 1 cup pecans chopped
- 8 oz cream cheese softened
- 0.5 cup butter melted
- 16 oz powdered sugar
- 1 teaspoon vanilla extract pure
- 3 unit eggs
- 1.25 cup water
- 0.5 cup vegetable oil
Instructions
Preparation Steps
- Preheat your oven to 350°F (175°C) and grease a 9x13 inch baking pan.
- Sprinkle the coconut and chopped pecans evenly over the bottom of the pan.
- Prepare the cake mix according to package directions, using the water, oil, and eggs. Pour the batter over the coconut and pecans.
- In a separate bowl, beat together the softened cream cheese, melted butter, powdered sugar, and vanilla extract until smooth. Drop spoonfuls over the cake batter.
- Bake for 50 minutes, or until a toothpick inserted into the center comes out clean. Let cool before serving.