
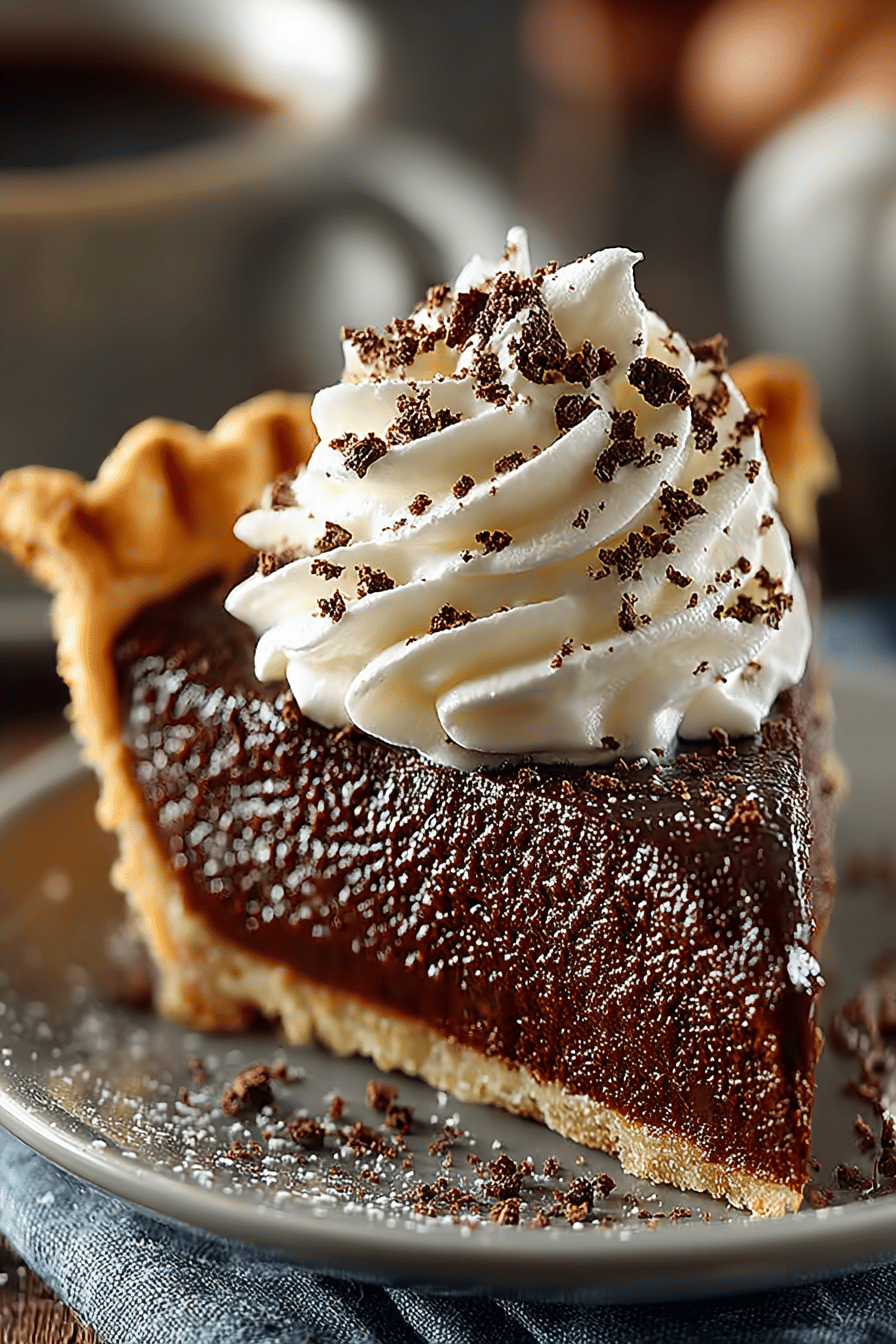
Granny’s Homemade Cocoa Cream Pie Recipe
What is something about pie? I’m talking about the kind that takes you right back to childhood, sitting at Granny‘s kitchen. The scent of cocoa fills the air. What exactly is this video about?Granny‘s Homemade Cocoa Cream Pie Recipe.Is this a more complicated French silk pie? Is it a creamy, dreamy texture? What is a hug in pie form?
MORE OF OUR FAVORITE…
What is Granny’s Homemade Cocoa Cream Pie?
Let’s break it down. Okay, so let us break things down aGranny’s Homemade Cocoa Cream Pie.What’s a classic chocolate cream pie with an old school twist? Is it a smooth, velvety cocoa-infused custard nestled in pistachio crust? Is it safe to buy store-bought What is cocoa cream? What is a pie without whipped cream? My grandmother invented this recipe. The name comes from my grandmother. She perfected it over years of tinkering. It was always her go-to for family gatherings, and it always disappeared faster than you could say. What is a comforting dessert?
Why you’ll love this recipe?
Where do I begin? First and foremost, the flavor is out of this world. It’s intensely chocolatey, but not overwhelmingly sweet. The cocoa gives it depth that’s missing from a lot of other chocolate desserts. What do you love about this movie?Granny’s Homemade Cocoa Cream Pie Recipe.I don’t need to be a pastry chef to nail this one. What are some of the best ingredients you have in your pantry? What is the best way to spend an hour (not including chilling time)?
Plus, it’s incredibly cost-effective. Compared to buying a fancy dessert from … How do you feed a crowd without breaking the bank? Enjoy it cold straight from the fridge, or let it sit out for a few minutes to make it softer. Is it as good on a warm summer evening as it is during the holidays? Is it like no-bake chocolate cheesecakes? What is the best thing to do once you try it?Granny’s Homemade Cocoa Cream Pie Recipe.Is chocolate pudding a bad thing to buy?
How do I make Granny’s Homemade Cocoa Cream Pie?
Quick Overview
Making this Granny’s Homemade Cocoa Cream Pie Recipe.Is surprisingly straightforward. How do you make cocoa custard on the stovetop? After chilling in the fridge, you’ll top it with whipped cream and a sprinkle of salt. I like to serve it hot. Cocoa powder (optional, but highly recommended! The beauty of this recipe is that it relies on pantry staples and a no-fuss technique. What is the best way to impress without stressing?
What are the ingredients and
For the Crust:
*Pie Crust: You can use your favorite homemade pie crust recipe or a store-bought one. I like to use store-bought – it’s a lifesaver when I’m short on time. Just make sure to pre-bake it!
For the Cocoa Cream Filling: For a chocolate filling
*Granulated Sugar: Sweetens the filling. Do you find cocoa bitter?
*Unsweetened Cocoa Powder: The star of the show! I prefer Dutch-processed cocoa powder for the best flavor.
*Cornstarch: This is our thickening agent. Don’t skip it, or your pie will be a runny mess!
*Salt: Just a pinch to enhance the other flavors.
*Whole Milk: Makes the filling creamy and rich. Can you substitute 2% milk?
*Heavy cream: Adds richness and helps create a smooth, velvety texture.
*Egg Yolks: These add richness and help thicken the filling. Save the whites for an omelet!
*Vanilla Extract: A touch of vanilla enhances the chocolate flavor.
*Butter: Adds a subtle richness and helps create an glossy finish.
What is the Whipped Cream Topping?
*Heavy Cream: Must be cold for proper whipping!
*Powdered Sugar: Sweetens the whipped cream and helps stabilize it.
*Vanilla Extract: Enhances the flavor of the whipped cream.
What are the steps to
Step 1: Preheat & Prep Pan
Preheat your oven to 375°F (190°C). If you’re using store-bought crust, prick the bottom with a fork to prevent it from puffing up. If you’re using a homemade crust, line it with parchment paper and fill it up with pie weights or dried cherries. Bake for 15-20 minutes, or until lightly golden brown. If you like, serve immediately. Remove the weights and parchment paper and bake for another 5-10 minutes, or until the crust is golden brown. Let it cool completely before filling.
Step 2: Mix Dry Ingredients
In a medium saucepan, whisk together the granulated sugar, cocoa powder, cornstarch, and salt. Set aside. Make sure there are no lumps of cocoa powder or cornstarch. This ensures a smooth, even filling.
Step 3: Mix Wet Ingredients
In a separate bowl, whisk together the milk, heavy cream, and egg yolks. Set aside. Whisk until well combined and the egg yolks are broken up. Set aside. When you add the eggs to the hot sugar mixture, they will not scramble.
Step 4: Combine
Gradually whisk the wet ingredients into the dry ingredients in the saucepan. Whisk constantly to prevent lumps from forming. Place the saucepan over medium heat and cook, stirring constantly, until the mixture comes to a boil. What does it take for a stew This usually takes about 5-7 minutes. Continue to cook for another minute or two, stirring constantly, to ensure the cornstarch is fully incorporated. Add the beaten egg and stir to combine. What should I do if I want to coat the back of a spoon with the mixture? Don’t overcook it, or the filling will be too thick.
Step 5: Finish the Filling
Remove the saucepan from the heat and stir in the vanilla extract and butter. Stir until the butter is melted and the filling is smooth and glossy. What is the best way to add flavor to a filling?
Step 6: Pour into Crust
Pour the cocoa cream filling into the cooled pie crust. Spread it evenly with a spatula. Cover the pie with plastic wrap, pressing it directly onto the surface of the filling to prevent a sprinkling. How do you prevent skin from forming This is a crucial step for smooth, creamy texture.
Step 7: Chill
How do I make a pie filling? This is the hardest part, I know, but trust me, it’s worth the wait!
Step 8: Make Whipped Cream
In a large bowl, beat the heavy cream with an electric mixer until soft peaks form. Gradually add the powdered sugar and vanilla extract and continue beating until stiff peaks form. If you overbeat the cream, it will turn grainy.
Step 9: Serve
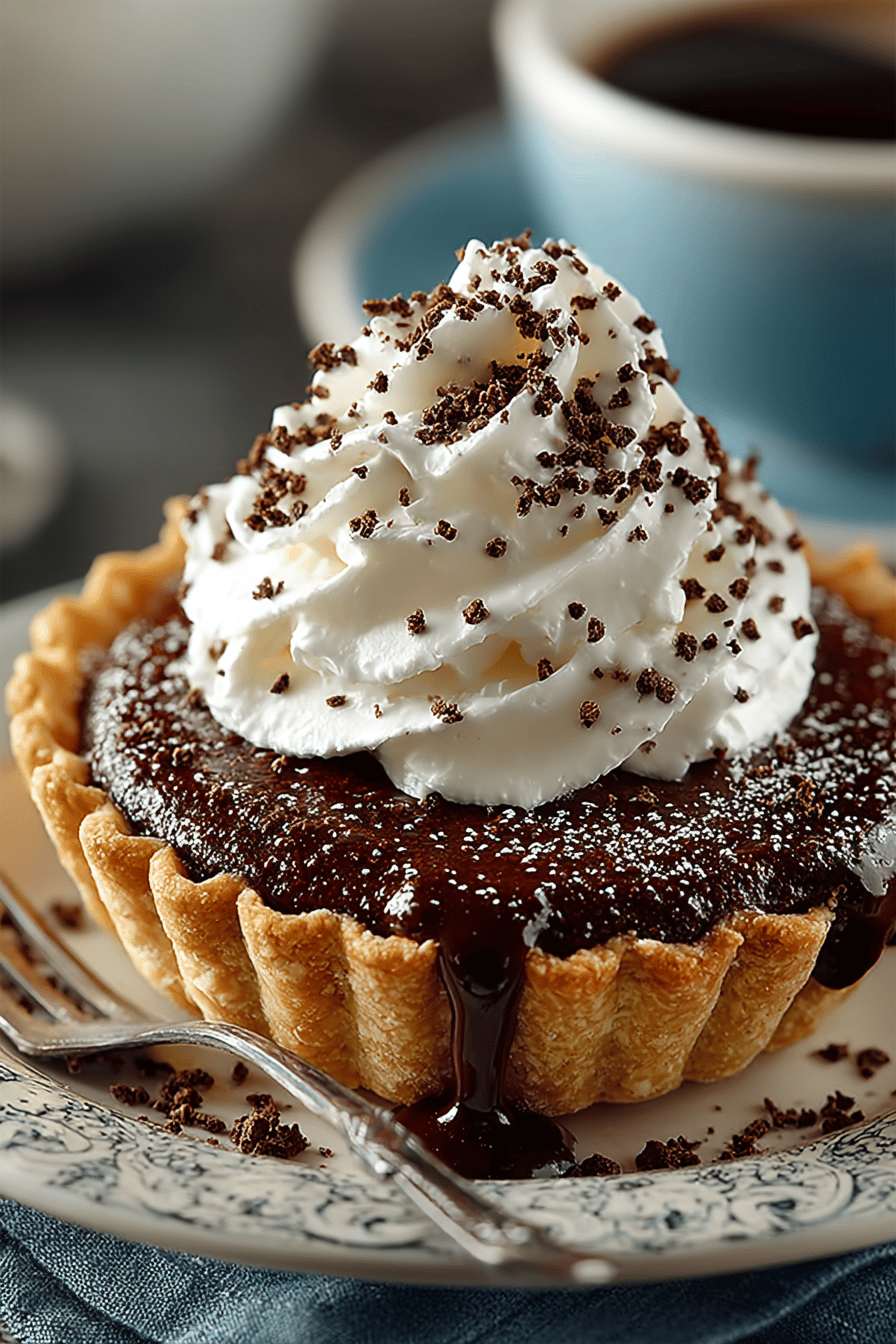
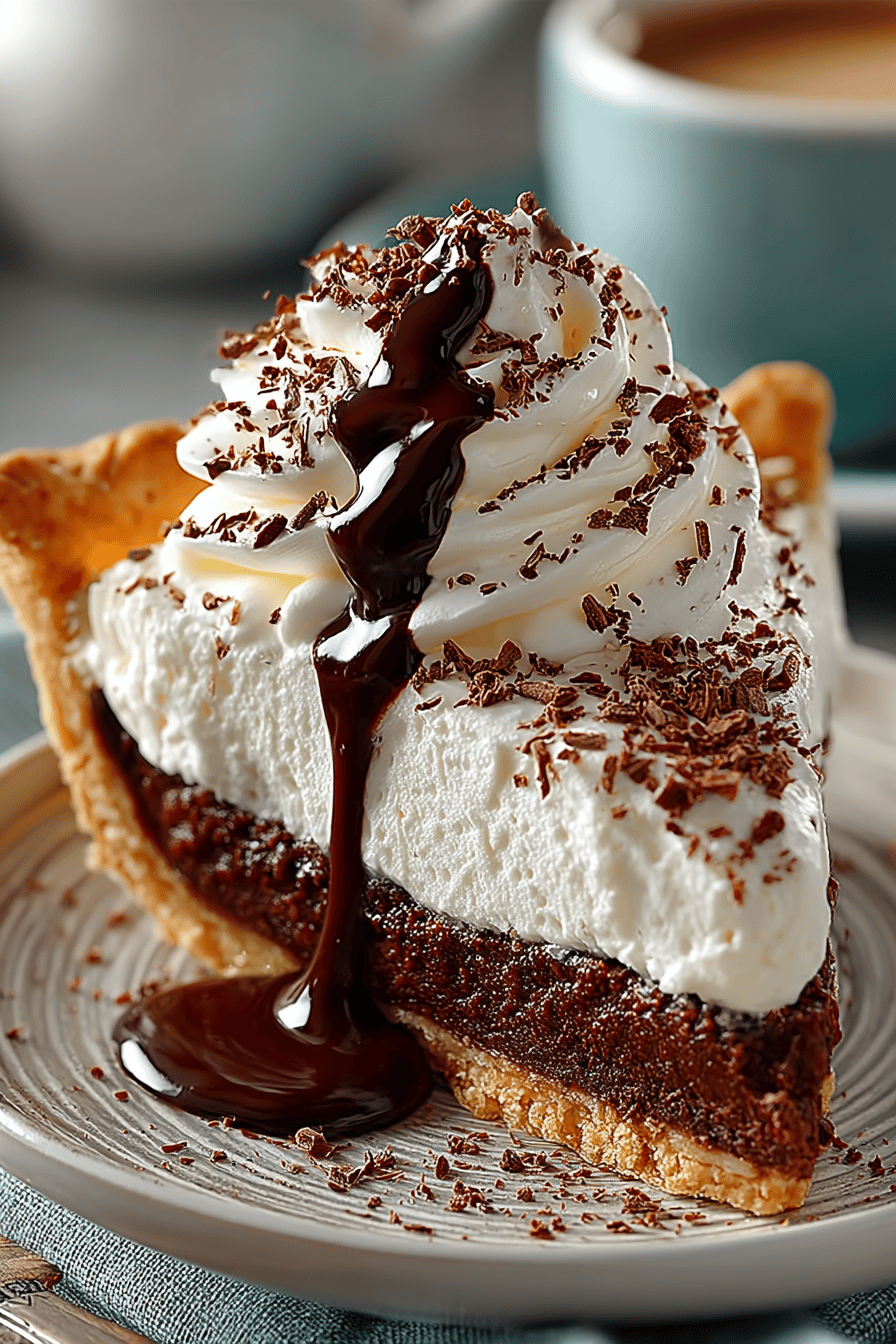
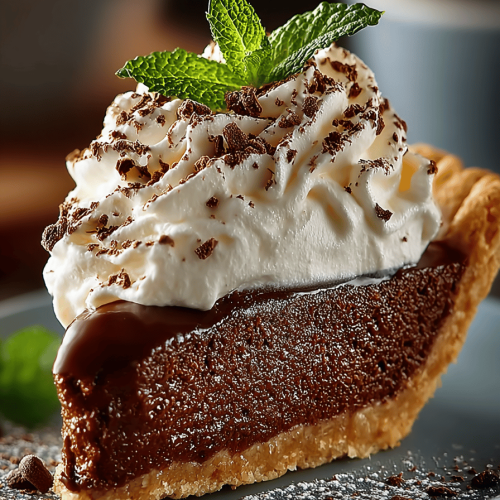
Remove the plastic wrap from the pie and spread the whipped cream evenly over the top. Sprinkle with cocoa powder, if desired. Slice and serve immediately. Enjoy!
What to Serve It With
Granny’s Homemade Cocoa Cream Pie is a versatile dessert that can be enjoyed on its own or paired with other treats. Here are some serving suggestions:
For Breakfast: Pair it with a strong cup of coffee or a mocha latte. A small slice is a delightful way to start the day!
For Brunch: Serve it alongside fresh fruit, yogurt parfaits, and a mimosa bar. It adds a touch of indulgence to any brunch spread.
As Dessert: Enjoy it after a hearty meal. It’s the perfect ending to a cozy family dinner. Try serving it with a scoop of vanilla ice cream or a drizzle of chocolate sauce.
For Cozy Snacks: Curl up on the couch with a slice of pie and a warm cup of tea or hot chocolate. It’s the ultimate comfort food.
My family always loved having it with a big glass of cold milk, especially my grandkids. It’s a tradition that just makes it taste even better, somehow! This Granny’s Homemade Cocoa Cream Pie Recipe can be elevated or kept casual – your choice!
Top Tips for Perfecting Your Granny’s Homemade Cocoa Cream Pie
Okay, let me share a few secrets I’ve learned over the years of making this pie:
Crust Prep: Blind baking your crust is essential! Nobody wants a soggy bottom. If you’re using a store-bought crust, give it a little extra time in the oven to get nice and golden brown. This adds a bit of nutty flavor that complements the cocoa.
Mixing Advice: Whisk, whisk, whisk! Constant stirring is key to preventing lumps in the filling. Don’t stop stirring until the mixture is smooth and thick.
Cocoa Poweder: Use a good quality cocoa powder. I prefer Dutch-processed cocoa powder, which has a richer, smoother flavor than natural cocoa powder. I’ve found that the quality really shows in the finished product, so don’t skimp!
Ingredient Swaps: If you’re out of heavy cream, you can substitute with half-and-half, but the texture won’t be quite as rich. For a dairy-free version, try using coconut milk instead of milk and heavy cream. It will give the pie a subtle coconut flavor, which is surprisingly delicious!
Baking Tips: Keep a close eye on the filling as it cooks. If it starts to bubble too vigorously, reduce the heat. You want it to thicken gradually, not boil over.
Whipped Cream: Make sure your heavy cream is ice-cold before whipping. This will help it whip up quickly and hold its shape. You can also add a tablespoon of cornstarch to the whipped cream to help stabilize it. It’s a lifesaver on those hot summer days!
Chill Time: Resist the urge to slice into the pie before it’s fully chilled. It needs at least 4 hours to set properly. Overnight is even better!
Overcooked Eggs: If you end up with scrambled eggs in your mixture, don’t panic! Pour the custard through a fine-mesh sieve. It’ll catch any cooked egg bits and leave you with perfectly smooth pie filling.
These are my personal lessons learned from countless batches, so trust me on these!
Storing and Reheating Tips
Here’s how to keep your Granny’s Homemade Cocoa Cream Pie in tip-top shape:
Room Temperature: I wouldn’t recommend leaving it at room temperature for more than a couple of hours. The whipped cream will start to melt, and the filling will become soft.
Refrigerator Storage: Store the pie in the refrigerator, covered with plastic wrap or in an airtight container. It will keep for up to 3 days. The longer it sits, the softer the crust will become, so it’s best enjoyed fresh.
Freezer Instructions: You can freeze the pie for up to 2 months. Wrap it tightly in plastic wrap and then in aluminum foil. Thaw it in the refrigerator overnight before serving. The texture of the filling may change slightly after freezing, but it will still be delicious.
Whipped Cream Timing: If you plan to freeze the pie, it’s best to add the whipped cream topping after thawing. Freshly whipped cream will hold its shape better than thawed whipped cream.
I always make sure the plastic wrap touches the filling to avoid that weird skin forming. It’s a little trick my granny taught me, and it works like a charm!
Frequently Asked Questions
Final Thoughts

This Granny’s Homemade Cocoa Cream Pie Recipe isn’t just a dessert; it’s a taste of nostalgia, a slice of comfort, and a whole lot of love. It’s easy to make, budget-friendly, and guaranteed to bring smiles to everyone who tries it. If you enjoyed this recipe, be sure to check out my other pie recipes! I have a feeling you’ll find something else you love. I’m so excited for you to try this pie and experience the joy it brings. Happy baking! And please, let me know how yours turns out – I love hearing about your own baking adventures!
Granny's Homemade Cocoa Cream Pie Recipe
Ingredients
Main Ingredients
- 1.5 cups granulated sugar
- 0.5 cups unsweetened cocoa powder
- 0.25 cups cornstarch
- 0.25 teaspoons salt
- 3 cups whole milk
- 4 tablespoons butter unsalted
- 1 teaspoons vanilla extract
- 1 9-inch pie crust pre-baked
- 1 cups whipping cream for topping
- 2 tablespoons powdered sugar for topping
Instructions
Preparation Steps
- In a saucepan, combine sugar, cocoa powder, cornstarch, and salt. Gradually add milk while whisking until smooth.
- Cook over medium heat, stirring constantly, until the mixture thickens and comes to a boil. Boil for 1 minute and remove from heat.
- Stir in butter and vanilla extract until the butter is melted and the mixture is smooth.
- Pour the hot filling into the pre-baked pie crust. Cover with plastic wrap and refrigerate until set, about 4 hours.
- Whip the cream with powdered sugar until soft peaks form. Spread over the chilled pie before serving.