
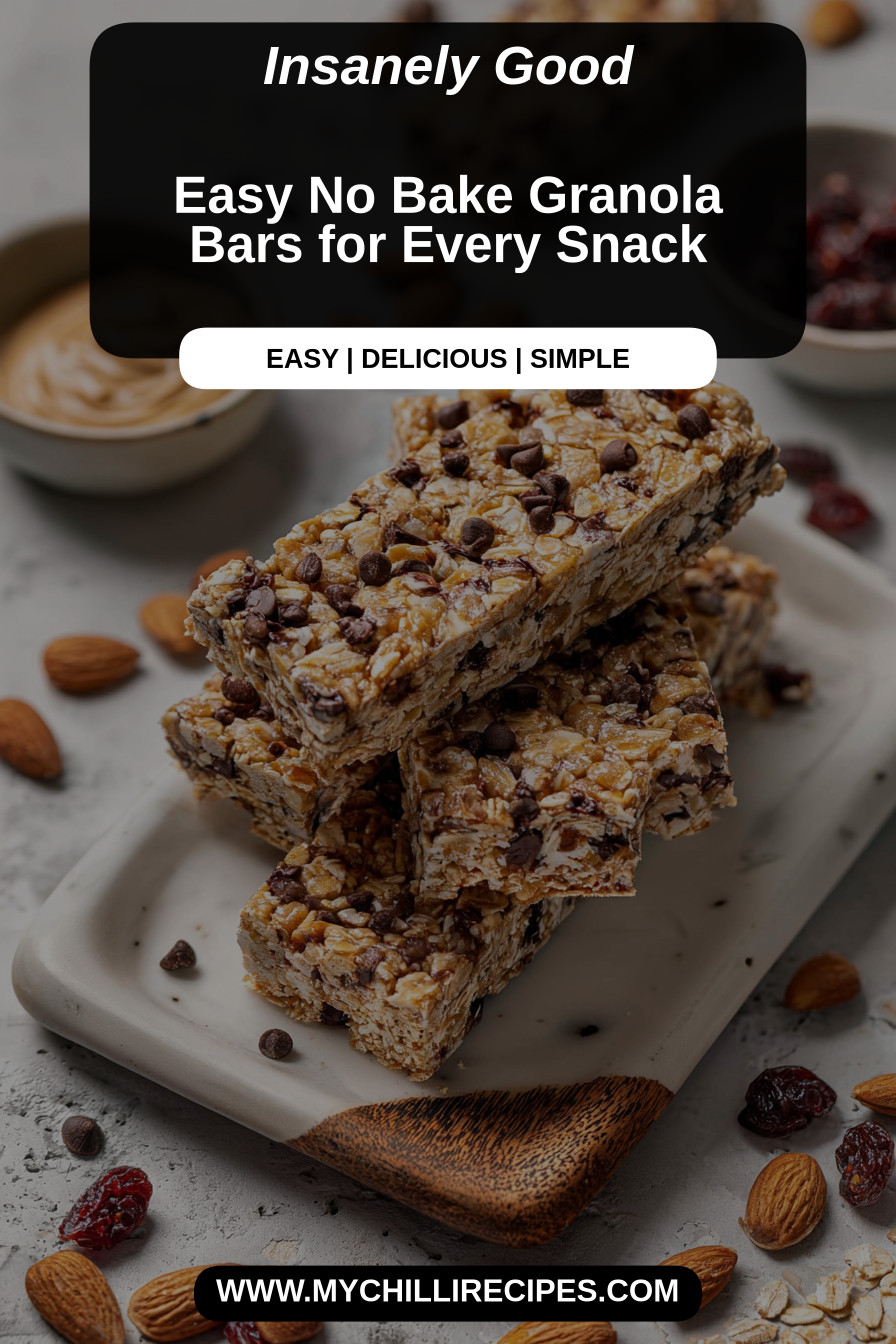
Easy No Bake Granola Bars for Every Snack
There’s something about a no-bake granola bar that feels like a kitchen hug — warm in intention even when it’s cool to the touch. I make these bars on slow Saturdays when the light hits the counter in little golden rectangles and when I want something chewy and nutty to tuck into a lunchbox or to keep beside my teacup while I read. They’re simple, honest, and somehow endlessly comforting: a mix of toasted oats and nuts, sticky sweetness that holds everything together, and a little crunch that sings against a mellow background. You’ll find they’re the kind of snack that comforts without fuss, the sort you can make with one hand while stirring coffee with the other.
My family has an affectionate relationship with these bars. My husband takes his to work in the same battered lunchbox he’s had since our first apartment; he calls them his “quiet fuel” on long days. The kids, blessedly, are less discerning and more enthusiastic — one bolt into the kitchen, leaving a trail of socks and laughter, always ends up with a square in hand. I’ll admit I sometimes save the slightly misshapen edges for myself, savoring that uneven crispness. The dog waits underfoot, hopeful and patient, issuing small, resigned sighs when there isn’t a crumb for her. There was the time my youngest declared that these bars were “almost better than cookies,” which, from a six-year-old, is practically a marriage proposal. Moments like that make the measuring and the sticky fingers worth it.
MORE OF OUR FAVORITE…
Why You’ll Love This Easy No Bake Granola Bars for Every Snack
– They’re fast in the best possible way — no oven, no worry, just a quick warm mix and time to set, perfect for mornings when you’ve already misplaced your other shoe.
– Texture is everything: the chew of toasted oats, the snap of nuts, the gentle give of dried fruit. Each bite is a small, satisfying contrast.
– Flavor is cozy and layered: sweet as a memory of maple syrup on a chilly morning, with nutty echoes that feel like a cup of hot tea beside a window.
– Versatile — they play well with coffee, milk, yogurt, and tiny hands. You can make them as wholesome or as indulgent as you like without feeling like you’ve gone overboard.
– They hold up well in a bag, which means they become a friend for afternoon walks, school lunches, or last-minute road trips.
Slow Moments
I love the quiet ritual around making these bars. There’s a gentle rhythm: a saucepan warming, a soft clink as spoon meets bowl, and that familiar scent — honey and butter kissing the room. I sip my coffee, half-forgotten, while I stir, and sometimes I hum along to the playlist someone else made on a rainy morning. You know those days when the toaster seems to be the busiest appliance and everyone is asking for one more thing? Making no-bake bars gives me a contained experiment in calm. I’ll push the mixture into the pan slowly, pressing with the back of a spoon, thinking about nothing in particular — the neighbor’s old maple tree, whether the laundry will fold itself, the promise of dessert at dinner. Waiting for them to set is lovely too; it’s a small pause where the house settles, the dog finally curls up, and the kids play a game that involves hiding under pillows. These moments, the ones filled with little pauses and ordinary rituals, feel intentionally unremarkable and very much mine.
Time-Saving Hacks
– Toast things in bulk: I often toast a big batch of oats and nuts on a weekend and keep them in a jar. It saves five minutes every time and makes the kitchen smell like warmth on repeat.
– One bowl, one spoon: minimize dishes by using a single bowl for the whole mixing process. It feels indulgent to have less clean-up, honestly.
– Use a lined pan: a strip of parchment makes lifting the set bars out effortless — no scrubbing, no broken edges.
– Keep a “snack stash”: store a few wrapped bars in the freezer. They thaw in a bag on the counter during breakfast and are perfect for last-minute lunch stuffing.
– Slow down to speed up: letting ingredients come together without frantic stirring preserves texture. A slower stir means fewer crumbs and a cleaner cut later.
Serving Ideas
– For busy mornings: pair a bar with a small pot of yogurt and a drizzle of honey — simple, balanced, and bright.
– For slower weekends: make a little platter with sliced apples, a smear of nut butter, and a few of these bars, then sit outside and pretend it’s a picnic.
– For packed lunches: wrap individually in parchment and tuck into a lunchbox with a mini thermos of cocoa.
– For a cozy evening: crumble a bar over vanilla ice cream or warm pudding for a crunchy, nostalgic finish.
– Complementary recipes that play nicely: a warm, mellow cup of coffee or a citrusy winter tea — they are small partners that lift the bars’ nutty sweetness.
Tips & Mistakes
I’ve learned to be gentle with these. Pressing too hard when you pack the mixture makes bars that are a bit too dense; I like them firmly held together but still a little airy. Once, in a rush, I used a boiling-hot syrup with the oats and ended up with overly soft squares that required a chisel — I now let the mix cool for a moment before pressing it into the pan. Also, taste as you go. It’s easy to get carried away with sweetness; a little less can often be more, letting the toasted notes shine. And don’t worry about perfection — imperfect edges are the best part, honestly.
Storage Tips
Leftovers keep beautifully. I store them in an airtight container at room temperature for a few days; they stay chewy and companionable, like a friend who knows your favorite sweater. For longer keeping, pop them in the fridge or the freezer. I’ll take a cold bar with my morning coffee sometimes, enjoying the contrast of chilly chew and hot sip. They make a tidy next-day lunch, especially when paired with crisp fruit or a creamy yogurt.
Variations and Substitutions
I’ve played with these a lot. Swap nuts for seeds if that’s what you have on hand — sunflower or pumpkin seeds add a lovely, rustic crunch. Dried cherries or apricots bring brightness in late summer, while a scatter of dark chocolate chips feels like a small, necessary indulgence in winter. If you prefer a different sweetener, try maple syrup or brown rice syrup; each one shifts the mood just a little. I once tried an all-coconut version and found it delightfully chewy but a touch one-note; mixing in a few nuts saved the day. Seasonal twists are sweet: a pinch of orange zest in winter, a sprinkle of cinnamon in fall, or a handful of toasted coconut in the summer.
Frequently Asked Questions
Easy No Bake Granola Bars for Every Snack
Ingredients
Main Ingredients
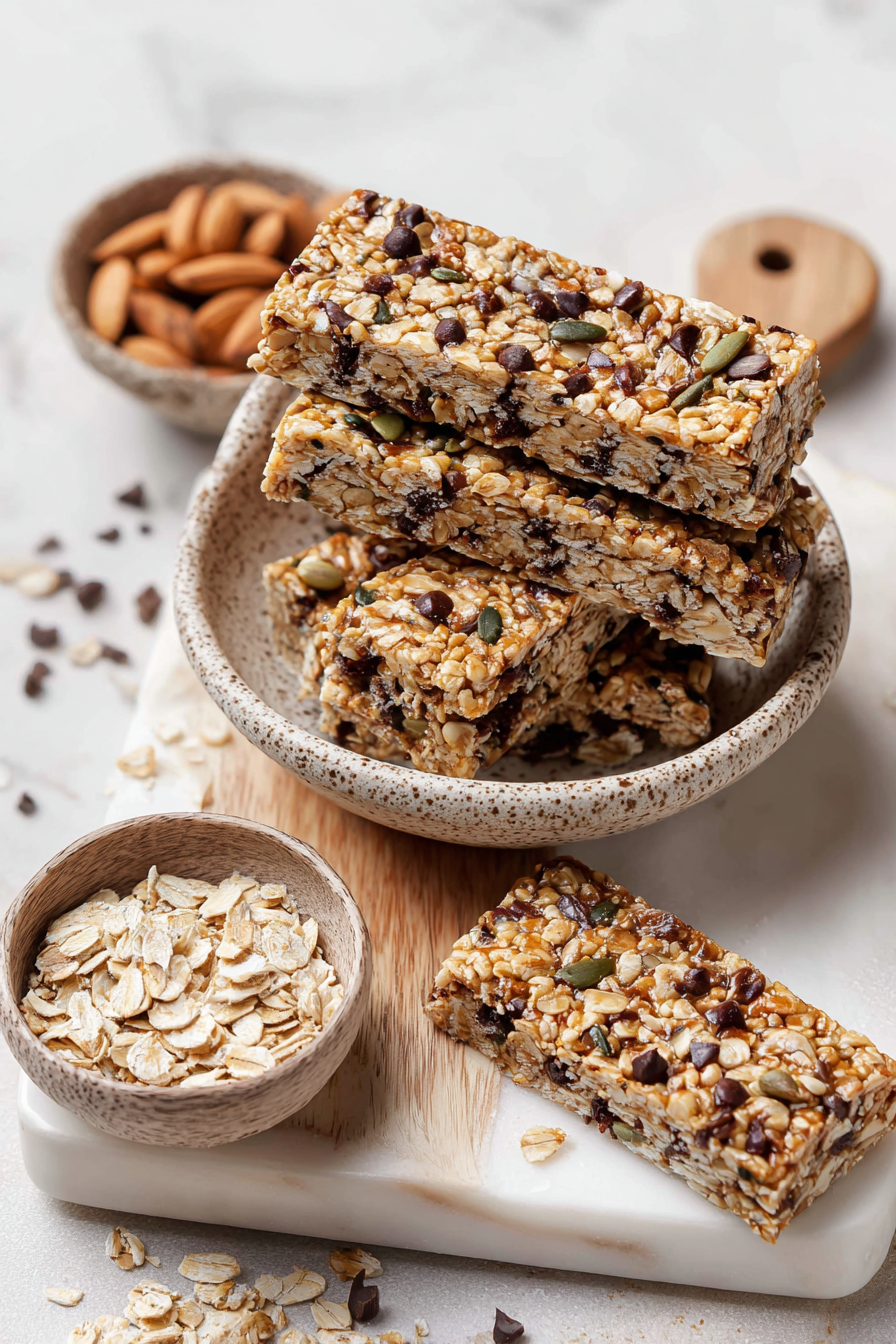
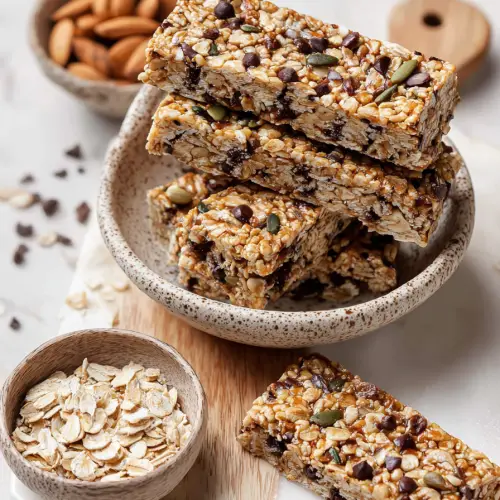
- 2 cups rolled oats Not instant oats
- 0.5 cups honey Can substitute with maple syrup
- 0.5 cups peanut butter
- 1 cup mixed nuts Chopped
- 0.5 cups chocolate chips Optional
Instructions
Preparation Steps
- In a large bowl, mix rolled oats, honey, and peanut butter until well combined.
- Fold in mixed nuts and chocolate chips.
- Press the mixture firmly into a lined baking pan.
- Refrigerate for at least 2 hours before cutting into bars.