
Easy Mongolian Beef Recipe
This is weeknight takeout vibes without the delivery fee and with way more sauce. Easy Mongolian Beef is that glossy, sweet-salty, garlicky stir-fry that makes steamed rice disappear in seconds. Thin slices of beef, quick sear, a brown sugar–soy sauce that clings like a hug, and those pops of ginger and scallion that make your kitchen smell like you know what you’re doing. If you like sticky, shiny, slightly spicy, you’re in the right place.
My husband calls this “Tuesday beef,” which is cute until he starts hovering with a spoon asking if it’s “sauce time yet.” The kiddo picks out the scallions like a tiny food critic and then asks for seconds of the beef. I’ve made this after soccer practice, during a homework meltdown, and once in pajama pants because life. Every time, the pan gets scraped clean and someone suggests we “double it next time.” We never do, and we always regret it.
MORE OF OUR FAVORITE…
Why You’ll Love This Easy Mongolian Beef Recipe
– Big flavor, tiny time: we’re talking 20-ish minutes, tops.
– Sauce that actually coats the beef, not a sad puddle at the bottom.
– Low-stress, high-reward: no deep fryer, no marinating overnight.
– Tastes like your favorite takeout, but you control the sweetness and heat.
– Pantry-friendly: soy sauce, brown sugar, garlic, cornstarch… all the usual suspects.
How to Make It
Grab a pound of flank steak and slice it thin against the grain—like, thinner than you think. Toss it with 2–3 tablespoons of cornstarch till every piece looks lightly dusty. Let that hang out while you stir the sauce: 1/2 cup low-sodium soy sauce, 1/2 cup water, 1/3 cup brown sugar, 4 minced garlic cloves, a tablespoon of grated fresh ginger, and a pinch of red pepper flakes if you’re fun.
Heat a slick of neutral oil in a big skillet until it’s shimmering. Shake excess cornstarch off the beef (that stuff will burn if it’s clumpy) and sear in two quick batches—like 1–2 minutes per side. Get color, don’t overcook. Park the beef on a plate.
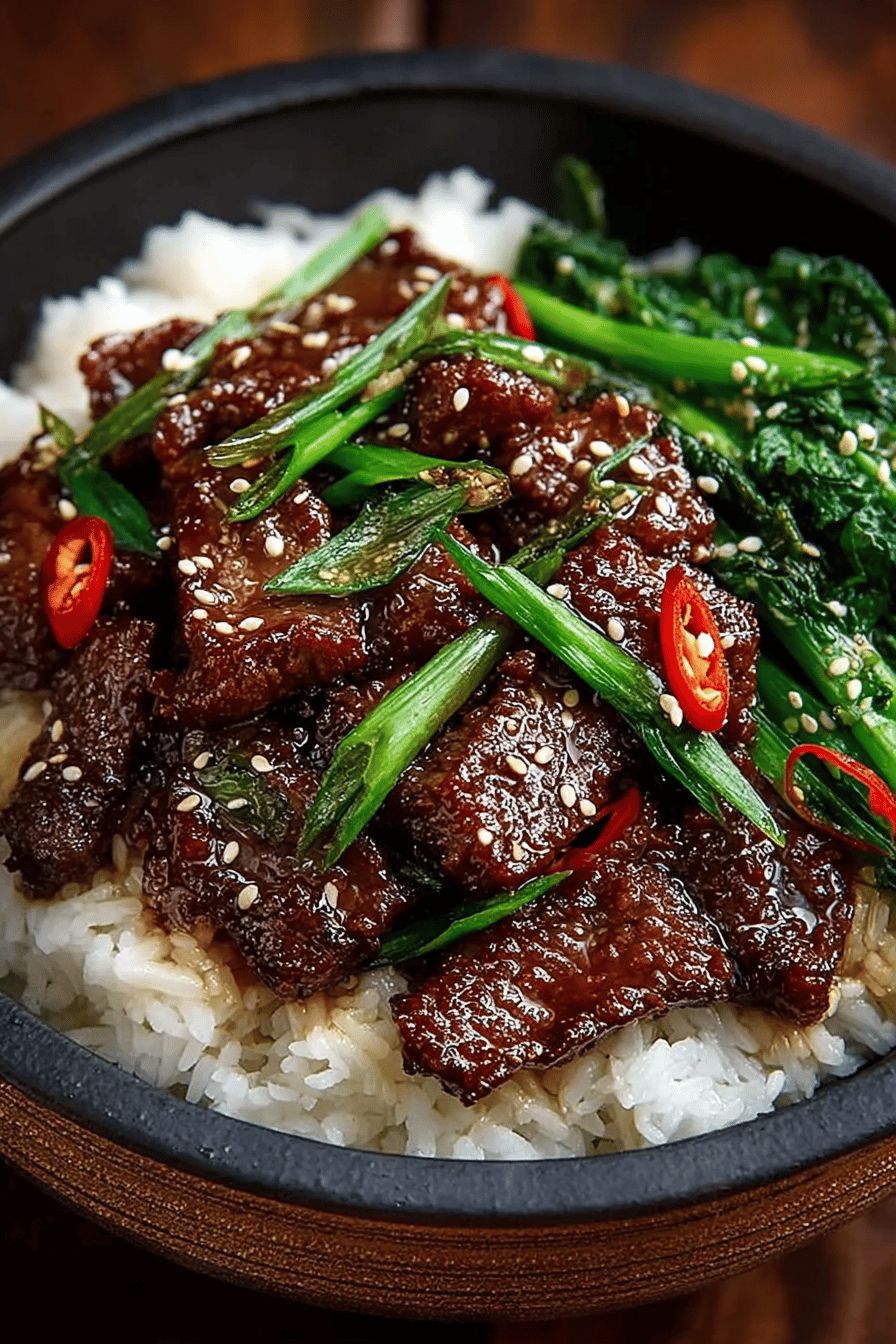
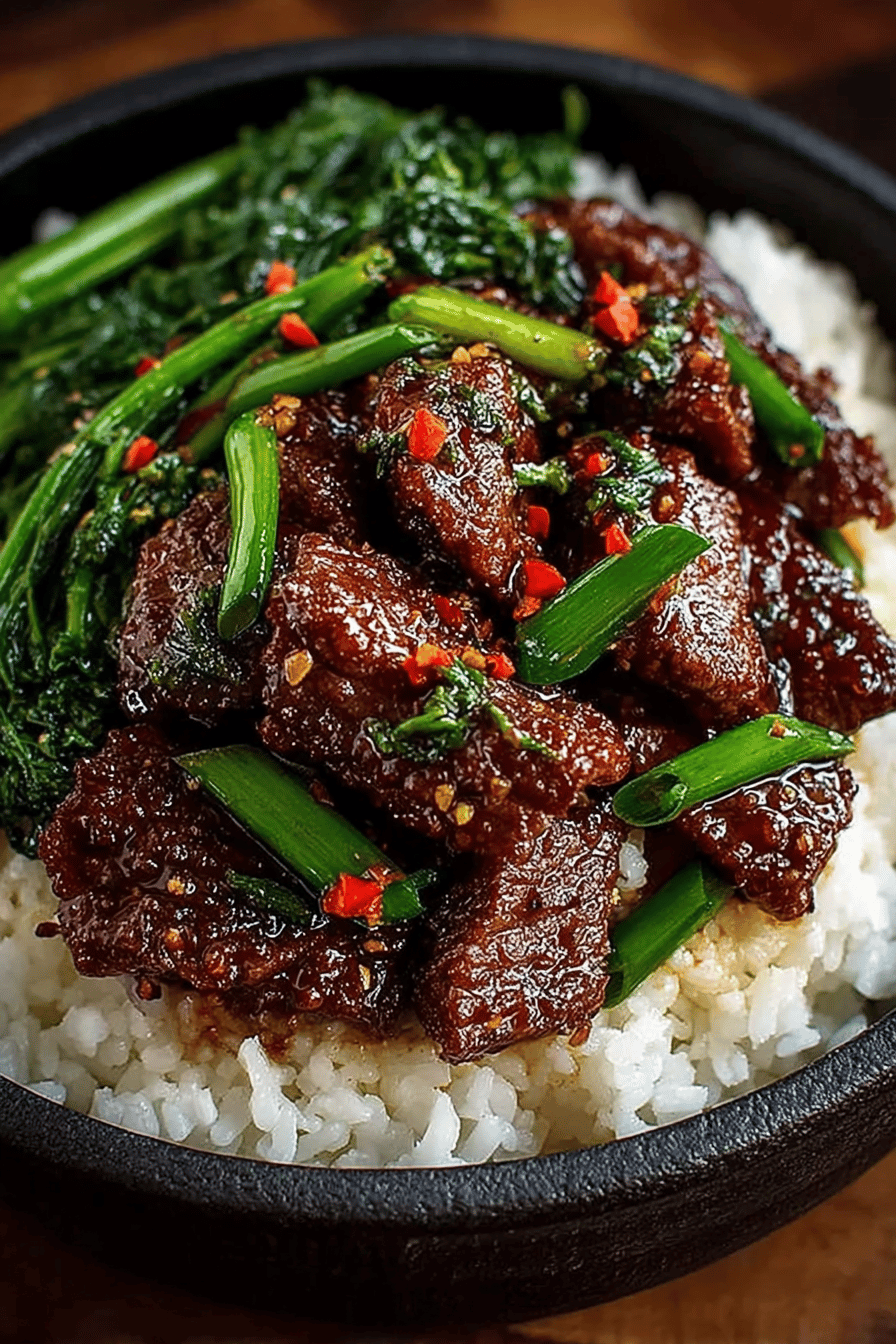
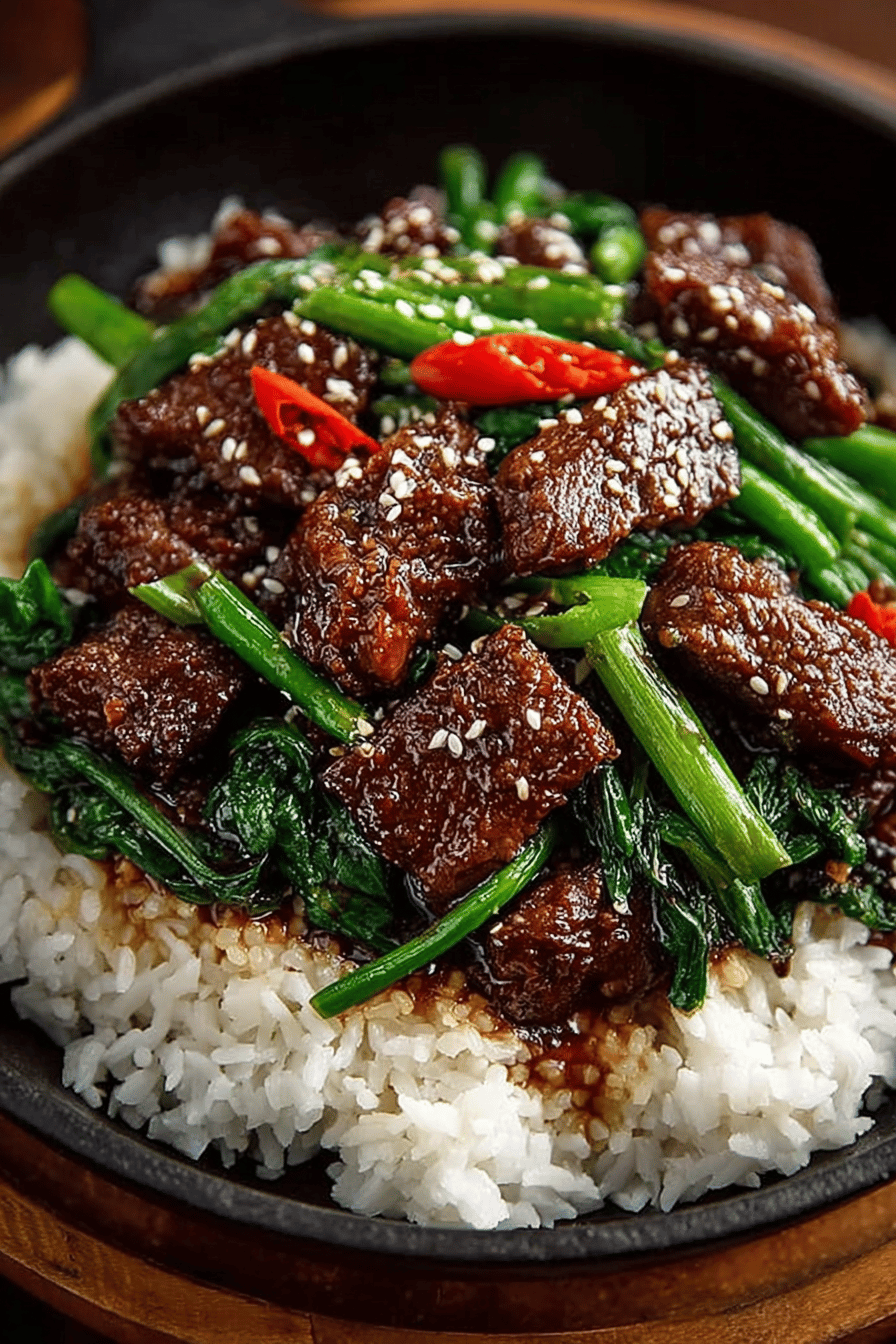
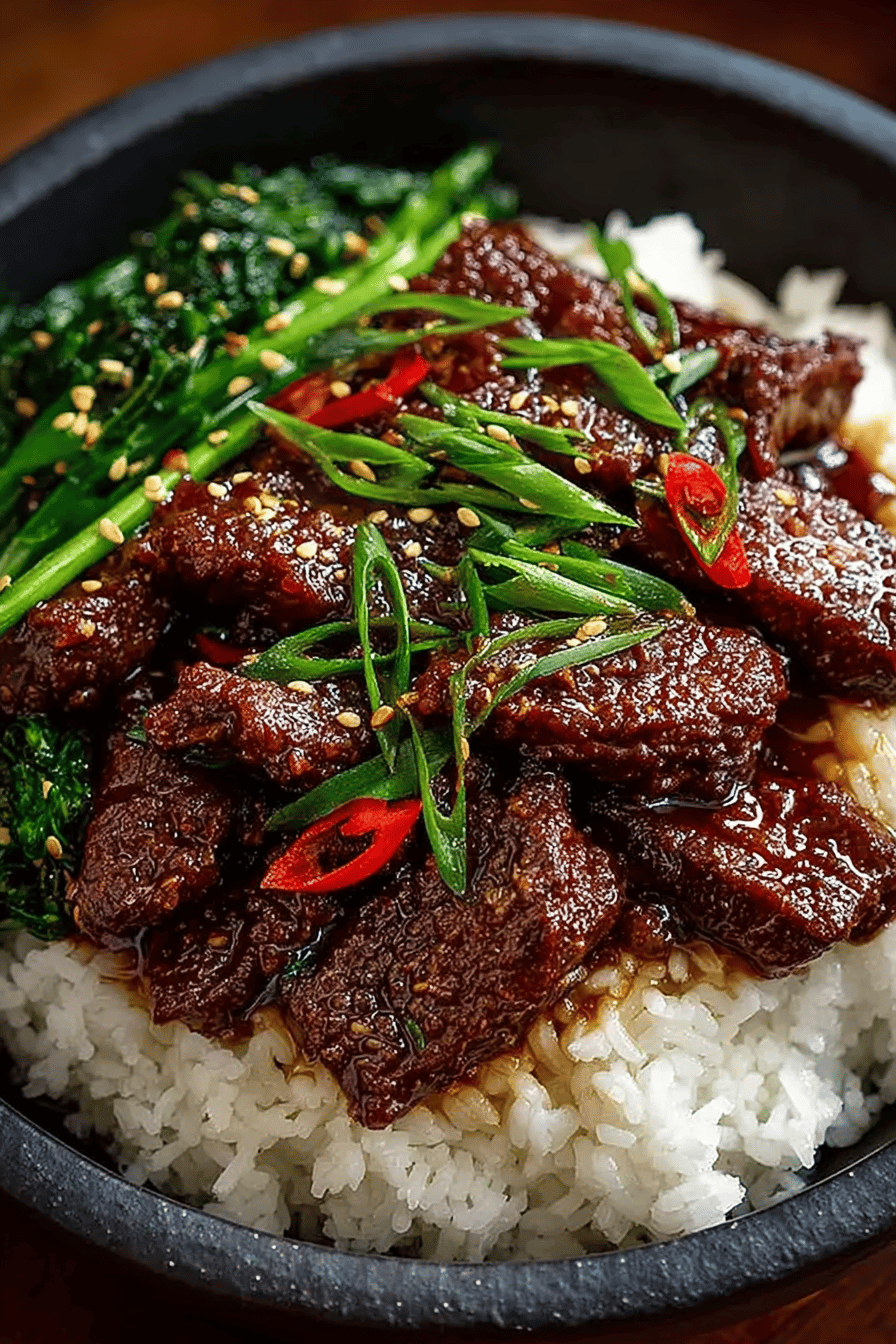
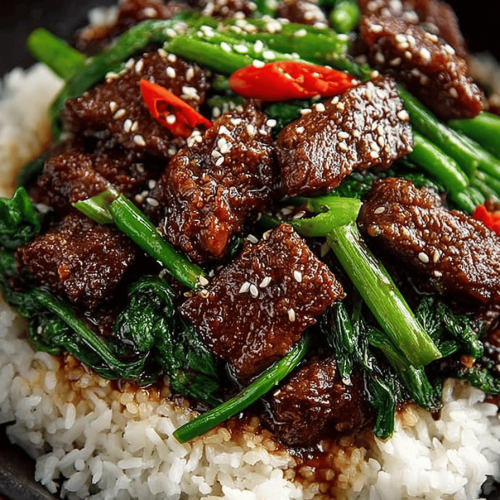
Lower the heat a bit, pour in the sauce, and let it bubble for a minute or two until it goes from watery to syrupy. If it’s being stubborn, a tiny slurry (1 tsp cornstarch + 1 tsp cold water) will boss it around. Slide the beef back in, toss to coat, then throw in a heap of sliced scallions. Turn off the heat. Give it a second to thicken into that glossy, restaurant-y situation. Eat immediately with rice before someone else does.
Ingredient Notes
This module dynamically pulls in recipe-specific ingredients. Follow this exact bullet styling (HTML bold labels only).
– Flank steak: Slices like a dream when it’s half-frozen. Go thin and against the grain or it’ll chew back.
– Cornstarch: The secret to that soft-velvety crust and a sauce that clings. Don’t cake it on; dusty, not doughy.
– Soy sauce (low-sodium): Salty backbone. If you’re using regular, cut it with a splash more water.
– Brown sugar: Gives the sauce that shiny caramel thing. Light or dark—dark is deeper, moodier, delicious.
– Garlic: Four cloves feels right. Burnt garlic is tragic, so keep the heat in check.
– Fresh ginger: Bright, warm, kind of peppery. Powder works in a pinch, but fresh is a tiny magic trick.
– Red pepper flakes: Optional heat. Start small; you can always add more but you can’t un-spice your tongue.
– Neutral oil (canola/avocado): High heat, no drama. Save the fancy olive oil for salads.
– Scallions: Toss in at the end for crunch and color. I use a lot; no such thing as “too scalliony” here.
– Water: Loosens the soy and sugar so it reduces into a glossy sauce instead of turning into caramel candy.
Recipe Steps
1. Partially freeze beef 15–20 minutes, then slice thinly against the grain.
2. Toss slices with cornstarch until lightly coated; rest 5–10 minutes.
3. Heat oil in a large skillet over medium-high; sear beef in batches 1–2 minutes per side and transfer to a plate.
4. Whisk soy sauce, water, brown sugar, garlic, ginger, and red pepper flakes; pour into the pan and simmer 1–2 minutes.
5. Return beef to the pan; toss to coat and cook 1 minute until glossy and slightly thickened (add a tiny cornstarch slurry if needed).
6. Stir in sliced scallions, kill the heat, and serve hot over rice.
What to Serve It With
– Steamed jasmine or basmati rice (the sauce NEEDS it)
– Stir-fried or steamed broccoli, snap peas, or bok choy
– Noodles if you’re feeling cozy—lo mein or rice noodles
– Cucumber salad with rice vinegar to cut the richness
Tips & Mistakes
– Slice thinner than you think. Thick pieces get tough and hog the sauce.
– Don’t crowd the pan. Two batches, quick sear, big payoff.
– Cornstarch is powerful—shake off excess or it’ll clump and burn.
– Too salty? Add a splash of water and a pinch more brown sugar.
– Too sweet? Add a squeeze of lime or a teaspoon of rice vinegar.
– Want it spicier? Chili flakes now, chili oil at the table later.
Storage Tips
Fridge: Pop leftovers in an airtight container for up to 4 days. The sauce thickens more by tomorrow—in a good way.
Freezer: Cool completely, then freeze up to 2–3 months. Thaw in the fridge and rewarm gently in a skillet with a splash of water.
Microwave works, but the skillet brings back the shine. Also, cold bites straight from the container? Not bad. Breakfast with a fried egg on top? Zero judgment.
Variations and Substitutions
– Swap the beef: Thin chicken thighs or pork tenderloin work; adjust cook time so you don’t dry them out.
– Go meatless: Super-firm tofu (pressed) or hearty mushrooms (shiitake/portobello) sear up beautifully.
– Sweeteners: Honey or maple syrup swap 1:1 for brown sugar. Honey makes it glossy, maple adds a cozy note.
– Gluten-free: Use tamari or coconut aminos. If using aminos, reduce the sugar a smidge.
– Extra veg: Add broccoli, bell peppers, or snow peas after the sauce thickens—just a quick toss so they stay crisp.
– Heat level: Red pepper flakes, gochujang, or chili crisp—choose your adventure.
– Oil: Any neutral high-heat oil. Sesame oil is great as a finishing drizzle, not for searing.
Frequently Asked Questions
Easy Mongolian Beef Recipe
Ingredients
Main Ingredients
- 1 lb flank steak thinly sliced against the grain
- 0.25 cup cornstarch for coating the beef
- 0.25 cup vegetable oil for stir-frying
- 0.5 cup low-sodium soy sauce
- 0.5 cup water
- 0.5 cup packed brown sugar
- 4 cloves garlic minced
- 1 tablespoon fresh ginger finely grated
- 0.5 teaspoon red pepper flakes adjust to taste
- 4 stalks green onions cut into 1-inch pieces
- 1 teaspoon sesame oil optional, for finishing
- 1 teaspoon toasted sesame seeds for garnish
- 4 cups cooked white rice for serving
Instructions
Preparation Steps
- Pat the steak dry. Slice thinly against the grain into bite-size strips. Toss the slices with cornstarch until evenly coated; shake off any excess.
- In a bowl, whisk together soy sauce, water, brown sugar, garlic, ginger, and red pepper flakes until the sugar dissolves. Set the sauce aside.
- Heat vegetable oil in a large skillet or wok over medium-high heat until shimmering. Sear the beef in batches, spreading in a single layer; cook about 2 minutes per side until browned and lightly crisp. Transfer to a plate and repeat with remaining beef.
- Pour off excess oil, leaving about 1 tablespoon in the pan. Return the pan to medium heat, add the sauce, and simmer 2 to 3 minutes until it thickens and turns glossy.
- Return the beef and any juices to the pan. Add green onions and sesame oil. Toss to coat and cook 1 to 2 minutes until the onions are slightly tender and the beef is well glazed.
- Garnish with sesame seeds and serve over cooked white rice.