
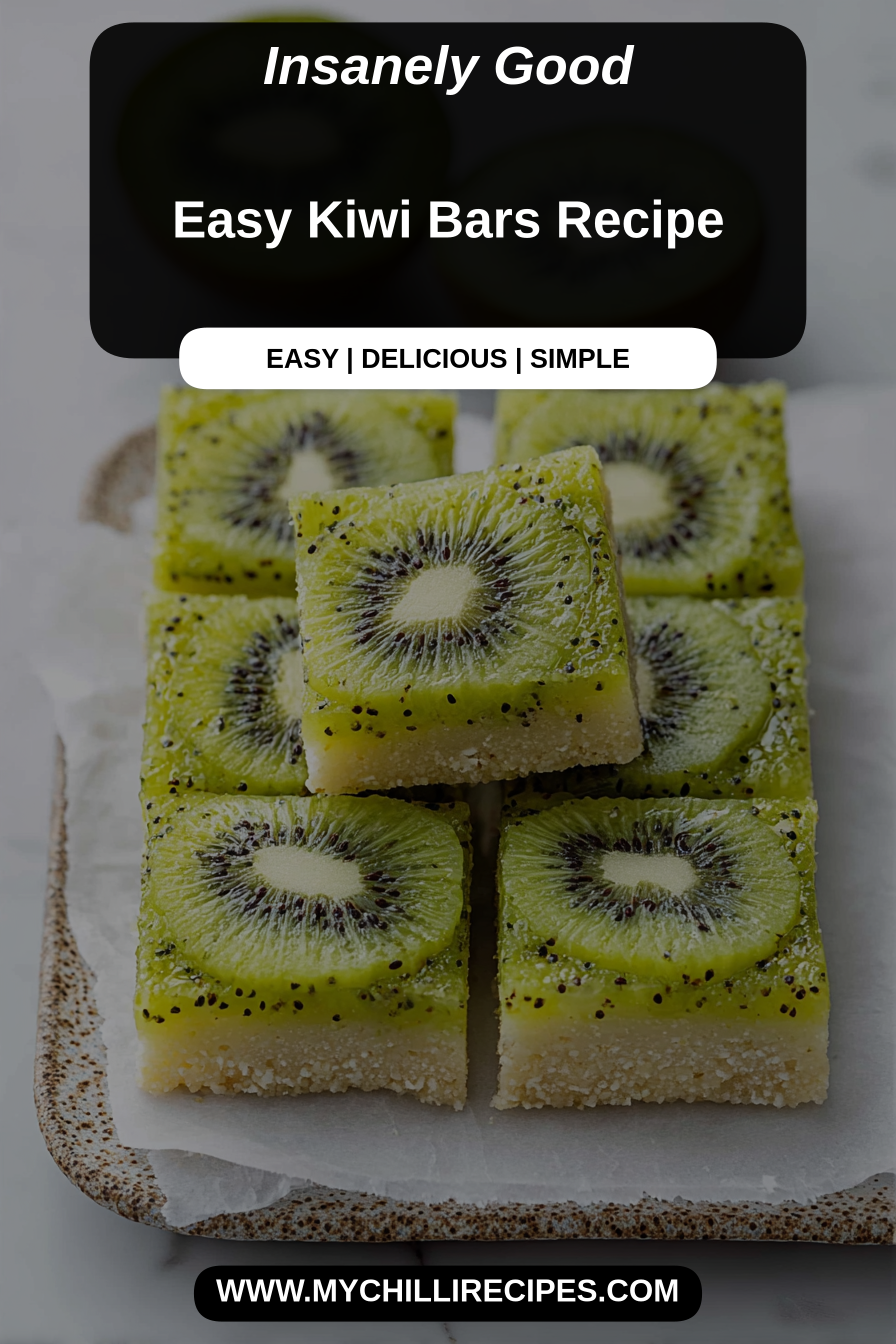
Easy Kiwi Bars Recipe
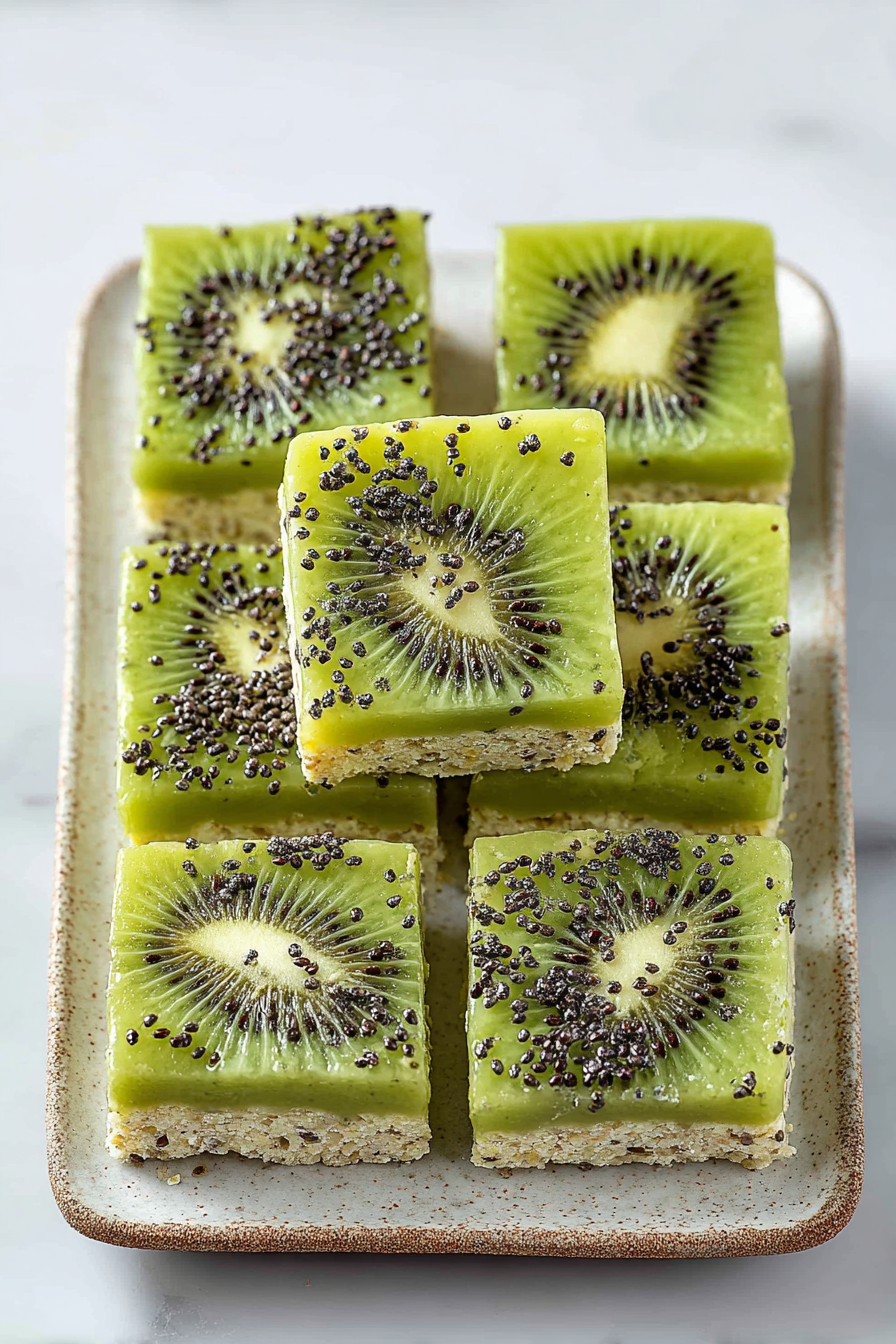
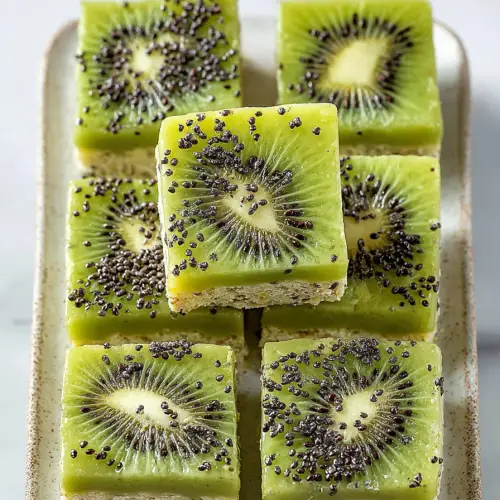
There’s something quietly joyful about a simple tray of bright green bars cooling on the counter—the kind of thing that makes a grey morning feel a little sunlit. I call these mine Easy Kiwi Bars Recipe, mostly because they’re honest and unpretentious: bright, tart kiwi sitting on a tender base that we cut into generous squares and share with too much enthusiasm. If you like a little tang with your butter, or a pop of unexpected color on a weekday breakfast plate, this is one to tuck into your rotation.
Some days the kitchen feels like the center of the house—the dog drifts in and out, tail sweeping crumbs, and my youngest decides that the floor is suddenly the most interesting place to play. On weekends my husband will linger in the doorway, half-asleep and smiling, drawn by the scent of fruit and something warm baking. I’ll admit I often forget my coffee on the counter until the last minute; there’s that half-drunk cup with a ring of steam curling up, evidence of a slow morning. He likes the edges best, almost always, and I watch him choose like it’s a small ritual. The kid claims the green pieces first because “they look like monsters,” and then everyone laughs and we all pretend it was part of the plan. Those slices, the crumbs on the plate, the quiet music in the background—those are the details that make these bars feel like more than a snack. They taste like a little patch of care.
MORE OF OUR FAVORITE…
Why You’ll Love This Easy Kiwi Bars Recipe
– There’s an immediate, honest brightness: the kiwi lends a piercing tartness that softens into a gentle sweetness as you bite through the silky top to a crumbly base. It wakes you up without shouting.
– Color matters in small comforts. The vibrant green is playful on a breakfast spread, and it’s one of those treats that makes your coffee look classier by association. Honestly, presentation is half the fun.
– Texture is a quiet joy here—there’s the slight chew of the fruit, the velvety middle, and the buttery, tender crust. It’s simple but layered in a way that keeps each bite interesting.
– It’s family-friendly. My husband brings these to work sometimes, and the kids will ask for “that green cake” at least once a week. It’s approachable for little hands and grown-up tastes alike.
– There’s a gentle satisfaction in making something that feels special without being fussy—perfect for slow weekend mornings or an easy, thoughtful dessert after a busy day.
Slow Moments
The making of these bars is one of those cozy rituals that slows me down even when I’m trying to hurry. I love the quiet minutes when I’m peeling and slicing fruit—the small, repetitive acts that let my mind wander. You know those days when the playlist is soft, the house has that warm, lived-in hush, and the kids are building a fort out of couch cushions? That’s when I slice the kiwi a little thinner than necessary because I like how the light passes through them on the cutting board.
There’s always a pause while the mixture rests, and I use those moments to set the kitchen straight. A towel folded over the dough, a spoon left to one side, a dog nudging my ankle for attention—small interruptions that feel like part of the recipe’s charm. When the bars come out and the scent of fruit mingles with butter, there’s a quiet, small celebration. We cut them casually, not overthinking, and everyone gets a corner. It’s unhurried and full of tiny, domestic joys.
Time-Saving Hacks
– Slice the kiwi ahead the night before and keep it in a single layer in the fridge. It stays vibrant and makes the actual moment of assembling much calmer.
– Use a food processor for the crust if you’re short on time—one pulse and you have the right texture without extra fuss.
– If mornings are hectic, prepare the base the evening before and press it into the pan, then cover and refrigerate. Come morning, it’s an easy finish and you still get that freshly made feel.
– I find that slowing down for just one step—like letting the crust chill briefly—changes the whole result. A little patience here pays off in texture and ease.
Serving Ideas
– For a weekday breakfast, I love a modest square with a cup of coffee and a smear of buttered toast on the side. The tartness of the kiwi pairs well with a rich, creamy coffee.
– On slower weekends, serve with a dollop of lightly sweetened yogurt or a scoop of vanilla ice cream for an evening treat. The cool contrast feels indulgent in the gentlest way.
– If you’re sharing these at a small brunch, scatter a few edible flowers or a few mint leaves over the top for a fresh, homely touch.
– For a savory counterpoint, plain Greek yogurt with a drizzle of honey brings out the fruit’s sweetness without overpowering it.
– Complementary recipes that go well: a simple lemon loaf or a basic shortbread would harmonize nicely for a dessert trio.
Tips & Mistakes
I will confess—I once tried to skip chilling the base because I was impatient, and the bars were too soft and slippery to cut nicely. Lesson learned: a little wait gives you clean slices and happier sharing. Another time I used overly ripe fruit and it made the top a bit runny; bright, slightly under-ripe kiwi gives you that lively tartness and firmer set. If you’re unsure, taste a sliver of fruit first. And if someone in the house insists on taste-testing the whole bowl (I’m looking at you, husband), keep a second small batch for quality control—I mean, tradition.
Storage Tips
Leftovers are forgiving. I store bars in a single layer in an airtight container at room temperature for a day, which keeps them tender and pleasant. After that, they’re happiest in the fridge where they’ll keep for a few days—cold, they develop a slightly firmer texture that I secretly enjoy with morning coffee. Reheating is optional; a few seconds in a low oven brings a warmed, fragrant bar back to life. The next-day version is often even better, because flavors have had time to settle and mingle.
Variations and Substitutions
I’ve swapped part of the flour for almond meal to add a nuttier, denser bite—recommend if you like a richer base. Subbing a touch of citrus zest into the topping brightens things in a fresh way; lime works beautifully, and orange gives a softer warmth. I once tried adding a whisper of ginger—surprisingly lovely, though it nudged the bars into a different flavor personality. If you need to avoid dairy, a stick of plant-based butter works fine; you’ll notice a small shift in mouthfeel, but the overall comfort remains. Play gently—these bars are forgiving and respond well to a little personalization.
Frequently Asked Questions
Easy Kiwi Bars Recipe
Ingredients
Main Ingredients
- 1 cup all-purpose flour not null
- 0.5 cup granulated sugar not null
- 0.25 cup butter, melted not null
- 2 large kiwis, peeled and sliced not null
- 0.5 cup cream cheese, softened not null
Instructions
Preparation Steps
- Preheat the oven to 350°F (175°C).
- In a mixing bowl, combine the flour, sugar, and melted butter until crumbly.
- Press the mixture into the bottom of a greased baking dish.
- Bake for 20 minutes or until golden.
- In another bowl, beat together the cream cheese and sugar until smooth.
- Spread the cream cheese mixture over the baked crust.
- Arrange the sliced kiwis on top and chill before serving.