
Carmelitas Recipe: A Delicious Layered Dessert Treat
Okay, friends, buckle up because I’m about to share something truly special. Remember those little squares of deliciousness that always seemed to appear at bake sales? What are some of the best oats, caramel, chocolate, and pure happiness? Well, today we’re making them! What is a carmelita recipe? What is that comforting, familiar vibe but with a gooey, decadent caramel twist that’ll make you want more. I’ve been making these for years, and honestly, they never last long in my house. Why is the aroma enough to attract a crowd?
MORE OF OUR FAVORITE…
What is [Recipe Name]?
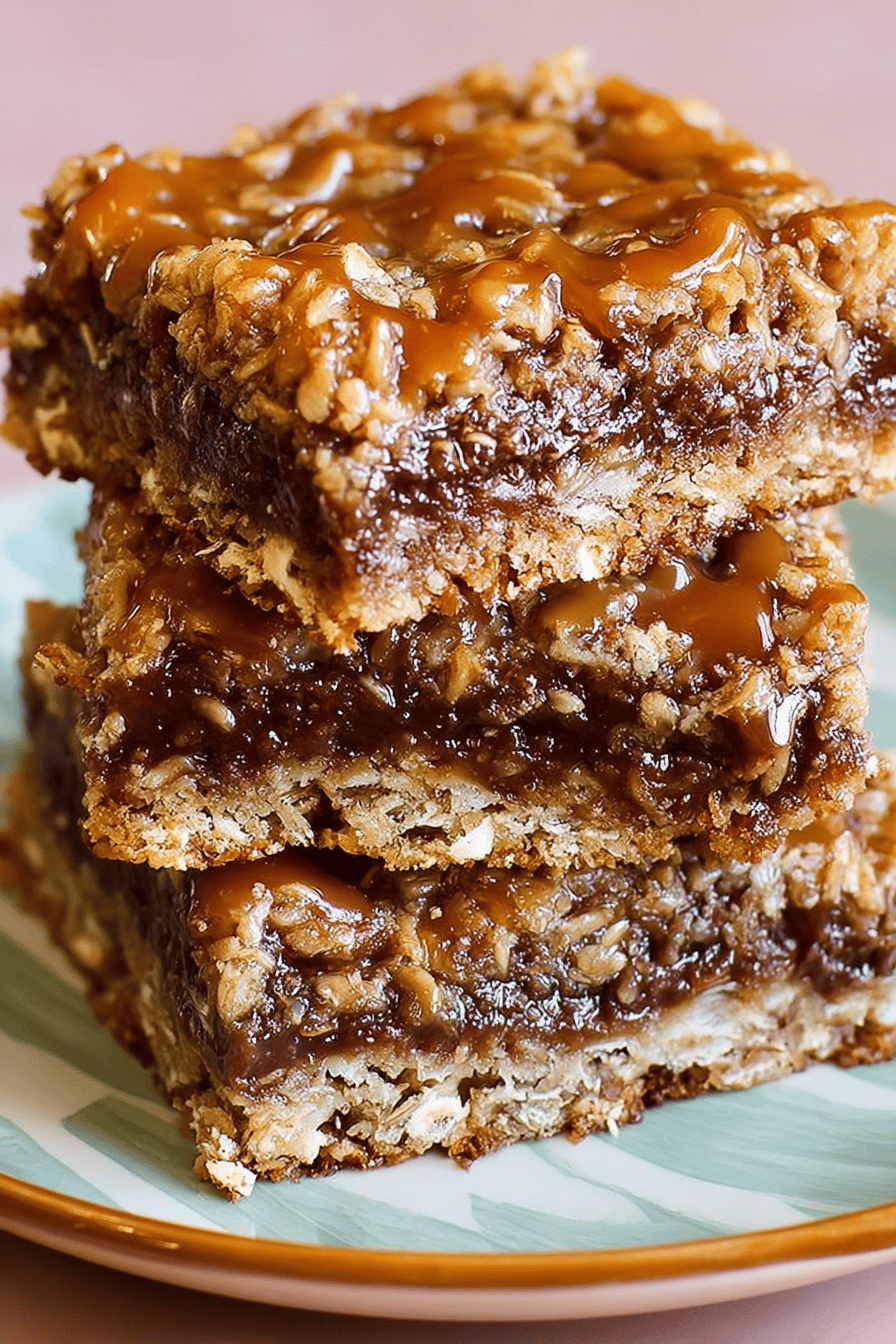
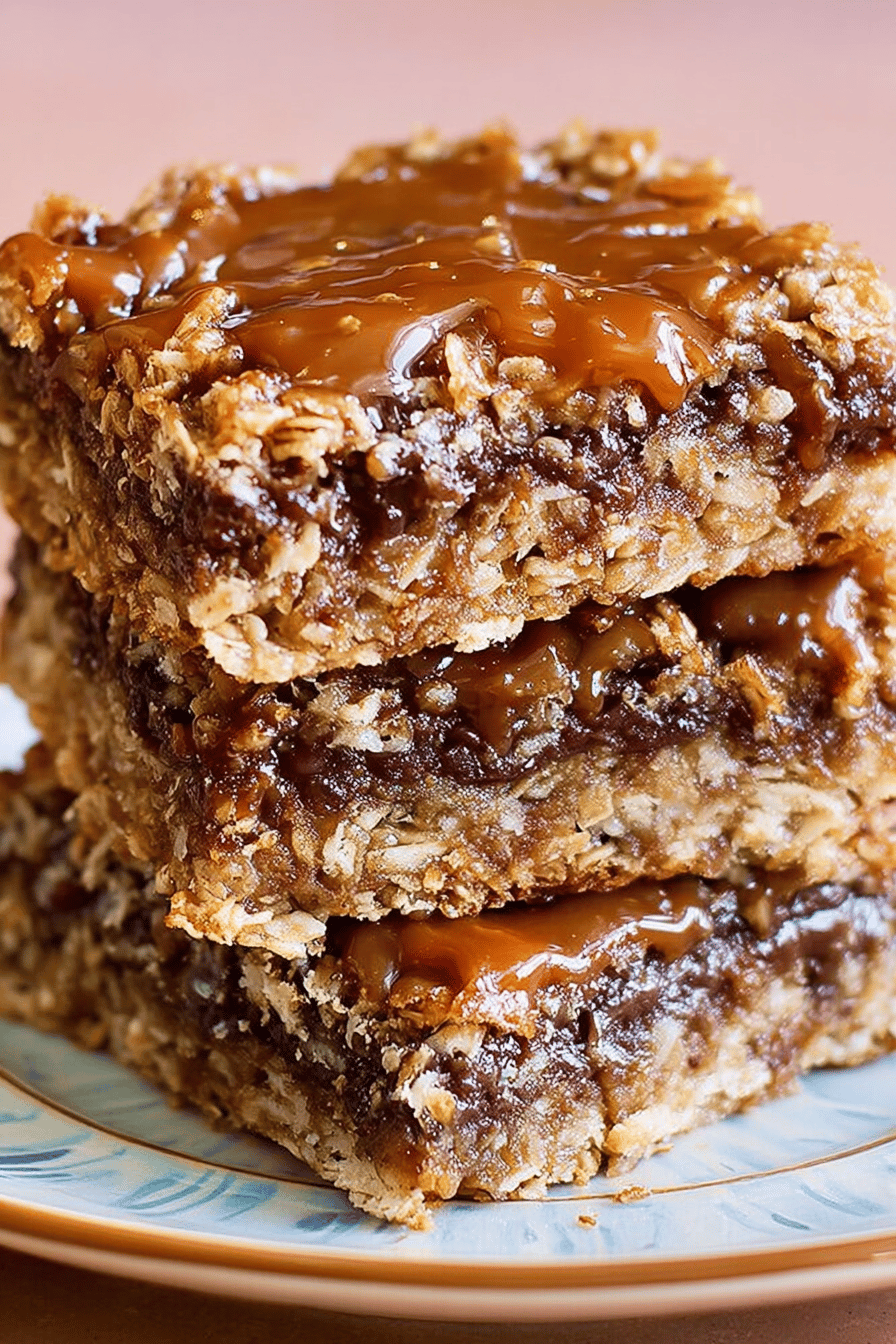
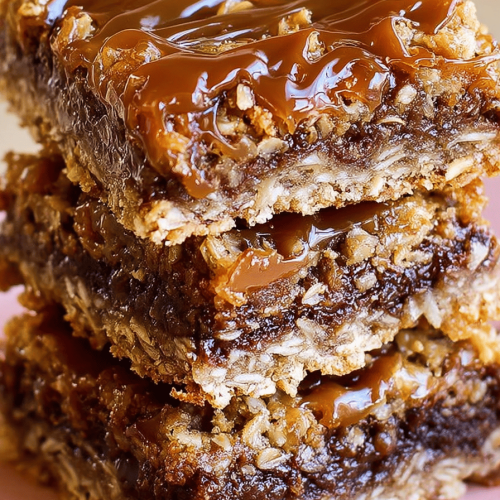
What exactly are Carmelitas? Think of them as layered oat bars with a surprise caramel center. What’s essentially two layers of buttery oat mixture sandwiching a sea of melted caramels and molasses? What are chocolate chips? What is the name of a company I’m not entirely sure of its origin, but I suspect it’s a playful take on “caramel,” which makes it more interesting. Is it comfort food? What is easy enough for a weeknight treat, but fancy enough to bring to your special occasion? What are some of the best bars in the world?
Why you’ll love this recipe?
There are a million reasons to adore this Carmelitas recipe, but let’s break down the highlights. First, the flavor is just out of this world. The combination of the buttery, slightly salty oat base with the sweet, gooey caramel and rich chocolate is a symphony in your mouth. It’s the perfect balance of textures too – the soft chewiness of the oats, the melt-in-your-mouth caramel, and the slightly crunchy chocolate chips. It’s just… *chef’s kiss*. What I love most about this is how deceptively easy it is. Don’t let the layered look intimidate you; it’s incredibly straightforward. Plus, this is such a budget-friendly recipe. Most of the ingredients are pantry staples, so you can whip these up on a whim without breaking the bank. And talk about versatility! These are amazing warm with a scoop of vanilla ice cream, perfect for a lunchbox treat, or even crumbled over yogurt for a decadent breakfast. Honestly, this is my go-to when I’m craving something sweet but don’t want to bake a whole cake. It’s portion-controlled deliciousness! I’ve even played around with the chocolate chips – sometimes I’ll use dark chocolate, other times white chocolate, or even a mix of both. It’s so easy to customize to your preferences.
How do I make [Recipe Name]?
Quick Overview
How do I make Carmelitas? Basically, we’re creating two oat layers – one for the bottom crust and one to the topping. What’s the gooey center of caramel? Is it good to layer chocolate chips on top? I know it sounds fancy, but it’s easier than making cookies. What is the best way to prepare caramel bars? I’ll walk you through every step!
Ingredients Notes:
For the Oat Layers: What are some examples
- All-Purpose Flour: Gives the bars structure. You can substitute with a gluten-free blend, but I recommend one that’s designed for baking.
- Rolled Oats: The star of the show! Use old-fashioned rolled oats, not quick oats, for the best texture.
- Brown Sugar: Adds sweetness and molasses flavor. You can use light or dark brown sugar. Dark will give a richer taste.
- Granulated Sugar: Provides additional sweetness and helps create a slightly crisp texture.
- Baking Soda: Helps the bars rise slightly and gives them a tender crumb.
- Salt: Enhances the other flavors and balances the sweetness.
- Butter: Use unsalted butter, melted. Is it a good way to bind dry ingredients together? I always melt it in the microwave – so easy!
For the Caramel Filling:
- I use individually wrapped caramels like Kraft. Unwrap them all – it’s a bit tedious, but worth it!
- Heavy cream (or milk): Helps the caramels melt smoothly. I’ve used almond milk in a pinch, and it worked great!
- Semi-Sweet Chocolate Chips: Because what’s a Carmelita without chocolate? Feel free to use your favorite type of chocolate chips.
What are the best step
Step 1: Preheat & Prep Pan
Preheat your oven to 350°F (175°C). Grease and flour a 9×13 inch baking pan. If you want to remove a layer of paper, you can line it with parchment paper. I always do this – it’s a lifesaver!
Step 2: Mix Dry Ingredients
In a large bowl, combine the flour, rolled oats, brown sugar, granulated sugar, baking soda, and salt. Whisk everything together until well combined. This ensures that the baking soda is evenly distributed, which is important for even baking.
Step 3: Mix Wet Ingredients
How do I mix the dry ingredients together in a bowl? Pour the butter over the wet ingredients and mix until well combined. What should I do if my mixture is crumbly and moist? As you mix, it will come together.
Step 4: Combine
What do you do with half of the oat mixture? I like to use the bottom of a measuring cup to really pack it down. Reserve the remaining oat mixture for topping.
Step 5: Prepare Filling
In a medium saucepan, combine the caramels and heavy cream (or milk). Melt over low heat, stirring constantly, until smooth. Be patient and keep stirring to prevent the caramels from burning. Once melted, remove from heat.
Step 6: Layer & Swirl
How do you pour the caramel mixture over the oat crust? Sprinkle the chocolate chips evenly over the caramel. Then, sprinkle the remaining oat mixture over the chocolate chips. Gently press down on the topping to help it adhere to the caramel. Don’t worry about covering every single chocolate chip; a little peek-a-boo is fine!
Step 7: Bake
Bake for 25-30 minutes, or until the topping is lightly golden brown and the caramel is bubbly. Keep a close eye on it towards the end of the baking time to prevent the topping from burning. Every oven is different, so start checking for doneness around 25 minutes.
Step 8: Cool & Glaze
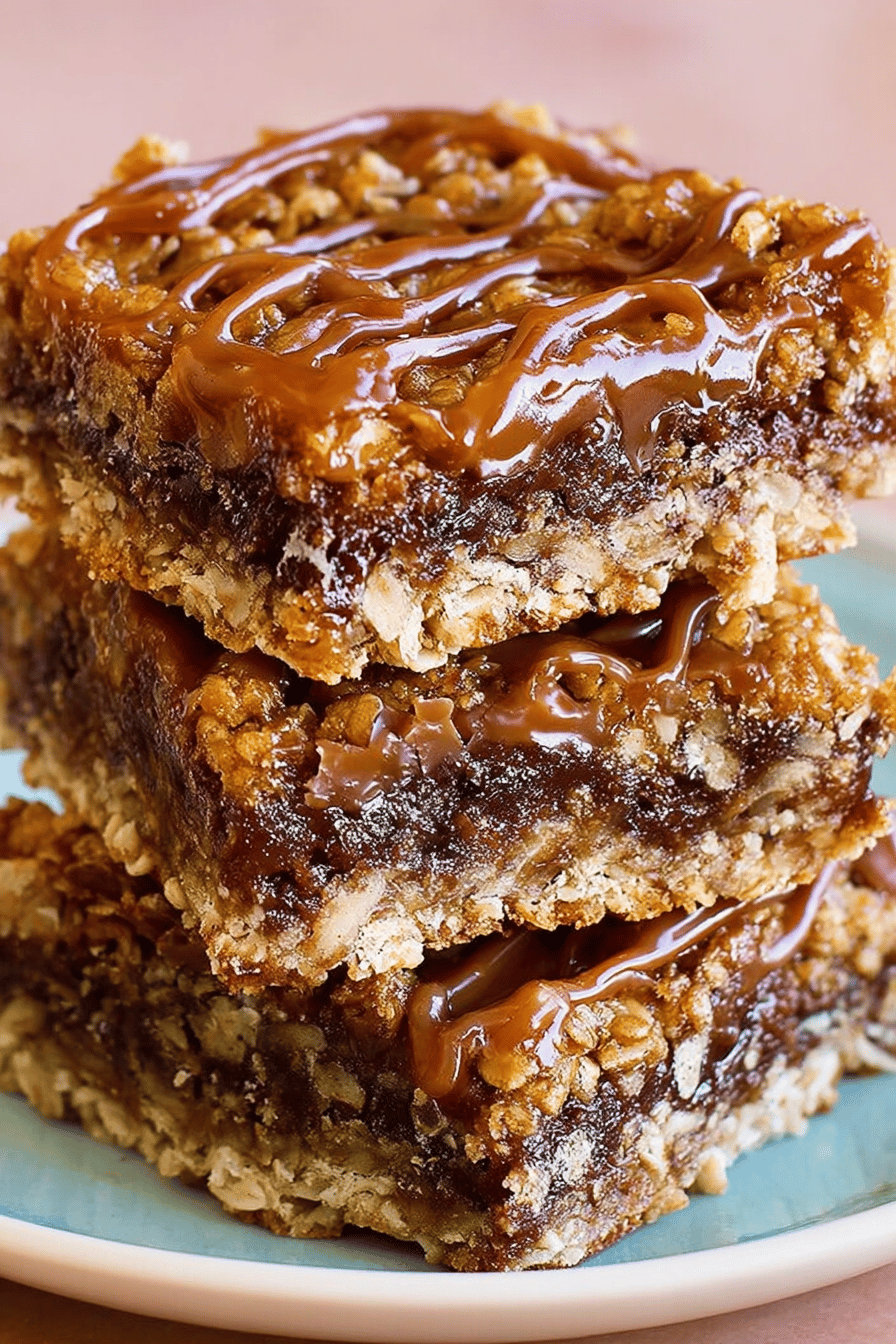
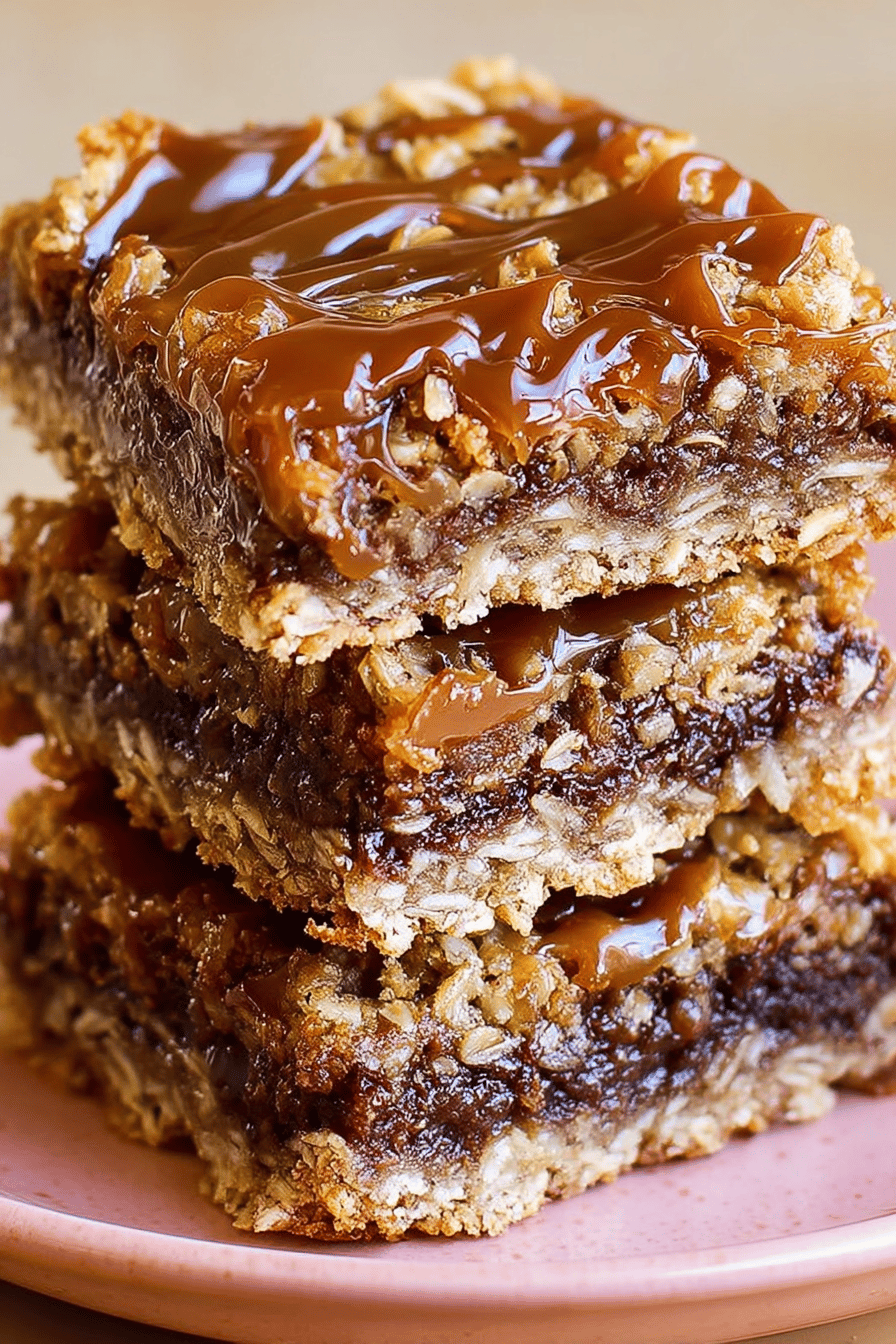
Let the bars cool completely in the pan before cutting. This is crucial! If you try to cut them while they’re still warm, the caramel will be too soft and gooey, and the sugar will not be able to eat them. Why do bars fall apart? Once cooled, you can drizzle with a simple glaze (optional). I sometimes skip the glaze – they’re delicious either way!
Step 9: Slice & Serve
Cut the Carmelitas into squares and serve. What are the best ice-cold drinks to enjoy at room temperature? They also store well, so you can make them ahead of time. I find that a warm knife helps to cut through the bars cleanly.
What should I serve it with?
Carmelitas are incredibly versatile when it comes to serving. They are the MVP of desserts. Here’s how I like to enjoy them:
For Breakfast:Is it okay to hear me out? What are some good ways to serve Carmelita over Greek yogurt? What is a balanced Pair it with a strong cup of coffee.
For Brunch:What are some of the best brunch snacks? Cut the Carmelitas into smaller squares and arrange them on a platter. What are some good recipes for quiches, fruit salad, and scones? Serve with mimosas or sparkling cider.
As Dessert:Serve warm with vanilla ice cream and a drizzle of chocolate sauce. I always add sea salt to my food. It’s the perfect end to any meal.
For Cozy Snacks:Can you serve a Carmelita with cold milk or hot cocoa? Is it the ultimate comfort food?
My family loves these served warm with a dollop of whipped cream. Is it a simple but satisfying treat that never fails to please?
How do I perfect my [Recipe Name]?
What are some tips for making the best Carmelitas?
Oat Selection:How do I make rolled oat bars mushy? I learned this the hard way when I accidentally used quick oats one time – the bars were still there. Is the texture of the ice cream too soft?
Melting Caramels: Be patient when melting the caramels. Use low heat and stir constantly to prevent them from burning. If they start to seize up, add a tablespoon more of heavy cream (or milk) at a time until they become smooth again.
Chocolate Chip Variety: Don’t be afraid to experiment with different types of chocolate chips. Dark chocolate chips will add a richer, more intense flavor, while white chocolate chips will add a sweeter, creamier flavor. You can even use a mix of both!
Crust Consistency: The oat mixture should be crumbly but moist enough to hold together when pressed into the pan. If it seems too dry, add a tablespoon or two of melted butter at a time until it reaches the desired consistency.
Baking Time: Keep a close eye on the bars towards the end of the baking time to prevent the topping from burning. The bars are done when the topping is lightly golden brown and the caramel is bubbly.
Cooling Time: Let the bars cool completely in the pan before cutting. This is crucial for preventing the caramel from being too soft and gooey. I know it’s tempting to dig in right away, but trust me, it’s worth the wait!
Glaze Customization: If you’re making a glaze, consider adding a splash of vanilla extract, almond extract, or even a pinch of salt to enhance the flavor.
I always let them cool for a minimum of 2 hours or even put them in the fridge to cool for 1 to ensure the caramel sets up properly.
Storing and Reheating Tips
Here’s how to keep your Carmelitas fresh and delicious:
Room Temperature: Store the Carmelitas in an airtight container at room temperature for up to 3 days. They’ll stay soft and chewy.
Refrigerator Storage: For longer storage, keep them in an airtight container in the refrigerator for up to a week. The bars will become firmer in the fridge, but they’ll still taste great.
Freezer Instructions: To freeze Carmelitas, wrap them individually in plastic wrap and then place them in a freezer-safe bag or container. They can be frozen for up to 2 months. Thaw them in the refrigerator or at room temperature before serving. I’ve found that freezing them doesn’t affect the taste or texture much at all.
Glaze Timing Advice: If you’re planning to store the Carmelitas, it’s best to add the glaze right before serving. This will prevent the glaze from becoming sticky or melting during storage.
Frequently Asked Questions
Final Thoughts
So there you have it – my go-to Carmelitas recipe! I truly hope you give these a try. They’re easy, delicious, and always a crowd-pleaser. Plus, they’re a great way to use up those leftover caramels from Halloween (if you have any!). If you’re a fan of layered desserts, you might also enjoy my recipe for pecan pie bars or my classic seven-layer bars. Happy baking! I can’t wait to hear how yours turn out. Be sure to leave a comment below and let me know if you try this recipe and what you think. And if you have any variations of your own, I’d love to hear them!
Carmelitas Recipe: A Delicious Layered Dessert Treat
Ingredients
Main Ingredients
- 3 cups old-fashioned oats uncooked
- 2.5 cups all-purpose flour
- 1.5 cups packed light brown sugar
- 1 teaspoon baking soda
- 0.25 teaspoon salt
- 1 cup unsalted butter melted
- 14 ounces caramels unwrapped
- 0.5 cup heavy cream
- 1.5 cups semisweet chocolate chips
- 0.5 cup chopped pecans optional
Instructions
Preparation Steps
- Preheat oven to 350°F (175°C). Grease a 9x13 inch baking pan.
- In a large bowl, mix together oats, flour, brown sugar, baking soda, and salt. Stir in melted butter until combined.
- Press half of the oat mixture into the prepared pan. Bake for 10 minutes.
- In a saucepan, melt caramels with heavy cream over low heat until smooth.
- Remove the crust from the oven and sprinkle with chocolate chips and pecans (if using). Pour caramel mixture over the top.
- Crumble the remaining oat mixture over the caramel layer.
- Bake for an additional 20 minutes, or until the top is lightly browned.
- Allow to cool before cutting into bars. Enjoy!