
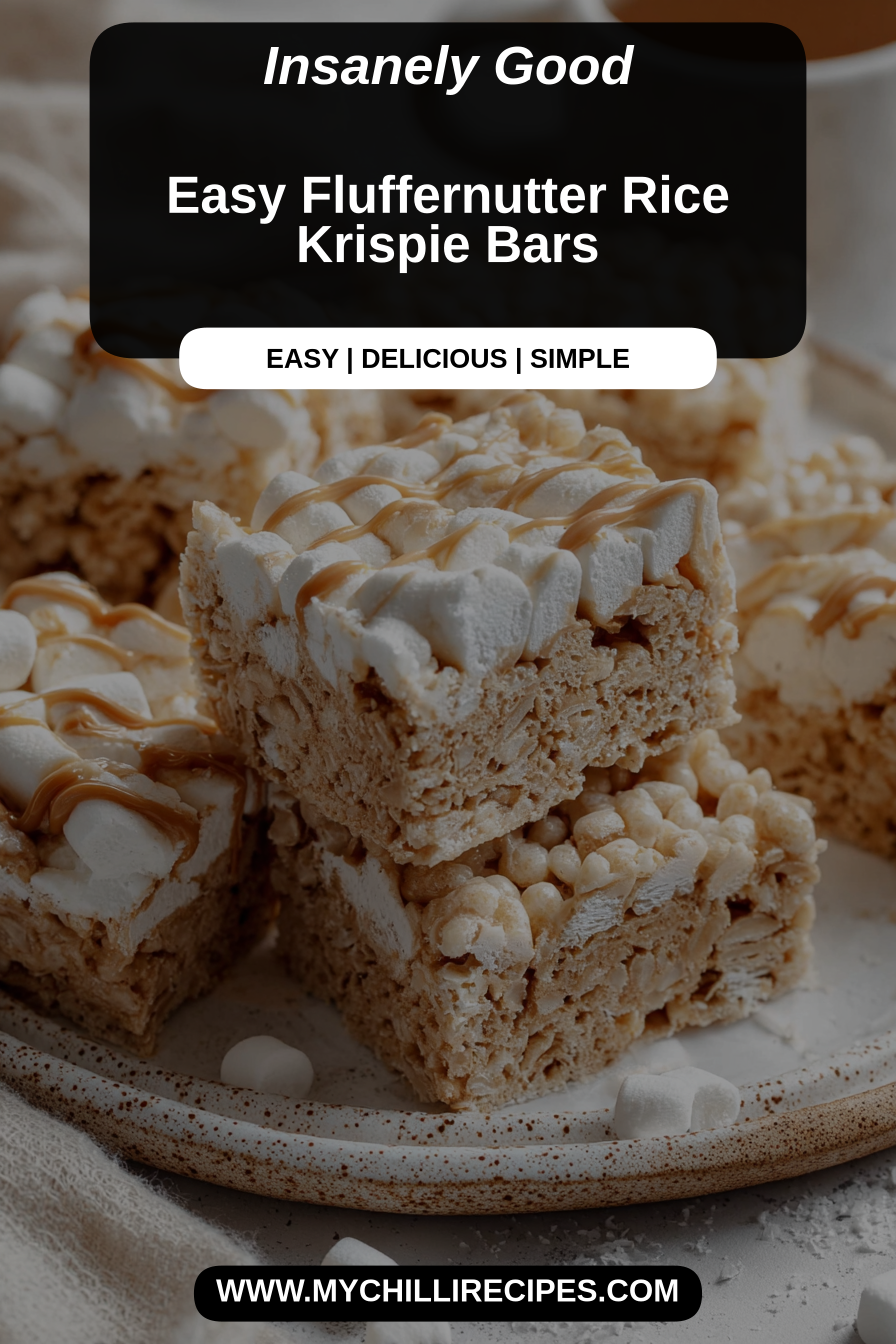
Easy Fluffernutter Rice Krispie Bars
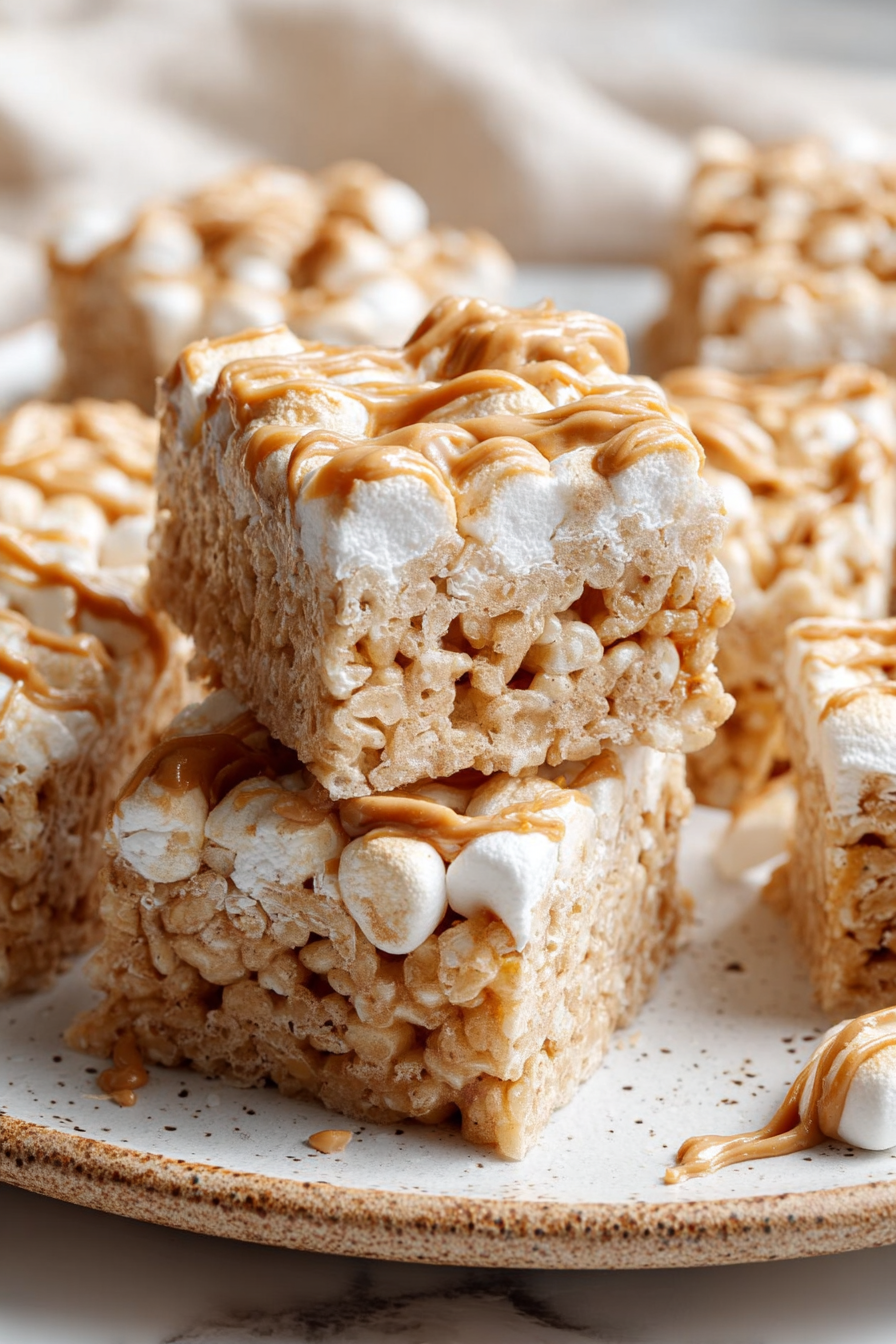
There’s something quietly celebratory about a pan of rice krispie bars — the way the kitchen smells like warm sugar and peanut butter, how the cereal crackles under your spoon like tiny happy confetti. My version leans into that soft, childhood comfort with a Fluffernutter twist: marshmallowy sweetness folded into creamy peanut butter, pressed into a sheet that’s both pillowy and delightfully crisp at the edges. It’s the kind of thing you make when you want something simple to feel special — for an easy weekend treat, a school lunch surprise, or just because you have two mismatched socks and a slow afternoon to spare.
I’ll admit: we didn’t invent the idea, but we made it ours. One Saturday morning, while morning light poured through the blinds and indie folk played low on the speaker, my youngest burst into the kitchen with flour on one knee and a sticker on her forehead. My husband, still in yesterday’s shirt, hovered with a mug that had been half-drunk and then abandoned in favor of curiosity. The dog sat like a small, earnest statue by the oven, convinced any second would be the one crumbs would rain down. There were sticky spoons. There was a moment of nearly burning the marshmallow before we caught ourselves (we laughed, which helps), and then the slow satisfaction of pressing the mixture into the pan together — fingers soft with butter, the warm marshmallow stretching in ribbons. He loves these with his coffee. She likes to press an extra handful of cereal on top. I love watching them take the first bite and turn into small, delighted creatures. That noise — a quiet, contented crunch — is my favorite soundtrack.
MORE OF OUR FAVORITE…
Why You’ll Love This Easy Fluffernutter Rice Krispie Bars
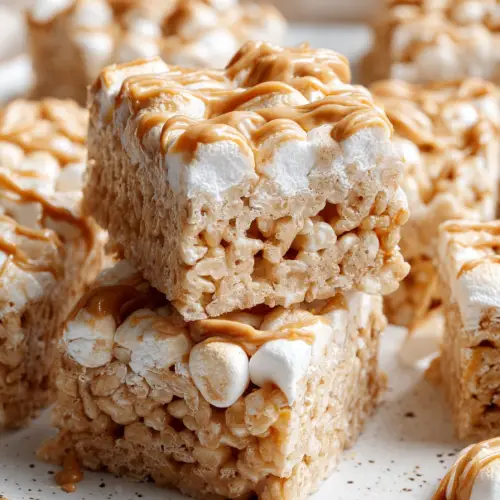
– It’s nostalgic without being fussy: warm, toasted marshmallow meets the gentle roast of peanut butter, and the cereal gives that satisfying snap under your teeth.
– Quick comfort: you can pull these together in under twenty minutes, then let them set while you tidy up, call a friend, or fold some laundry with the radio on.
– Kid-approved and grown-up-friendly: they’re perfect for lunchboxes, bake sales, or that moment when you need something sugary and forgiving. Add a pinch of flaky sea salt and it becomes unexpectedly sophisticated.
– Portable joy: they slice cleanly, wrap nicely, and travel well to picnics, pool days, or impromptu porch visits with neighbors.
Slow Moments
There’s a ritual to it that I’m fond of: clearing a little patch of counter, putting on a familiar playlist, and opening the jar of peanut butter with a small, satisfying pull. I like to warm it just a touch until it gives a little sigh, then fold in the marshmallow fluff slowly, watching the sheen change. I taste cautiously — a tiny spoon, the rule in our house — and measure nothing but the mood. Pressing the mixture into the pan is a gentle meditation; your hands get warm, the scent becomes addictive, and the sound of cereal being smushed makes the world feel safe for a minute. You’ll see me nibbling the stray bits, hands a little sticky, smiling because someone will inevitably ask for “just the corner” and the corner is always the best anyway.
Time-Saving Hacks
– Use a good-quality marshmallow fluff to skip melting whole marshmallows. It saves time and keeps the texture silky.
– Line your pan with parchment and let the paper hang over the edges — it makes lifting and slicing so much easier.
– If you’re in a hurry, microwave the peanut butter with the fluff for 20–30 seconds in a microwave-safe bowl, then stir until smooth. Simple, quick, no splatters.
– Measure the cereal into the mixing bowl first so everything is ready; marshmallow sets faster than you think. Treat those two minutes like sacred time.
– A calm reminder: a patient press is better than a frantic one. Too much force squashes the lightness. Let it be airy, not compacted.
Serving Ideas
– For weeknight comfort, pair a warm square with a mug of milk or hot cocoa and a blanket. It’s an instant pick-me-up.
– For slower weekends, set out a little spread: sliced apples, banana coins, and a small dish of chocolate chips for dipping. Let everyone customize their bites.
– For gatherings, drizzle melted chocolate over the top and sprinkle with chopped peanuts or toasted coconut for a pretty finish. Cut into bite-sized pieces and arrange on a platter.
– On busy mornings, these are sweet with coffee or a simple yogurt and fruit — a humble dessert-for-breakfast that feels indulgent but kind.
– They travel beautifully in a waxed-paper-wrapped stack, which makes them perfect for park dates or school treats.
Tips & Mistakes
Be gentle with heat. I once stood too close to the stove and let the marshmallow scorch by a whisper; the smell was a small, smoky disaster. I learned to keep the heat low, to stir patiently, and to rescue the mix with a splash of butter if things got a touch too firm. Press with care — you want the bars to hold shape but keep a little of that cloud-like chew. If you press them like a panini, you’ll regret it. Use a warm, lightly oiled spatula or your palms wrapped in parchment to get a smooth top without overworking it. And when you cut them, warm the knife under hot water and dry it; the slices will be cleaner and less crumbly.
Storage Tips
These keep well at room temperature in an airtight container for a few days, which makes them perfect for that “grab-and-go” start to the morning. In hot weather, tuck them in the fridge so they don’t get overly soft; they’ll firm up beautifully and are still lovely cold with coffee. For longer stints, freeze individual squares between parchment layers in a zip-top bag — thaw at room temperature for about 20 minutes before serving. Leftovers are a quiet, comforting breakfast. I’ll sometimes tuck one into my lunch and look forward to it like a small, sweet reward.
Variations and Substitutions
I’ve made these with sunflower seed butter when I needed a nut-free option; they’re slightly earthier but just as cozy. Almond butter shifts the flavor into something silkier and more delicate. Chocolate chips folded in make them feel like a treat for grown-ups, while a dusting of dehydrated banana or a few chopped dried cherries adds a bright note. For a gluten-free twist, use certified gluten-free rice cereal — it keeps that crisp snap intact. I tried swapping in maple syrup once for a subtle maple-peanut duet; it worked, though I missed the classic marshmallow pull. Experiment gently; the recipe is forgiving and loves little improvisations.
Frequently Asked Questions
Easy Fluffernutter Rice Krispie Bars
Ingredients
Main Ingredients
- 0.5 cup unsalted butter Add more for richness
- 0.5 cup light corn syrup Ensure it's not dark corn syrup
- 0.5 cup peanut butter Smooth or chunky as preferred
- 6 cups Rice Krispies cereal Any brand will work
- 1 cup mini marshmallows For added sweetness
Instructions
Preparation Steps
- In a large saucepan over low heat, melt the butter, corn syrup, and peanut butter until smooth.
- Remove from heat and stir in the Rice Krispies and mini marshmallows until evenly coated.
- Press the mixture into a greased 9x13-inch baking pan and let it cool before cutting into bars.