
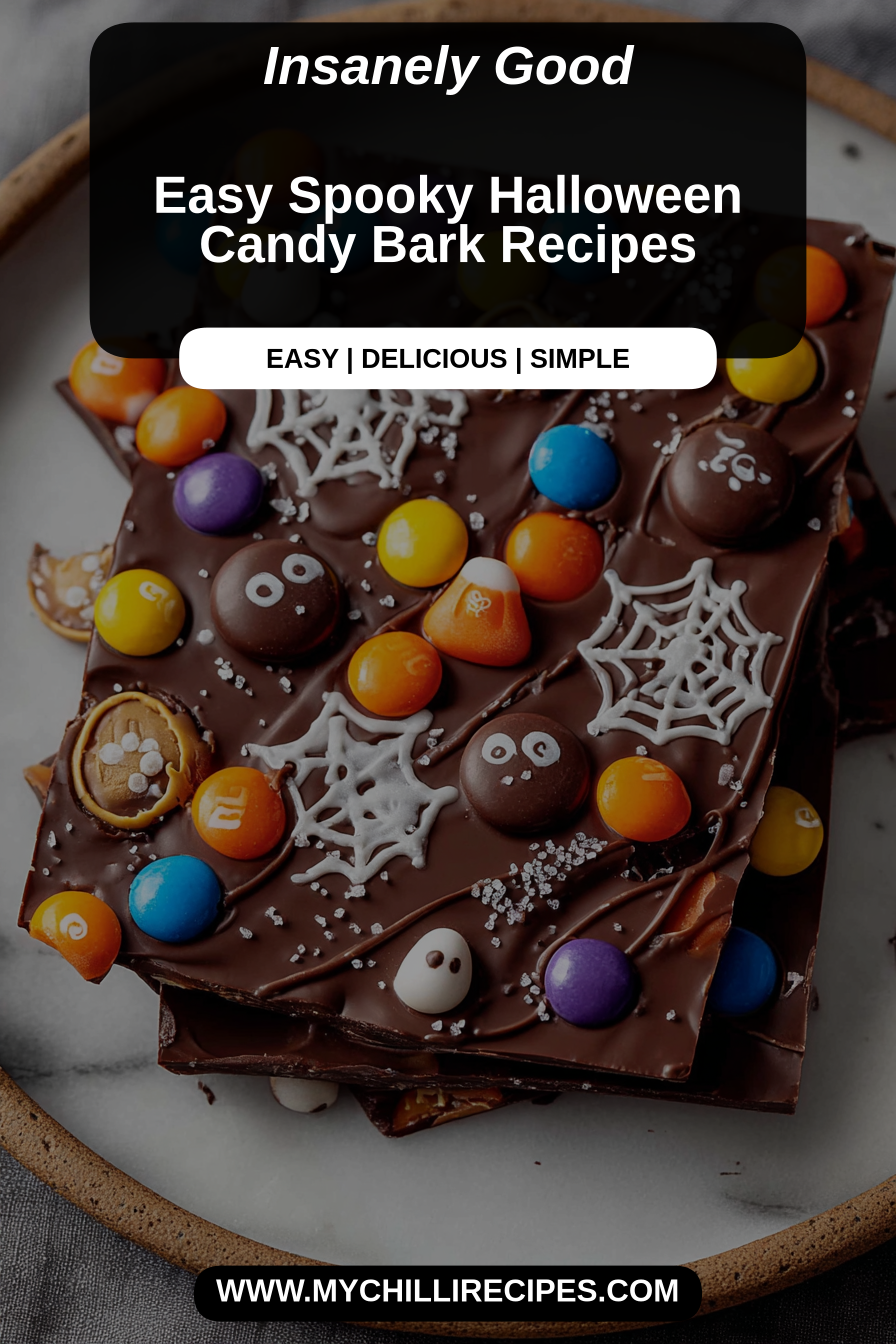
Easy Spooky Halloween Candy Bark Recipes
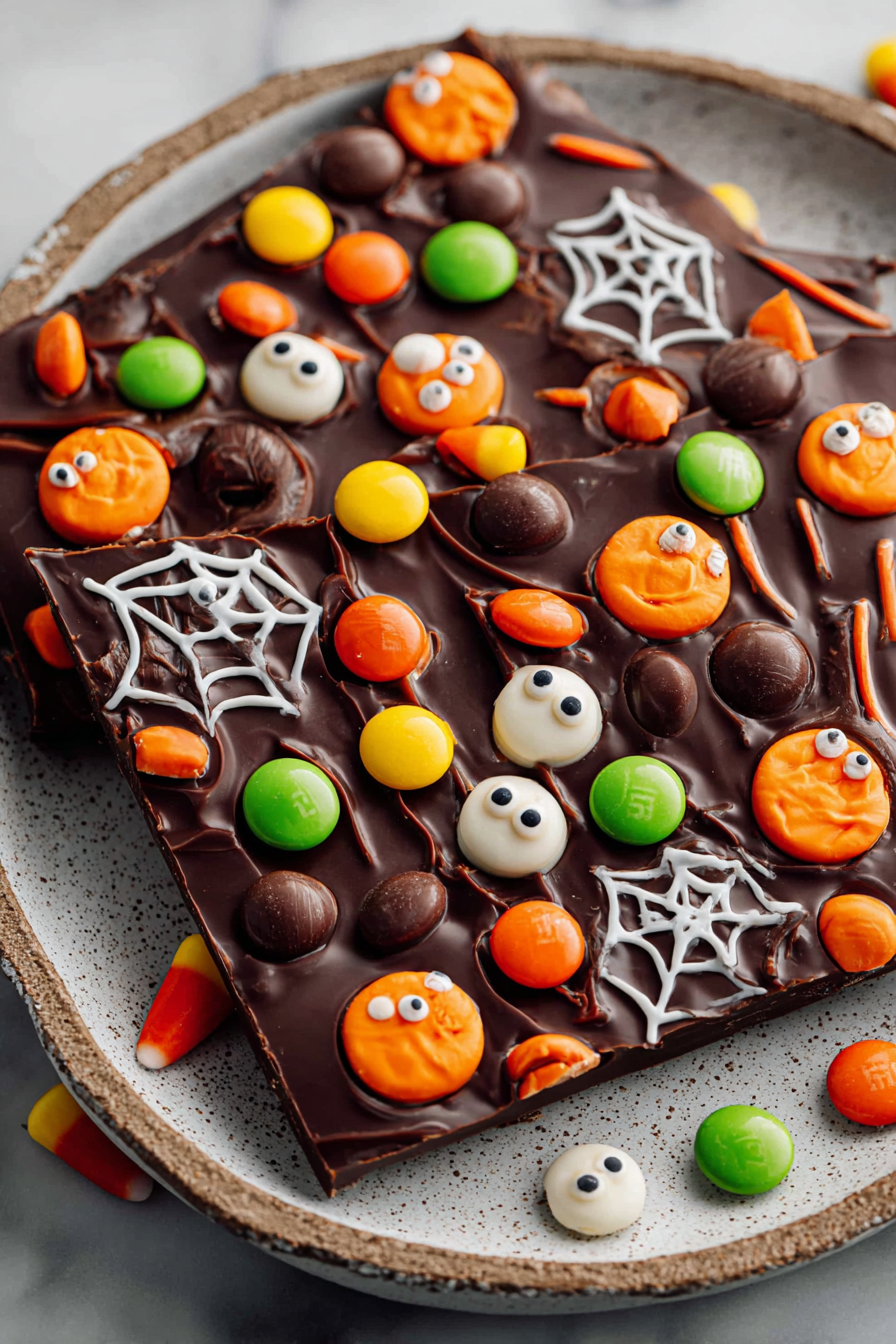
I love recipes that feel like little celebrations folded into an ordinary day, and this Easy Spooky Halloween Candy Bark is exactly that — a playful, colorful treat that’s more about the joy of making than the fuss. It’s simple chocolate or candy base scattered with bright pieces and tiny ghoulish shapes, the sort of thing that makes the kitchen smell like warm cocoa and childhood. What makes it special is how quick it comes together and how completely it changes the mood of a room: suddenly there’s sparkle on the counter, and everyone finds an excuse to linger near the oven, pointing out the cutest candy eyes or whispering about who gets the biggest spider.
We made this for a slow Saturday morning when the leaves were turning orange and the light came in like honey through the curtains. My husband was making coffee — the kind he insists on brewing just a little stronger for the weekend — and our youngest zipped through the kitchen with socks on hardwood, a small ghost cape trailing behind. The dog camped out by the oven, head on paws, because he knows treats tend to appear when I’m being “creative.” I’ll admit: the first attempt landed chocolate on the counter, a smear I cleaned with the corner of my apron while humming a silly tune. My husband laughed and scooped up a slightly misshapen piece, declared it “art,” and that tiny approval made the kitchen feel like home. Honestly, that’s what I love about simple recipes — they become memory-makers more than anything precise.
MORE OF OUR FAVORITE…
Why You’ll Love This Easy Spooky Halloween Candy Bark Recipes
– It’s fast and joyful — it comes together in minutes but leaves a lingering sense of celebration.
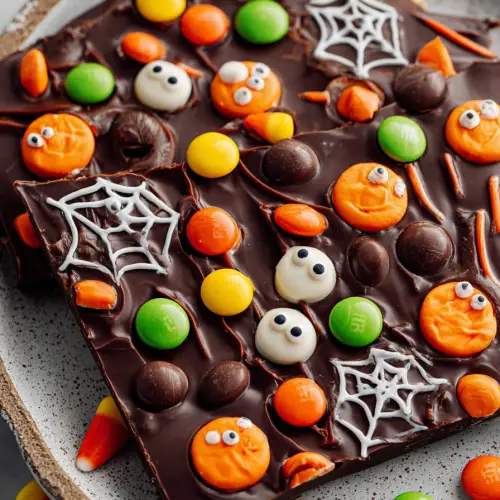
– Texture is everything: the snap of chocolate, the chew of candy bits, and the occasional crunch of nuts or pretzel make each bite surprising and satisfying.
– The colors and shapes are so whimsical that even making it feels like a craft project; little hands can help press decorations in, and there’s always one person who insists on arranging everything “just so.”
– It’s versatile: play with flavors, swap in dark for milk chocolate, add sea salt for a grown-up twist, or go fully nostalgic with fruity candies.
– The scent alone — warm chocolate and sugar — invites everyone to the counter like a soft, delicious invitation.
Slow Moments
There’s a slow pleasure in stirring something warm and watching it change. I often stand at the counter with a half-drunk cup of coffee beside me, listening to a playlist that’s more morning jazz than anything else. I press a tiny pumpkin-shaped candy into the bark and remember making Halloween treats as a kid, fingers sticky with syrup and face flushed with excitement. The waiting is gentle: a few minutes on the counter, a moment in the fridge, and then the satisfying crack as I tap the tray to loosen the bark. We always let one piece break in a funny way on purpose — the jagged edge feels like an intentional design flaw that makes us laugh. The kids debate who gets the piece with the big eyeball; the dog gives us hopeful looks and gets a tiny, dog-safe treat in return. Those small trades — a piece of candy for a quiet smile — are the quiet glue of our home.
Time-Saving Hacks
– Use pre-chopped toppings or a bag of mixed candy so you’re not standing over the counter dividing bits for 20 minutes.
– Microwave chocolate in short bursts, stirring between each interval — it melts quickly and there’s less fuss than a double boiler if you’re in a hurry.
– Make a “decoration station” on a sheet of parchment: lay everything out before you melt the base. It makes decorating feel playful and keeps little hands from rummaging through bowls.
– Freeze the tray briefly to speed up setting if friends are coming sooner than expected. A short cold pause gives that satisfying snap without waiting an hour.
– Remember: slowing down at the right moment helps. Let the melted base cool a touch so candies don’t sink completely — that tiny pause makes the top look prettier without adding time.
Serving Ideas
– Serve on a simple wooden board with a few small bowls of extra toppings for people to add to their own pieces — it becomes an activity as much as a snack.
– Pair with warm drinks: hot chocolate with a cinnamon stick, spiced apple cider, or a lightly frothed latte are lovely companions. For cooler, calmer evenings, a pot of herbal tea and a single piece of bark is surprisingly satisfying.
– For weeknights, scatter a few festive pieces on a dessert plate and call it a night; for weekends, arrange a full tray with candles and a playlist and make it an event.
– If you want something complementary, I like to keep things simple and seasonal — roasted nuts, salted caramels, or a small cheese board if you’re mixing sweet and savory.
Tips & Mistakes
I’ve had my share of little mishaps: once I overheated chocolate and it seized into a grainy mess, and honestly, I felt like a novice again. That’s when I learned patience — cool it down, add a little fat (cream or butter), and stir with steady hands. Another time a piece got decorated by a twin who thought spiders looked better with extra eyes; we left it, called it modern art, and no one minded. A friendly nudge: don’t rush the setting, and don’t worry if a piece breaks oddly — those are the best flavors and conversations starters. If you’re bringing this to a gathering, package it in a simple tin or waxed paper for a vintage, homey vibe.
Storage Tips
Leftover bark keeps well in a cool, dry place in an airtight container. I often tuck a piece into my mug of morning tea — not to melt it completely, but to let the edges soften so I can nibble slowly as the house wakes up. If your kitchen is warm, store in the fridge on a parchment-lined tray so pieces don’t stick. Bring it to room temperature before serving so the flavors bloom; cold bark can be nice with coffee, but room-warm bark shows off the texture. I’ll also say: it’s perfectly fine to keep a little stash for the next day — somehow the flavors settle into a sweeter, kinder place overnight.
Variations and Substitutions
I’ve swapped in dark chocolate on rainy days and bright milk chocolate when the kids want something familiar. Toasted coconut flakes give a lovely chew, and crushed pretzels add a salty lift that balances the sweetness — one of my favorite grown-up twists. If you’re avoiding nuts, use seeds or small cookie pieces for texture. I once tried a version with candied citrus peel that was unexpectedly elegant; the bright, bitter-sweet notes cut through the sugar in a surprisingly pleasant way. Be playful: seasonal candies, edible glitter, or tiny marshmallows each bring a different mood. When something didn’t work — like a topping that was too wet and made the bark soggy — I learned to dry or toast things first.
Frequently Asked Questions
Easy Spooky Halloween Candy Bark Recipes
Ingredients
Main Ingredients
- 12 oz white chocolate chips
- 1 cup Halloween sprinkles
- 4 oz dark chocolate
- 0.5 cup candy corn
Instructions
Preparation Steps
- Melt the white chocolate chips in a microwave-safe bowl, stirring every 30 seconds until smooth.
- Spread the melted chocolate onto a baking sheet lined with parchment paper.
- Sprinkle Halloween sprinkles and candy corn over the melted chocolate before it sets.
- Melt the dark chocolate and drizzle it over the mixture for decoration.
- Let the bark cool and harden completely before breaking it into pieces.